Bringing home a new refrigerator or freezer is exciting, but the setup process is where most long-term problems actually start. A unit that is placed too close to a wall, plugged into the wrong outlet, or loaded with food too soon can run inefficiently, trip breakers, or wear out early. Whether you are furnishing a first apartment, replacing an aging fridge, or adding a standalone freezer for bulk storage, getting the setup right from day one saves you money, noise, and repair headaches down the road. This guide walks through everything you need to know before, during, and after your refrigerator and freezer setup, from measuring your space to dialing in the correct temperature.
Before You Buy: Measuring and Planning Your Space
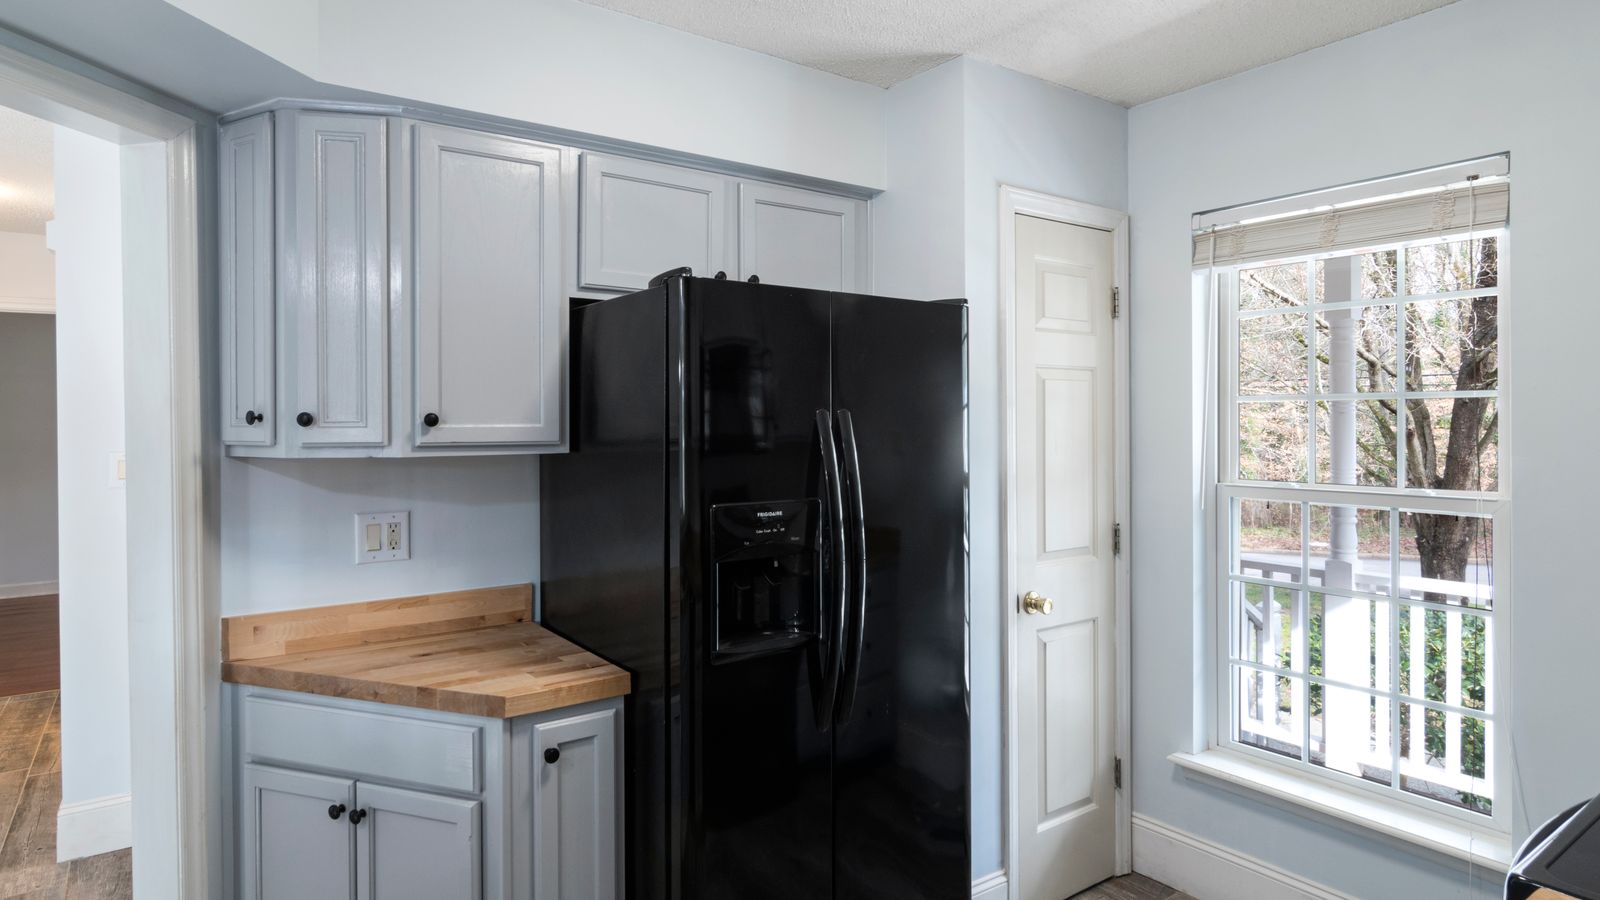
The single most common refrigerator setup mistake happens before the appliance ever arrives: buying a unit that does not actually fit. Refrigerators and freezers need clearance not just to sit in a spot, but to open their doors fully, breathe around the compressor, and be delivered through your hallways and doorways in the first place.
Measure the Doorway Path, Not Just the Final Spot
Measure every doorway, hallway turn, and stairwell the unit must pass through on the way to its final location, not just the width of the kitchen opening. A refrigerator that is 34 inches wide can still get stuck in a 32-inch hallway if there is no room to angle it around a corner. Measure height too, especially if you have low doorway headers or ceiling fixtures.
Leave Ventilation Clearance
Most refrigerators need at least 1 inch of space on the sides and top, and 2 to 3 inches behind the unit, so the compressor coils can dissipate heat properly. Built-in or “cabinet-depth” models are the exception, since they are engineered for tighter clearances, but even those need airflow at the top or a vented cabinet panel. Skipping this step is one of the top reasons units run hot, cycle constantly, and burn through more electricity than they should.
Confirm Door Swing and Floor Load
Decide in advance whether you need a left-hinge or right-hinge door, or a French-door model that avoids the swing question altogether. Also check that your flooring can support the weight; a full-size refrigerator loaded with food can weigh well over 300 pounds, which matters on older upper-floor apartments. If you are furnishing a smaller unit, browsing options built specifically for tight kitchens, like the best refrigerators for apartments, can save you a return trip.
Preparing the Power Supply
Refrigerators and freezers are meant to run on a dedicated circuit, not shared with other high-draw appliances. Before delivery day, confirm your outlet situation so you are not scrambling once the truck arrives.
Use a Dedicated, Grounded Outlet
Plug the refrigerator directly into a grounded, three-prong outlet on its own circuit whenever possible. Sharing a circuit with a microwave, toaster, or space heater increases the chance of tripped breakers, especially during the compressor’s initial startup surge. Never use an extension cord for a refrigerator or freezer; the sustained draw can overheat the cord and create a fire hazard.
Check Voltage and Surge Protection
Standard household refrigerators run on 115-120V outlets in most homes. If you are setting up a large chest freezer or a second unit in a garage, verify the outlet matches the appliance’s rated voltage on the nameplate sticker, usually located inside the door or on the back panel. A basic surge protector rated for appliances (not a standard power strip) is a smart addition in areas with unstable power or frequent storms.
Let the Unit Rest Before Plugging It In
If the refrigerator or freezer was transported lying on its side or tilted more than 45 degrees, let it sit upright for at least 2 to 4 hours before plugging it in. This gives the compressor oil time to settle back into place. Skipping this step can cause the compressor to run without proper lubrication, which shortens its lifespan considerably.
Moving and Placing the Unit Safely
Refrigerators and freezers are heavy, top-heavy, and expensive to repair if dropped or dented. Having the right equipment on hand before moving day makes the process dramatically safer for both you and the appliance.
Use an Appliance Dolly, Not a Standard Hand Truck
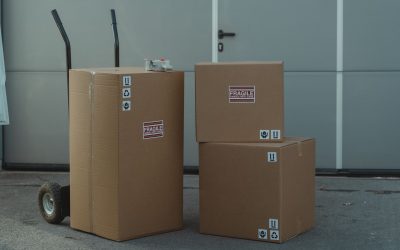
A standard hand truck is not built for the weight distribution of a refrigerator. An appliance-rated dolly with a wide base, ratchet straps, and stair-climbing capability makes moving a fridge or freezer safer and dramatically easier on your back. If you do not own one already, reviewing a set of appliance dollies before delivery day is worth the ten minutes it takes.
Keep the Unit Upright During Transport
Always keep refrigerators and freezers upright during the move whenever possible. If tilting is unavoidable to clear a doorway, never exceed a 45-degree angle and keep the tilt brief. Strap the unit securely to the dolly and move slowly, especially on stairs or thresholds, where a sudden jolt can damage internal components or crack the outer housing.
Protect Floors and Corners
Lay down furniture sliders or moving blankets on hard flooring to avoid scratches, and pad any doorway corners the unit might brush against. A few minutes of prep here prevents both cosmetic damage to your appliance and repair bills for scuffed hardwood or vinyl flooring.
Anchoring and Stability Considerations
Refrigerators, and especially tall upright freezers, are top-heavy once loaded with food. This makes tip-over risk a real safety concern, particularly in homes with small children or in earthquake-prone regions.
Why Anti-Tip Hardware Matters
A fully loaded upright freezer or refrigerator can weigh several hundred pounds, and its center of gravity shifts upward as shelves fill with items near the top. If a child climbs on an open door or the unit is bumped during cleaning, an unanchored appliance can tip forward. Installing simple anti tip brackets at the top rear of the unit, secured into wall studs, adds a meaningful layer of safety for a modest amount of effort.
Level the Unit With Adjustable Feet
Nearly every refrigerator and freezer has adjustable front feet or rollers. Use a small level placed on top of the unit, front-to-back and side-to-side, and adjust the feet until it reads level in both directions. An unlevel refrigerator can cause doors to swing open on their own, gaskets to seal unevenly, and water from ice makers to pool in the wrong spot.
Initial Power-Up and Temperature Settings
Once the unit is placed, leveled, and plugged in, resist the urge to load it with groceries immediately. Refrigerators and freezers need time to reach their operating temperature before they can safely preserve food.
Let It Run Empty First
Give a new refrigerator 4 to 6 hours, and a new freezer up to 24 hours, to reach a stable internal temperature before adding food. Loading a warm unit immediately forces the compressor to work overtime and can allow perishables to sit in the temperature danger zone while the unit catches up.
Set the Right Temperature Range
The refrigerator compartment should be set to 37°F (about 3°C), and the freezer compartment to 0°F (about -18°C). Most modern units have a digital display, but if yours has only a dial, start at the middle setting and adjust after 24 hours using a separate appliance thermometer for accuracy, since built-in displays can run a few degrees off.
Load Gradually, Not All at Once
When you do start stocking the unit, add groceries in batches over the first day or two rather than filling every shelf immediately. This lets the compressor adjust gradually and keeps the internal temperature stable, rather than spiking every time the door opens during a single massive stocking session.
Organizing Your Refrigerator and Freezer for Efficiency
Good organization is not just about tidiness; it directly affects how hard your compressor has to work and how long your food stays fresh.
Zone by Temperature, Not Just by Category
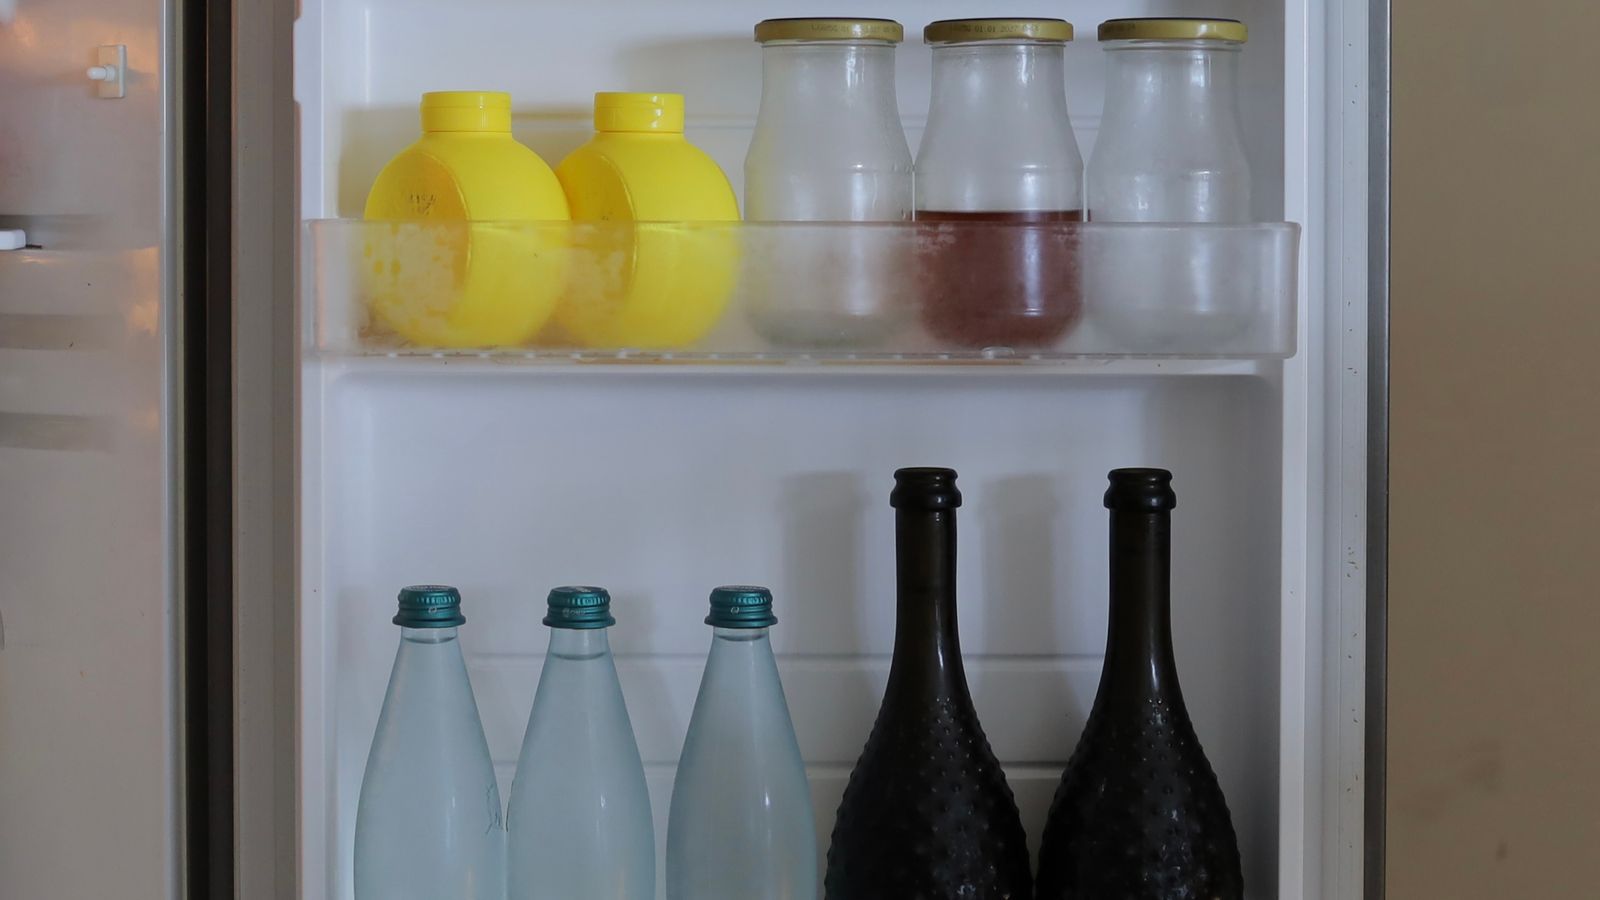
The door shelves are the warmest part of a refrigerator since they get hit with room air every time the door opens, so reserve them for condiments and items that are less temperature-sensitive. Dairy and eggs do better on interior shelves, while raw meat should sit on the bottom shelf to prevent drips from contaminating other food.
Avoid Overpacking
Cold air needs room to circulate around stored items. A refrigerator or freezer packed edge to edge with no airflow gaps will cool unevenly, forcing the compressor to run longer to compensate. As a rule of thumb, aim to keep the unit around three-quarters full rather than completely stuffed.
Label and Rotate Stock in Chest and Upright Freezers
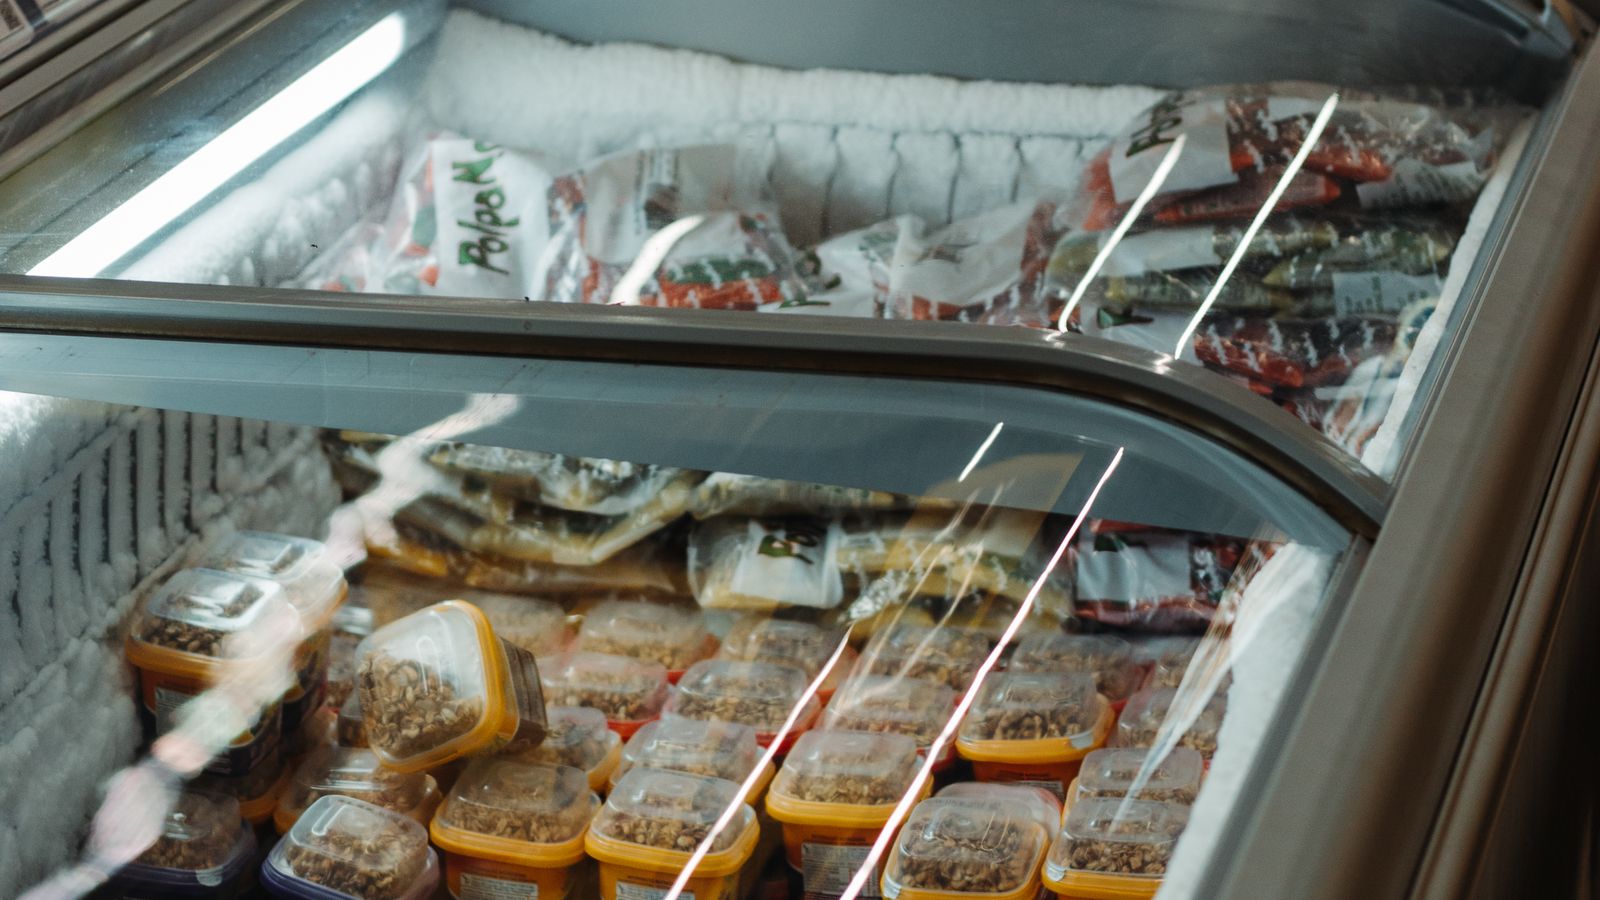
Standalone freezers benefit enormously from simple labeling and a first-in, first-out rotation system. Without it, items sink to the bottom or back and get forgotten, leading to freezer burn and wasted food months later.
Common Setup Mistakes to Avoid
- Placing the unit against a wall with zero clearance. This traps heat around the coils and forces the compressor to overwork.
- Plugging in immediately after a bumpy delivery. Compressor oil needs time to settle, or you risk premature compressor failure.
- Ignoring the door gasket seal. Run a dollar bill test by closing it in the door; if it slides out easily, the seal needs cleaning or replacing.
- Setting the temperature too cold “just to be safe.” This wastes energy and can freeze produce in the refrigerator compartment.
- Skipping anti-tip anchoring on tall units. A loaded, unanchored freezer or refrigerator is a genuine tip-over risk in homes with kids or pets.
- Forgetting to level the appliance. This causes uneven cooling, door drift, and water pooling issues over time.
Ongoing Care After Setup
Once your refrigerator or freezer is running smoothly, a small amount of routine care keeps it that way. Vacuum the condenser coils behind or beneath the unit every 6 months to prevent dust buildup, which forces the compressor to work harder. Wipe down door gaskets with mild soap and water periodically to keep the seal airtight, and check that nothing is blocking interior vents, which can create warm spots or excess frost. If you notice unusual noise, frost buildup inside a frost-free model, or a warmer-than-usual interior, address it early rather than waiting for a full breakdown.
Frequently Asked Questions
How long should I wait to plug in a new refrigerator?
Wait at least 2 to 4 hours if the unit was transported upright, or up to 24 hours if it was tilted or laid on its side during delivery, so the compressor oil can settle.
What is the ideal temperature for a refrigerator and freezer?
Set the refrigerator to around 37°F (3°C) and the freezer to 0°F (-18°C). Use a separate appliance thermometer to confirm accuracy, since built-in displays can be slightly off.
Do I really need anti-tip brackets on a freezer?
Yes, especially for tall upright freezers and refrigerators in homes with children or pets. A loaded unit is top-heavy, and anti-tip hardware anchored into wall studs is a low-cost way to prevent a serious accident.
Can I move a refrigerator myself without help?
It is possible with the right equipment, such as an appliance dolly and furniture sliders, but refrigerators are heavy and awkward. Having a second person to help guide it around corners and stairs is strongly recommended.
Why is my new refrigerator making noise when I first plug it in?
Some clicking, humming, or gurgling is normal as the compressor cycles and refrigerant settles during the first day of operation. Loud grinding or rattling noises, however, are worth investigating right away.
Final Thoughts
A successful refrigerator and freezer setup comes down to preparation: measuring your space accurately, securing the right power supply, moving the unit carefully, anchoring it for safety, and giving it time to stabilize before loading it with food. Skipping any one of these steps rarely causes an immediate problem, but it tends to show up later as higher energy bills, premature wear, or a safety hazard you did not anticipate. Take the setup process seriously from the start, and your new appliance should run reliably for many years to come.