A kitchen renovation lives or dies on sequencing. Cabinets, countertops, and paint get most of the attention in planning conversations, but the appliance lineup is what actually determines whether your new kitchen functions the way you imagined. Get the order wrong – picking finishes before appliance dimensions, or choosing appliances after the electrical rough-in is closed up – and you end up with a beautiful kitchen that fights you every time you cook. This guide walks through how to build your appliance lineup methodically, from the very first planning conversation through the final install, so nothing gets bolted on as an afterthought.
Why Appliances Should Drive the Plan, Not Follow It
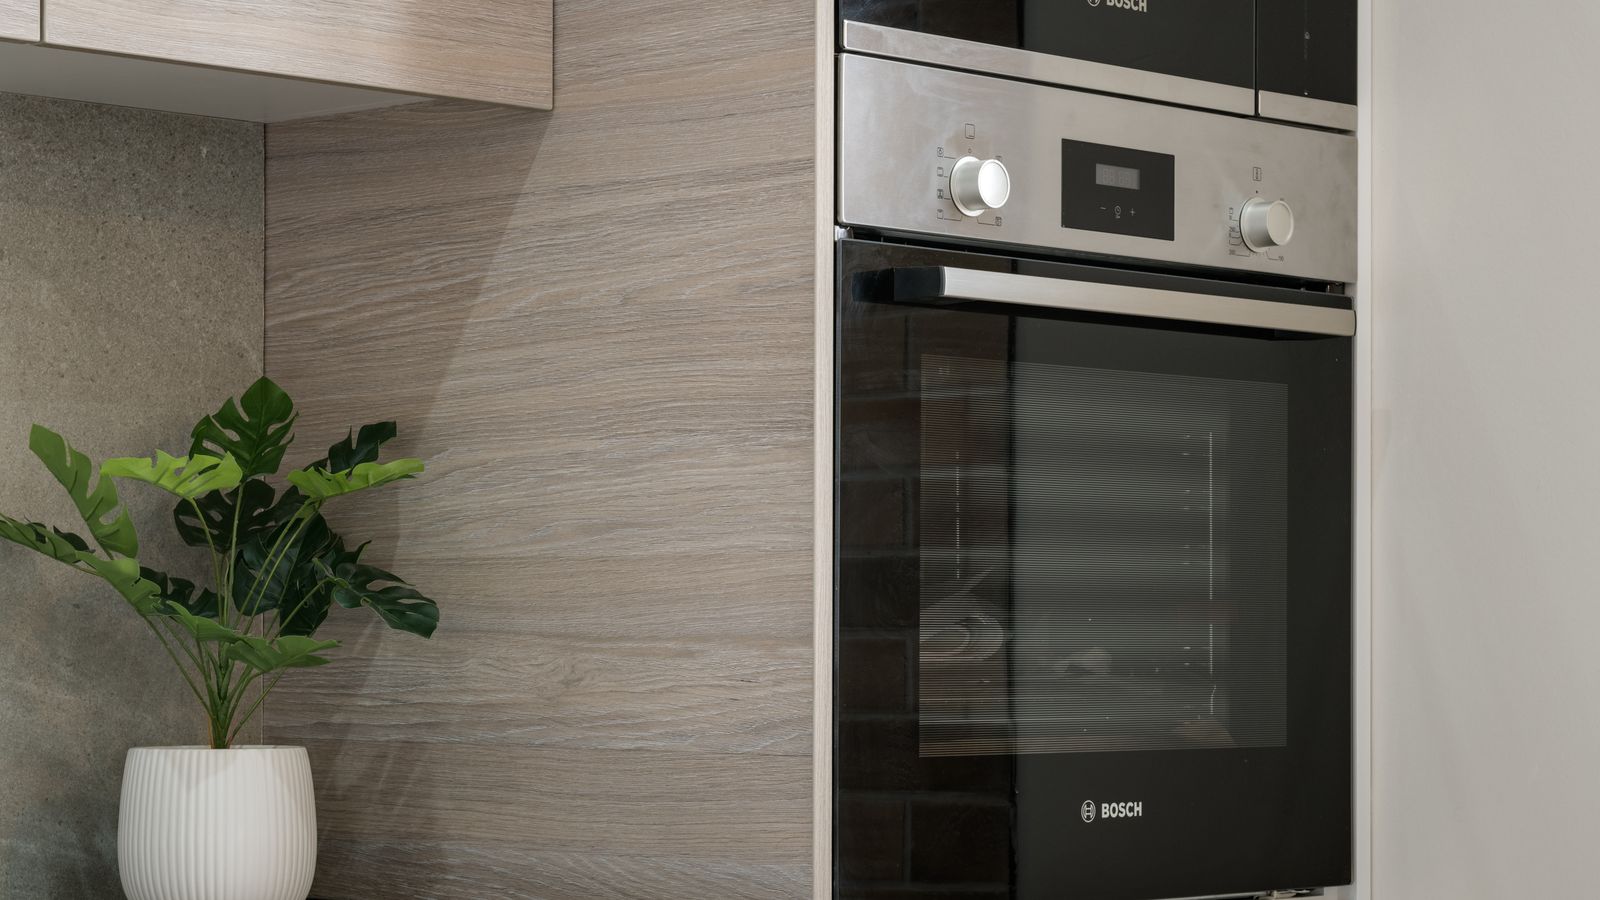
Most homeowners approach a renovation visually first: cabinet color, countertop material, backsplash tile. Appliances get penciled in near the end, sized to whatever gap is left. That’s backwards. Appliances have fixed dimensions, specific clearance requirements, and utility needs (dedicated circuits, gas lines, water lines, ventilation) that are expensive and disruptive to change once drywall and cabinetry are in. Deciding on your appliance lineup early – even if you don’t purchase everything up front – locks in the dimensions your contractor and cabinet maker need to work around.
This is especially true for anything built-in: a cooktop that drops into a cabinet cutout, a wall oven that needs a specific cabinet box, or an under-counter unit that ties into plumbing. Built-in appliances are not swap-in-swap-out purchases the way a countertop microwave is. If you buy a replacement in five years and its dimensions differ by even half an inch, you may be modifying cabinetry to make it fit.
Step 1: Inventory What You’re Actually Replacing
Before shopping, walk through your current kitchen and list every appliance category involved in the renovation:
- Cooking: range, cooktop, wall oven, microwave/speed oven combo
- Refrigeration: refrigerator, freezer, wine or beverage fridge
- Cleanup: dishwasher, garbage disposal
- Water: filtration system, instant hot water or point-of-use water heater
- Ventilation: range hood or downdraft system
Not every kitchen needs every category, and not every renovation touches every appliance. A cosmetic refresh might only involve a new range and hood, while a gut renovation touches all of them. Mark each item as “keep as-is,” “replace like-for-like,” or “replace with a different configuration” (e.g., swapping a freestanding range for a cooktop-plus-wall-oven combo). That last category is the one that most affects your layout and budget, so flag it clearly.
Step 2: Set the Layout Before the Budget
Layout decisions cascade into everything else, so make them before you start pricing individual units. Two choices matter most:
Freestanding Range vs. Cooktop + Wall Oven
A freestanding range is the simpler, generally more budget-friendly option – one appliance, one cutout, one utility connection. Splitting into a separate cooktop and wall oven (or double wall oven) gives you more flexibility in layout – the oven can go at eye level, freeing floor-level cabinet space, and the cooktop can be placed wherever makes sense for your workflow, including on an island. If a cooktop-based layout appeals to you, browse modular cooktops early, since modular systems let you mix gas and induction elements in the same run and that decision affects both your cabinet cutout and your electrical/gas rough-in.
Built-In vs. Countertop Secondary Appliances
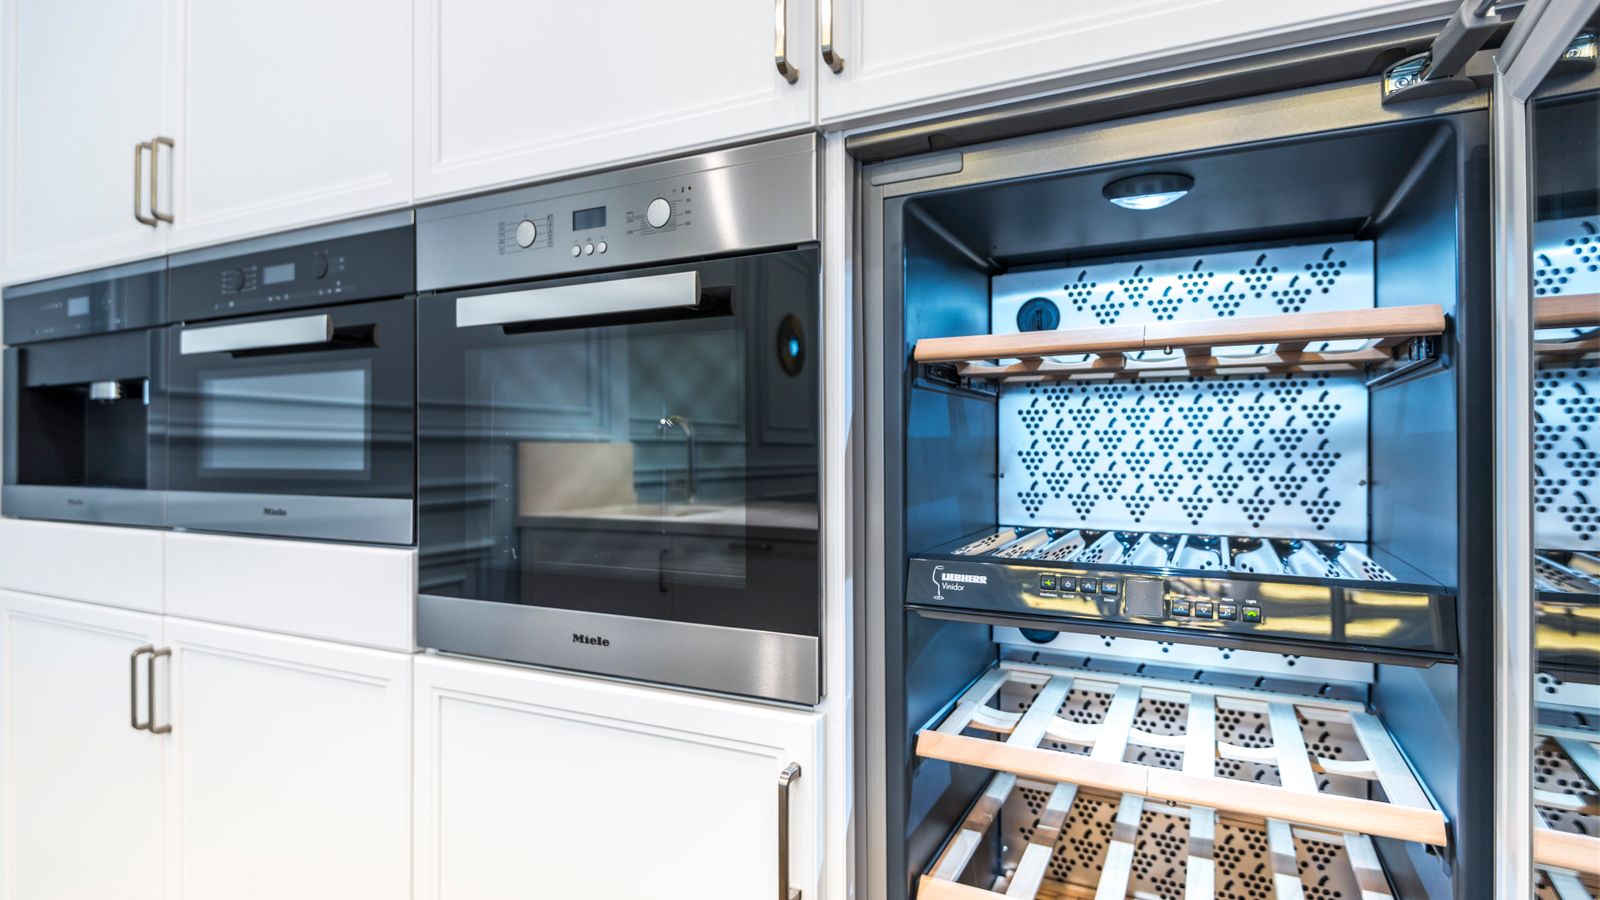
Microwaves, in particular, have moved toward built-in speed ovens that combine microwave, convection, and sometimes air-fry functions into a single wall-mounted unit. If your renovation includes a full cabinet rebuild, this is the moment to decide whether you want a dedicated speed oven cabinet or whether a countertop microwave will do. Built-in units look cleaner and free up counter space, but they cost more and require a specific cutout. If you’re leaning toward a wall-mounted unit, it’s worth comparing the best speed ovens before your cabinet maker finalizes the box dimensions, since speed oven cutouts vary more than standard microwave cutouts.
Step 3: Confirm Utilities Before You Order Cabinets
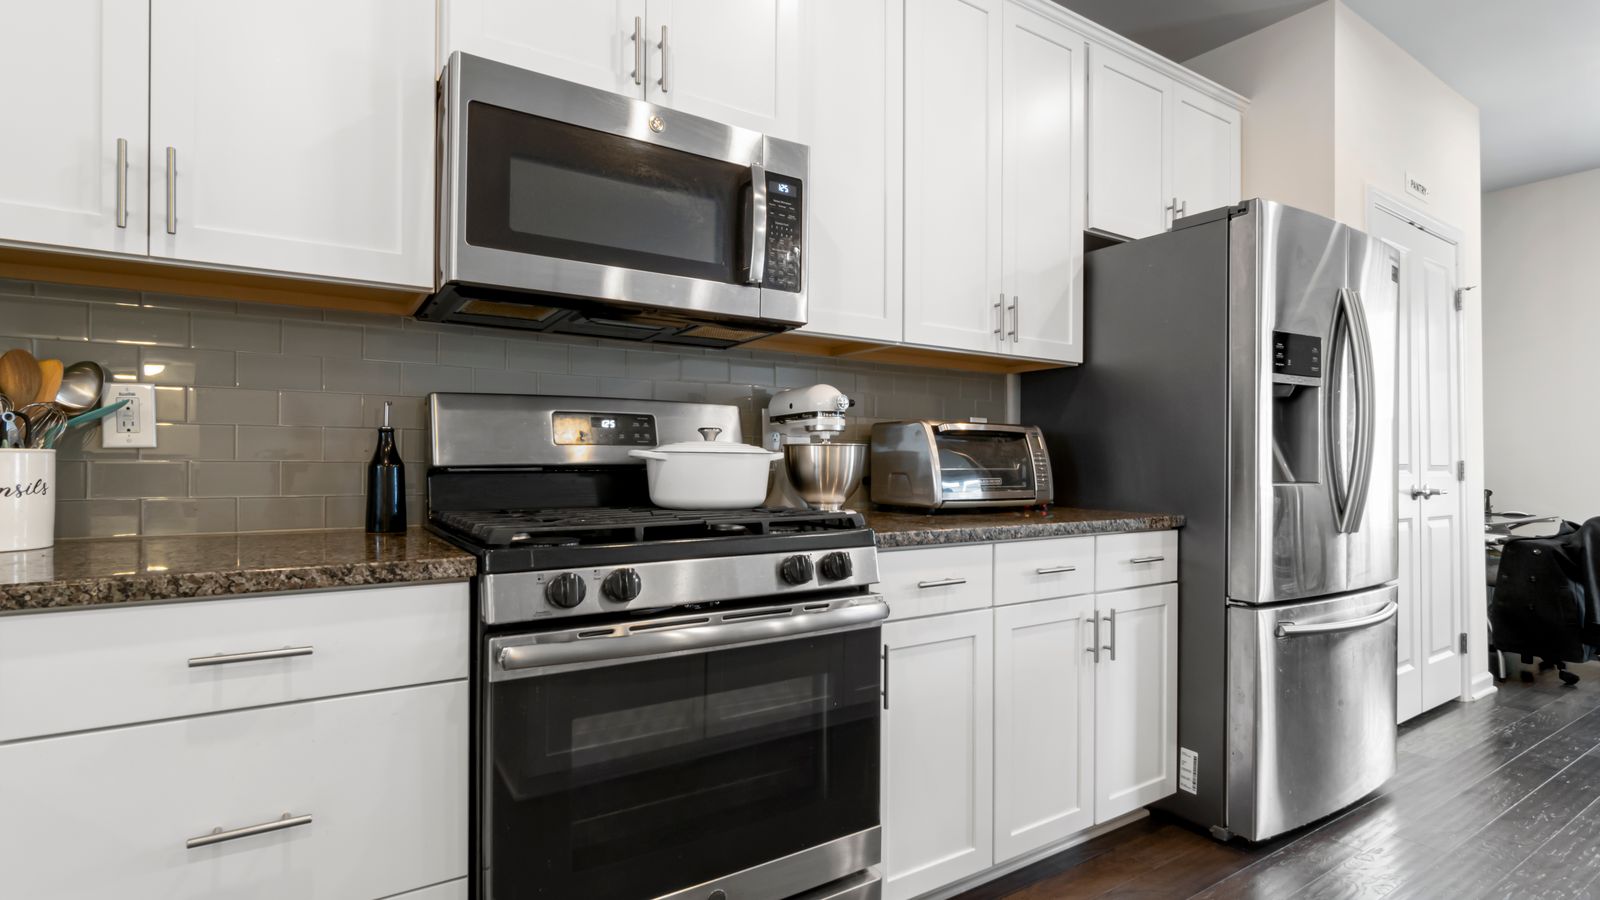
This is the step that trips up the most renovations. Cabinet makers need final appliance dimensions to build accurate boxes and cutouts, but appliance specs (especially utility requirements) often aren’t nailed down until the homeowner has actually picked a model. The fix is to select – or at minimum, shortlist with confirmed dimensions – every built-in appliance before cabinet drawings are finalized. Key utility questions for each appliance:
- Does it need a dedicated 240V circuit (most ranges, ovens, and induction cooktops do)?
- Does it need a gas line, and is the gas line existing or new?
- Does it need a water line (refrigerators with ice makers, some coffee systems, point-of-use water heaters)?
- Does it need dedicated ventilation, and does the hood duct run match the cooking appliance’s placement?
Point-of-use water heaters are a good example of an appliance that’s easy to forget until late in the process, then hard to add once cabinetry is closed up. If you want instant hot water at the sink without waiting on a full tank system, decide early whether you’re installing one, because it needs its own under-sink space and electrical connection. Compare options among the point of use water heaters on the market before your plumber finalizes the under-sink rough-in – retrofitting one after cabinetry is installed usually means cutting into a finished cabinet.
Step 4: Sequence the Purchases
Buying every appliance on day one isn’t necessary or even advisable – prices and models change over the course of a multi-month renovation, and some purchases don’t need to happen until much later. A workable sequence looks like this:
- Lock dimensions early: Select (or shortlist with confirmed spec sheets) every built-in appliance – range/cooktop, wall oven, refrigerator, dishwasher – before cabinet drawings are finalized. You don’t have to purchase yet, just confirm the exact width, depth, and utility needs.
- Purchase before rough-in: Buy anything that affects plumbing or electrical rough-in (cooktop, wall oven, dishwasher, point-of-use water heater) before those trades start work, so the actual unit – not just a spec sheet – is on-site to confirm fit if needed.
- Purchase before cabinet install: Confirm final measurements against the physical appliance right before cabinets go in, since even small manufacturing variances can matter for a tight built-in fit.
- Purchase last: Countertop or freestanding appliances that don’t require a cutout – freestanding microwaves, countertop appliances, portable items – can be bought anytime, even after move-in.
This sequencing avoids the two most common and expensive mistakes: cabinets built around the wrong dimensions, and utilities roughed in for the wrong location.
Step 5: Set a Realistic Budget Range
Appliance budgets vary enormously by tier, and it’s easy to blow past a renovation budget by upgrading appliance-by-appliance without stepping back to look at the total. A few budgeting habits that help:
- Set a total appliance budget as one line item, not a per-appliance budget, so you can shift dollars toward the appliances you use most (often the range/cooktop and refrigerator) and save on ones you use less (a wine fridge, a second dishwasher).
- Add a 10-15% buffer for the utility work – new circuits, gas line extensions, or duct rerouting – that often surfaces once walls are open.
- Price mid-tier first, then decide where an upgrade is actually worth it. A built-in speed oven or a nicer cooktop might matter more to your daily routine than a premium refrigerator finish.
- Don’t skip the “boring” appliances. Ventilation and water filtration rarely get budget attention but are expensive to retrofit later if underspecced now.
Common Mistakes to Avoid
Choosing Appliances After Cabinets Are Ordered
This is the single most costly sequencing error. Cabinet boxes are built to specific appliance dimensions; changing your mind on a cooktop width or a built-in oven brand after the cabinet order is placed usually means a change order, a delay, or a compromise fit.
Underestimating Ventilation Needs
A more powerful cooktop or range often needs a correspondingly more powerful hood. If you upgrade your cooking appliance mid-planning but don’t revisit your ventilation choice, you can end up with a mismatch that shows up as smoke and odor lingering in the kitchen.
Forgetting Water-Related Appliances Until Late
Point-of-use water heaters, filtration systems, and ice makers all need plumbing decisions made early. Treating them as an afterthought after the sink and cabinets are set usually means either skipping them or paying for disruptive retrofit work.
Not Confirming Cutout Tolerances
Manufacturer spec sheets list nominal dimensions, but actual units can vary by a fraction of an inch. Where the fit is tight – built-in speed ovens and wall ovens especially – confirm the physical unit’s dimensions against the cabinet opening before final install, not just the paper specs.
A Simple Planning Checklist
- List every appliance category involved and mark keep / replace like-for-like / reconfigure.
- Decide on layout: freestanding range vs. cooktop-plus-wall-oven, built-in vs. countertop secondary appliances.
- Shortlist built-in appliances and confirm utility needs (electrical, gas, water, ventilation) before cabinet drawings are finalized.
- Sequence purchases: lock dimensions early, buy before rough-in, confirm before cabinet install, buy freestanding/countertop items last.
- Set one total appliance budget line with a buffer for utility surprises.
- Revisit ventilation any time the cooking appliance choice changes.
Frequently Asked Questions
How far in advance should I choose my appliances?
Ideally, before your cabinet maker finalizes drawings – this is often 6-10 weeks before cabinet installation, depending on your contractor’s timeline. At minimum, confirm dimensions and utility needs for anything built-in.
Do I need to buy every appliance at once?
No. Buy anything affecting rough-in or cabinet cutouts early; freestanding and countertop appliances can be purchased anytime, including after move-in.
What’s the biggest cost driver in an appliance lineup?
Utility changes – new circuits, gas line extensions, or ventilation rerouting – tend to add more unplanned cost than the appliances themselves, especially when a layout reconfiguration (like splitting a range into a cooktop and wall oven) is involved.
Should I upgrade to built-in appliances if my renovation includes a full cabinet rebuild?
It’s the best time to do it, since the cabinetry can be built around exact dimensions from the start. Retrofitting a built-in speed oven or cooktop into existing cabinetry later is possible but more limited and often more expensive.
How do I avoid ventilation mismatches?
Choose your cooking appliance first, then size the hood or downdraft system to match its output, and revisit that choice any time you change the cooking appliance during planning.
Final Thoughts
The appliance lineup is the functional backbone of a kitchen renovation, even though it rarely gets the same attention as finishes. Making layout and utility decisions early – before cabinets are ordered and before rough-in begins – is what keeps a renovation on schedule and on budget. Take the time to confirm dimensions, sequence your purchases sensibly, and revisit ventilation and water needs whenever your cooking appliance choices change. A little extra planning up front saves far more time and money than it costs.