Thermal window film is one of the fastest, least invasive upgrades you can make to a room’s comfort level, but only if you choose the right type for your specific windows and treatment plan. With dozens of films on the market claiming to block heat, cut glare, or add privacy, it is easy to buy the wrong product and end up disappointed with the results. This guide walks you through exactly how to evaluate your windows, match a film to your goals, and install it correctly so it works alongside your existing curtains, blinds, or shades instead of fighting against them.
Step 1: Assess Your Windows and Sun Exposure
Before shopping for any film, spend a few minutes studying how each window in the room actually behaves throughout the day. Thermal window film performs differently depending on orientation, glass type, and how much direct sun a window receives.
- South- and west-facing windows typically need the strongest heat-rejection films, since they absorb the most afternoon sun.
- North-facing windows rarely need aggressive heat control and may only need a light film for glare or privacy.
- Single-pane glass loses and gains heat faster than double-pane, so film has a bigger relative impact there.
- Tinted or Low-E glass may already reduce heat gain, meaning a lighter film is often enough.
Take note of which rooms feel noticeably hotter in summer or draftier in winter – these are your priority windows for thermal film.
Step 2: Define What You Actually Need the Film to Do
Thermal window film is not a single product; it is a category with several distinct jobs. Before comparing brands, decide which of these outcomes matters most for your space:
Heat and UV Reduction
Standard thermal films block a percentage of infrared heat and ultraviolet rays, which helps rooms stay cooler in summer, protects furniture and flooring from fading, and can reduce energy bills tied to air conditioning.
Insulation for Cold Climates
Some films are designed as an insulating layer that reduces heat loss through the glass in winter, effectively adding a thin thermal barrier similar to a low-cost storm window.
Glare Control
If screen glare or harsh afternoon light is the main complaint, look for films with a moderate visible light transmission reduction rather than the darkest option available.
Privacy
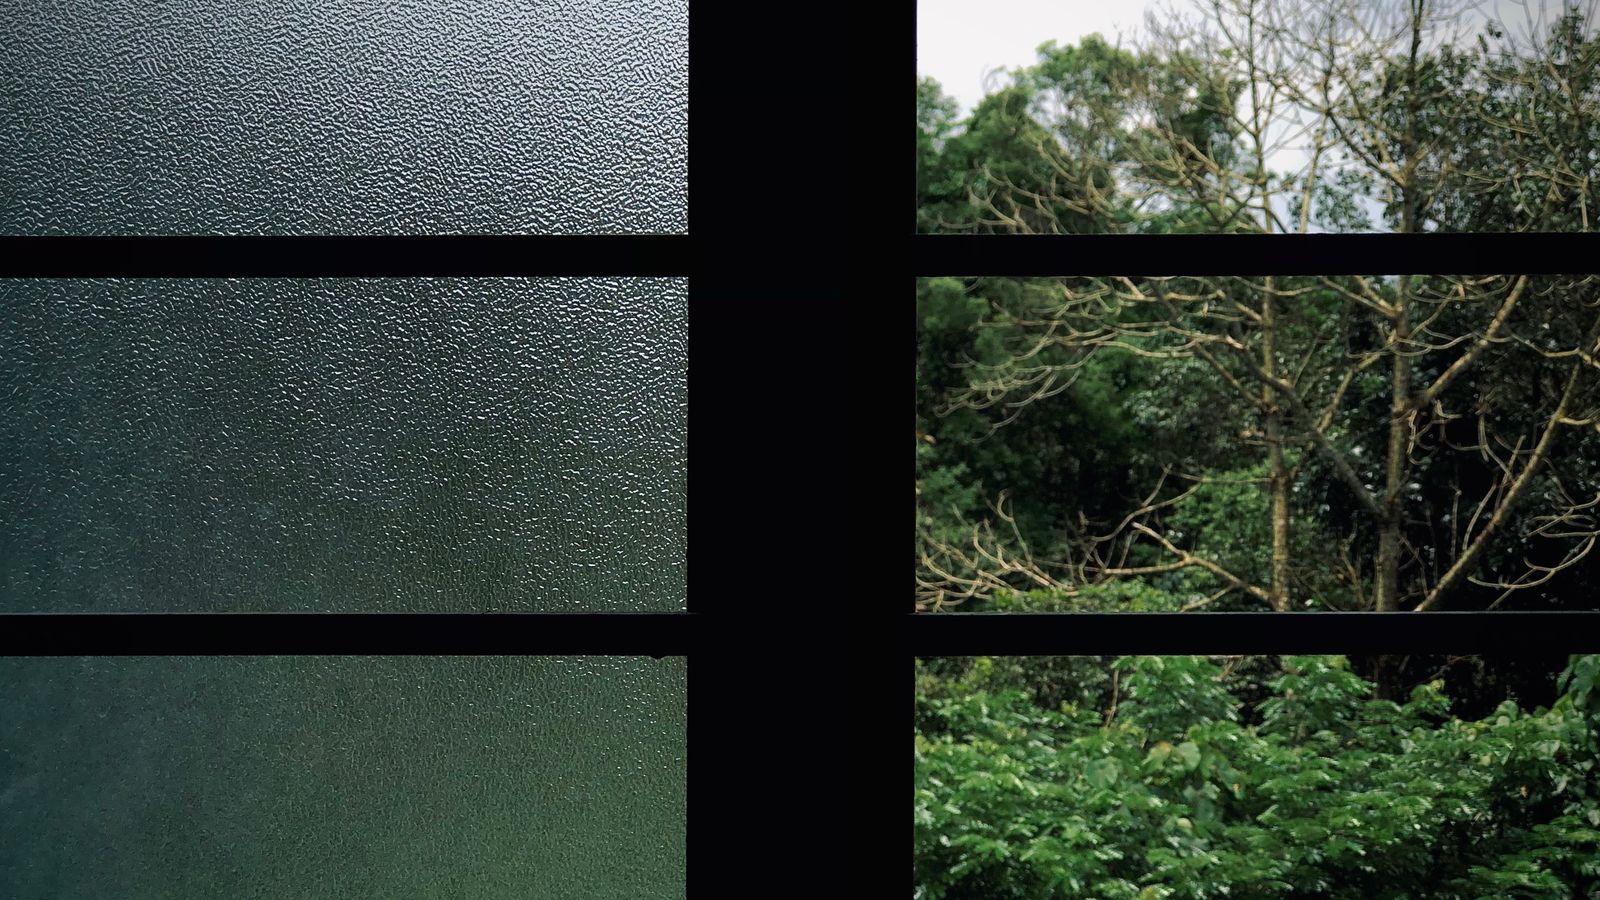
Frosted, etched, or patterned films obscure the view into a room while still letting light through, which is useful for bathrooms, ground-floor windows, or home offices facing the street.
If privacy is your primary concern rather than heat, it is worth comparing dedicated frosted window film options, since these are optimized for opacity rather than solar performance.
Step 3: Understand the Main Types of Thermal Film
Once you know your goal, narrow down the film type. The most common categories are:
- Reflective (mirrored) films – highest heat rejection, but create a mirror-like appearance from outside during the day; best for high-glare, high-heat rooms where you do not mind the reflective look.
- Spectrally selective films – block heat and UV while keeping the glass looking nearly clear; a good middle-ground choice for living rooms and kitchens where appearance matters.
- Ceramic/nano-ceramic films – premium option with strong heat rejection and minimal glare or color distortion, often the best long-term performer but priced higher.
- Insulating films – thicker, sometimes shrink-to-fit films marketed for winter draft reduction rather than summer heat rejection.
For a broader side-by-side look at how these types perform, browsing a roundup of Thermal Window Film picks can help you compare heat-rejection ratings before settling on a specific product.

Step 4: Check Key Specs Before Buying
Once you have a short list of films, compare these numbers rather than relying on marketing language alone:
- Total Solar Energy Rejected (TSER): higher percentages mean more heat blocked; look for at least 50% for hot climates.
- UV rejection: most quality films block 95-99% of UV rays, which matters for fading protection.
- Visible Light Transmission (VLT): a lower VLT darkens the room more; choose based on how much natural light you want to keep.
- Warranty length: residential films typically carry a warranty of several years against peeling, bubbling, or discoloration – longer warranties usually indicate better adhesive quality.
Step 5: Coordinate the Film With Your Existing Window Treatment
Thermal film works best as one layer in a broader treatment plan, not a replacement for curtains or shades. Think about how it interacts with what is already on the window.
Pairing With Curtains or Drapes
Film handles daytime heat and UV while curtains add nighttime privacy and a finished look. This combination is especially effective in bedrooms, where film keeps the room cooler during the day and curtains block light at night.
Pairing With Blinds or Shades
If you already rely on blackout coverage at night, film reduces how hard those treatments have to work during the day. For rooms where light control is the top priority, comparing your film plan against best blackout roller shades can help you decide whether you need both layers or if film alone solves the glare problem.
Bare or Minimal Windows
In kitchens, stairwells, or utility rooms where you do not want fabric treatments, film can be the sole solution, especially a frosted or heat-rejecting type that handles both privacy and comfort in one layer.
Step 6: Measure and Prepare Before You Buy
Accurate measurements prevent wasted film and awkward seams.
- Measure the width and height of each pane you plan to cover, adding a small margin for trimming.
- Note whether your windows have grids, decorative trim, or uneven edges that will affect how the film lies.
- Decide whether you are covering the full pane or working around obstacles like window locks or vents.
- Buy a few extra inches per roll length; new installers almost always need a second attempt on at least one panel.
Step 7: Install the Film Correctly
Most residential thermal films use a static-cling or adhesive application and follow a similar process:
- Clean the glass thoroughly with a lint-free cloth and a mild soap-and-water solution; any dust or streaks will show under the film.
- Mist the window with the recommended application solution (usually water with a few drops of dish soap).
- Peel the backing from the film slowly, keeping the adhesive side wet to prevent it from sticking to itself.
- Apply the film to the glass and use a squeegee to push out air bubbles and excess solution, working from the center outward.
- Trim the edges with a sharp utility knife for a clean, flush fit against the frame.
- Let the film cure for the time specified by the manufacturer, usually several days, before cleaning the surface again.
Safety Notes
- Use a sharp blade and cut away from your body when trimming edges.
- Work on a stable step stool or ladder for upper-floor or hard-to-reach windows rather than standing on furniture.
- Avoid applying film in direct, hot sunlight, since the solution dries too quickly and makes it harder to position the film evenly.
- Check whether your windows are covered under a manufacturer warranty that restricts aftermarket film, particularly for newer double-pane or Low-E glass.
Common Mistakes to Avoid
- Choosing the darkest film available without checking VLT, which can make a room feel gloomy even when heat rejection is only slightly better than a mid-range option.
- Skipping the glass-cleaning step, which leads to trapped dust, streaks, and a cloudy appearance under the film.
- Applying film in one continuous rushed motion instead of working slowly to avoid bubbles, which are far harder to fix after the film sets.
- Ignoring warranty restrictions on certain insulated or Low-E windows, which in rare cases can void coverage if the wrong film type traps excess heat between panes.
- Forgetting to coordinate with existing treatments, resulting in a room that is either over-darkened with film plus blackout shades, or still too bright without any added coverage.
Frequently Asked Questions
Does thermal window film work on all types of glass?
Most films work well on standard single- and double-pane glass. Certain reflective films are not recommended for some Low-E or insulated windows because trapped heat between panes can cause stress cracking – always check the film’s compatibility notes against your window type first.
How long does thermal film typically last?
Quality residential film generally lasts many years before showing signs of peeling or bubbling, especially if installed correctly and kept away from abrasive cleaning tools.
Will thermal film make my room too dark?
Not if you choose the right VLT rating. Spectrally selective and ceramic films can block significant heat while keeping the glass looking nearly clear, so darkness is a choice, not a given.
Can I use thermal film instead of curtains or blinds?
Film handles daytime heat, UV, and glare well, but it does not provide nighttime privacy or full blackout coverage on its own. Pairing it with curtains or shades gives you complete control over light and privacy at all hours.
Is thermal film a DIY-friendly project?
Yes, most residential films are designed for DIY application with basic tools – a squeegee, spray bottle, and utility knife. Larger or more complex windows may benefit from professional installation for a seamless finish.
Final Thoughts
Choosing the right thermal window film comes down to matching the film’s strengths to your window’s sun exposure, your comfort goals, and the treatments you already have in place. Start by identifying whether heat rejection, insulation, glare control, or privacy matters most, then compare TSER, UV rejection, and VLT ratings before committing to a roll. When the film is installed as part of a coordinated plan alongside curtains, blinds, or shades, it becomes one of the most cost-effective upgrades you can make for year-round comfort.