Why Your Garbage Disposal Needs More Than a Quick Rinse
Running water through your garbage disposal after every use feels like enough, but food particles, grease, and mineral deposits build up on the splash guard, grind chamber, and blades over weeks of normal use. That buildup is what causes the sour, rotten smell that seems to appear out of nowhere, and it can eventually slow the unit down or make it hum louder than it should. A proper deep clean with a dedicated garbage disposal cleaner clears out what a quick rinse simply cannot reach, and it takes less than fifteen minutes once you know the routine.
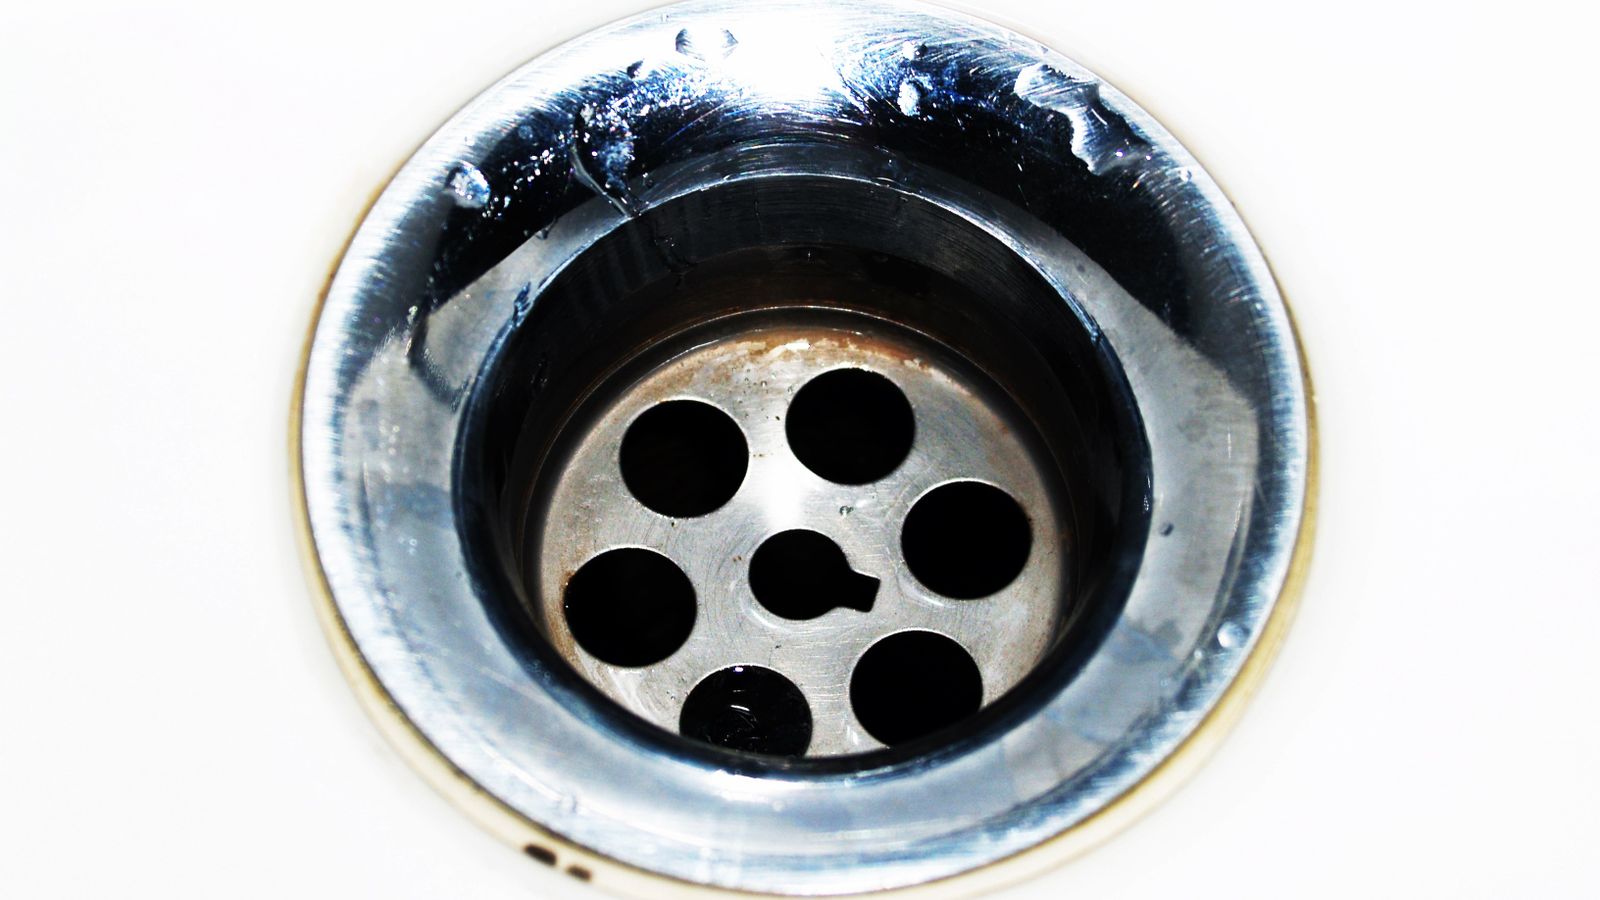
This guide walks through exactly what to gather, how to deep clean the unit safely from start to finish, the mistakes that trip people up, and how often you should repeat the process to keep odors and clogs away for good.
What You’ll Need Before You Start
Gather everything first so you are not scrambling mid-task with wet hands. A little prep makes the whole process faster and safer.
- A dedicated garbage disposal cleaner, whether that’s a foaming pod, powder, or gel formula
- A flashlight to see down into the drain opening
- Long-handled tongs or a disposal wrench for retrieving anything lodged near the blades
- An old toothbrush or a bottle brush for scrubbing the splash guard
- Ice cubes (plain or made from white vinegar) for scouring the impellers
- Baking soda and white vinegar as a backup or supplemental treatment
- Dish soap and a bucket of warm water for a final flush
- Rubber gloves
A Quick Safety Note Before You Begin
Never put your hand down into the disposal chamber, even when the unit is switched off at the wall. Always turn off the power at the switch and, if you’re doing more than a light rinse, unplug the unit under the sink or flip the corresponding breaker. This single habit prevents the vast majority of disposal-related injuries, so treat it as non-negotiable every time you clean.
Step-by-Step: How to Deep Clean Your Garbage Disposal
Follow these steps in order for the most thorough clean. The whole process should take ten to fifteen minutes.
- Turn off the power. Flip the wall switch and, for extra safety, unplug the disposal or switch off the breaker that controls it. Confirm it’s dead before your hands go anywhere near the drain.
- Inspect and remove visible debris. Shine the flashlight into the drain opening. Use tongs, never your fingers, to pull out any stuck food scraps, bones, produce stickers, or foreign objects sitting near the top.
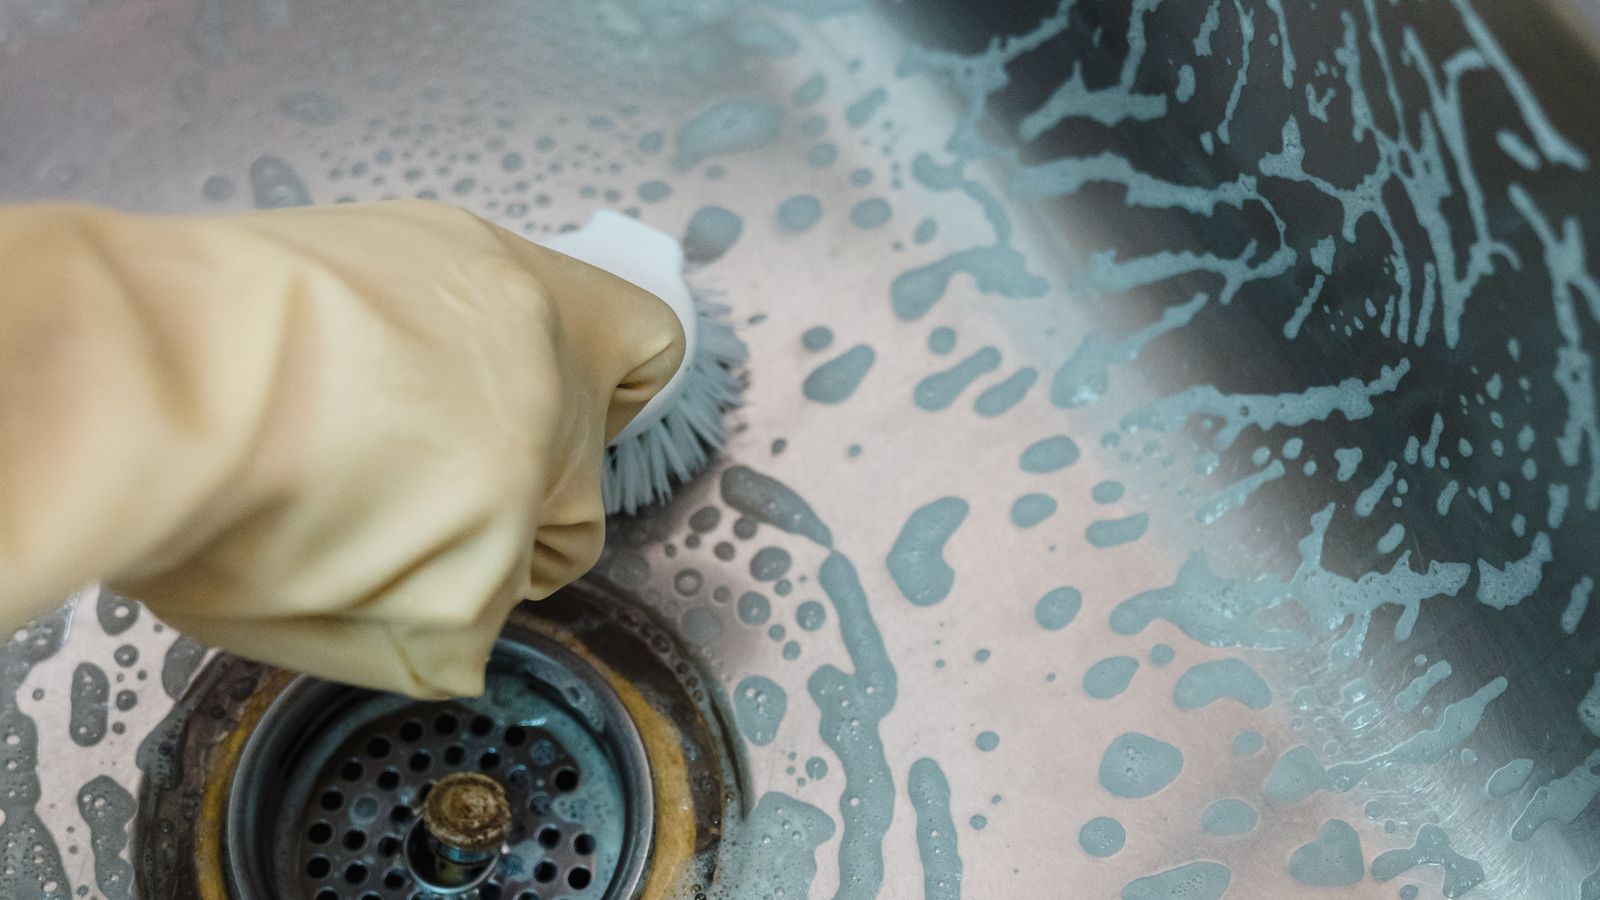
- Scrub the splash guard. The rubber baffle at the top of the disposal traps grime along its folds. Fold it back gently and scrub both sides with an old toothbrush or bottle brush and a few drops of dish soap. This is the single most-overlooked source of lingering odor.
- Run cold water and ice cubes. With the power back on, run cold water and drop in a cup of ice cubes (vinegar ice works even better). The ice knocks loose grease and grime that’s clinging to the impellers as it grinds down.
- Apply your garbage disposal cleaner. Turn the power off again, then follow the product’s instructions – most foaming or pod-style cleaners are dropped in dry and left to sit for several minutes so the foam works into the crevices along the grind chamber walls.
- Let it sit. Give the cleaner the full time listed on the packaging, typically five to ten minutes, so it can break down grease and neutralize odor-causing bacteria rather than just rinsing straight through.
- Flush with hot water. Turn the disposal back on and run hot tap water for a full thirty to sixty seconds to carry away the loosened residue and cleaner.
- Do a baking soda and vinegar chase (optional but effective). Sprinkle half a cup of baking soda down the drain, follow with half a cup of white vinegar, and let it fizz for five minutes before a final hot water rinse. This step helps with stubborn odors that a single cleaning cycle didn’t fully clear.
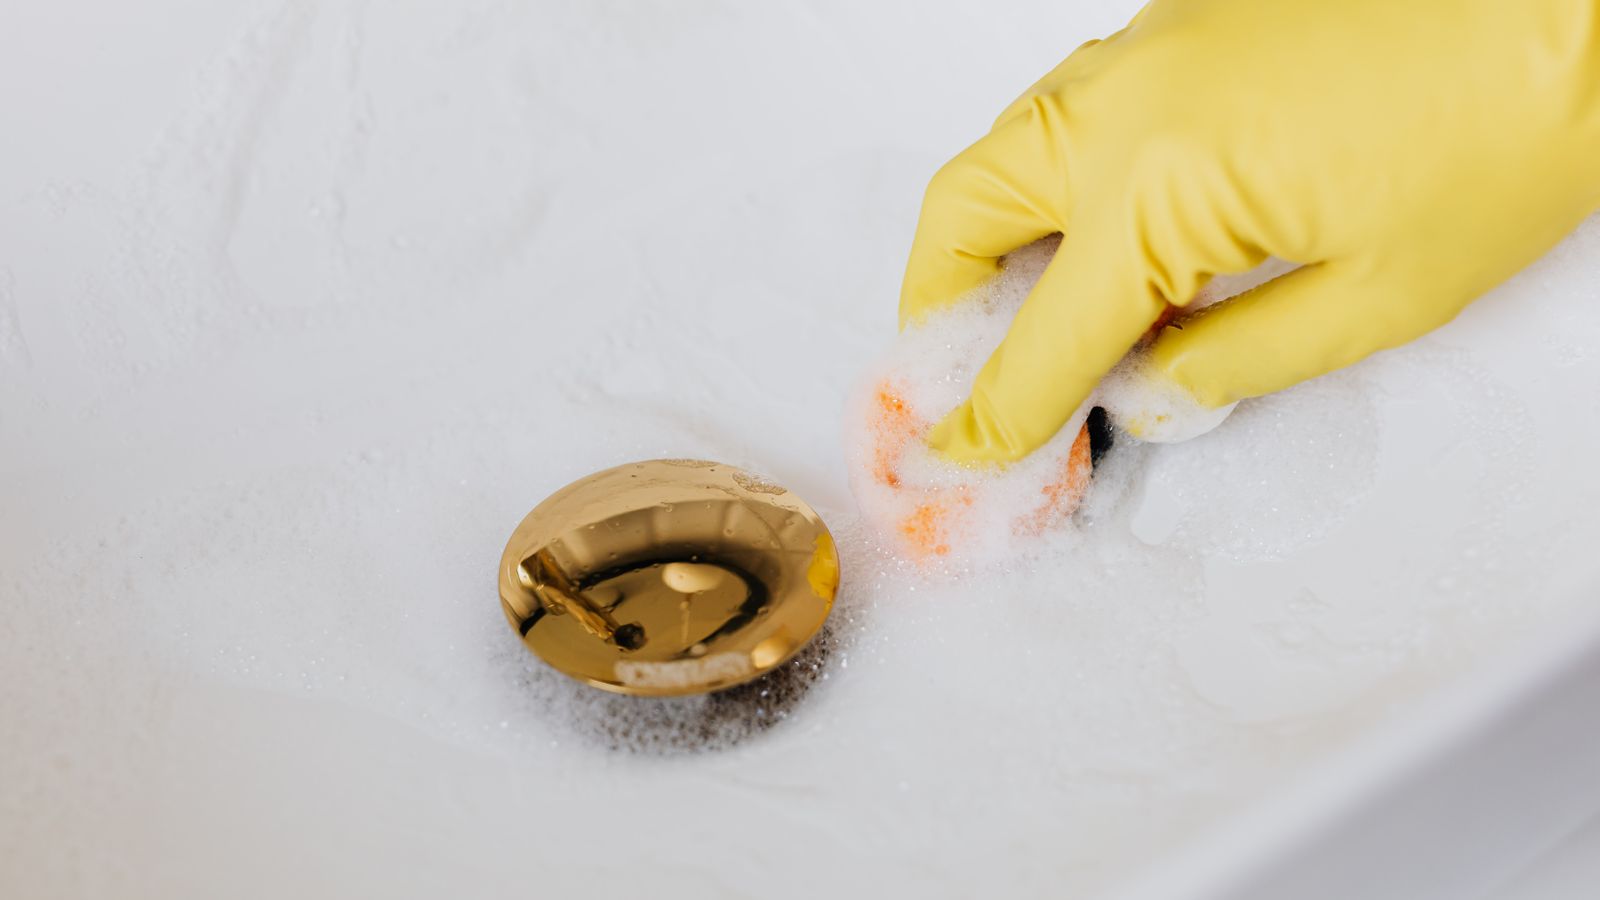
- Wipe down the sink and rim. Splashed residue tends to collect around the sink flange and stopper, so give that area a quick soapy wipe to finish the job.
Common Mistakes to Avoid
A few habits sabotage an otherwise good cleaning routine or cause damage to the unit itself.
- Using bleach. Bleach can degrade rubber gaskets and seals over time and doesn’t actually break down the organic buildup causing the smell – it just masks it temporarily.
- Grinding citrus peels as a substitute for real cleaning. Lemon or orange peels leave a pleasant scent for a day, but they don’t remove grease film from the grind chamber the way a purpose-made cleaner does.
- Skipping the splash guard. Most of the visible grime and odor source lives on the underside of that rubber baffle, not down in the chamber. Cleaning everything else while ignoring it means the smell comes right back.
- Pouring in too much cleaner at once. More product doesn’t mean a better clean – follow the label’s measurements, since over-dosing can leave residue that clogs the drain trap further down the line.
- Forgetting to test the unit before walking away. Always run water and briefly power the disposal on after cleaning to confirm it’s draining and grinding normally before you consider the job finished.
How Often You Should Deep Clean Your Disposal
For most households, a full deep clean once every two to four weeks keeps odor and grime from building up to a noticeable level. Kitchens that process a lot of food scraps, run the disposal daily, or handle greasy cookware regularly should lean toward the more frequent end of that range. Between deep cleans, a quick daily rinse with cold water and a weekly ice-cube flush go a long way toward keeping the unit fresh with minimal effort.
If you notice a persistent smell even right after cleaning, or the disposal seems to be draining more slowly than usual, that’s a sign to clean sooner rather than waiting for the next scheduled round. A disposal that’s maintained consistently also tends to have a longer working life, since trapped grease and grit are what typically wear down motors and blades prematurely.
Keeping the Rest of Your Kitchen Cleanup Routine on Track
A clean disposal works best as part of a broader kitchen cleaning routine rather than an isolated task. If grease and grime tend to travel from the sink area onto your kitchen floor, pairing your disposal maintenance with the right floor cleaning solutions keeps the whole space feeling fresh rather than just the sink itself. And since many of the same households dealing with disposal odor also battle bathroom drain and toilet smells, it’s worth checking out our picks for the best toilet bowl tablets to round out a full home cleaning kit.
Frequently Asked Questions
Can I use vinegar and baking soda instead of a commercial cleaner?
Yes, vinegar and baking soda work as a solid supplemental treatment and can help between deeper cleans, but a dedicated enzyme or foaming garbage disposal cleaner is generally more effective at breaking down built-up grease along the grind chamber walls, since that’s specifically what it’s formulated to do.
Why does my disposal still smell after I clean it?
Lingering odor after a clean almost always traces back to the splash guard or the drain trap just below the disposal. Fold back the rubber baffle and scrub both sides directly, and if the smell persists, the trap itself may need a manual clean or a call to a plumber.
Is it safe to put ice cubes down a garbage disposal?
Yes. Ice cubes are one of the safest and most effective ways to scour built-up residue off the impellers without using any harsh chemicals, and running a cup through every week or two is a great habit to build.
How do I know if my disposal needs more than cleaning?
If the unit hums but doesn’t spin, leaks from underneath, or trips the breaker repeatedly even after a thorough clean, those are signs of a mechanical issue rather than a buildup problem, and it’s time to consult a professional or consider a replacement.
What’s the difference between disposal cleaner pods and powders?
Pods are pre-measured and dissolve into a foam that clings to the grind chamber walls, making them convenient and mess-free, while powders are often more economical for frequent use and can be adjusted in quantity depending on how dirty the unit is.