A cluttered kitchen counter makes even simple tasks feel harder than they should be. If you’re staring at a bare stretch of laminate or granite wondering where to even begin, you’re not alone – counter organization is one of those projects that seems simple until you actually try to do it well. This guide walks you through everything you need to think about before you buy a single organizer, so your setup actually works for how you cook, not just how it looks in a photo.
Why Counter Organization Matters More Than You Think
Your kitchen counter is the busiest real estate in your home. It’s where meal prep happens, where mail piles up, where the coffee station lives, and where every random gadget ends up “just for now.” When that space isn’t organized around a plan, small annoyances stack up fast: you can’t find the cutting board, the spice jars are buried behind the blender, and every meal starts with ten minutes of shuffling things around.
A well-planned counter setup isn’t about owning fewer things – it’s about giving every item a logical home so your hands know where to reach without thinking. That’s the real goal of this guide: helping you build a system, not just buy products.
Step 1: Audit What You Actually Use
Before buying any organizer, spend a few days paying attention to what you actually reach for. Most kitchens accumulate items that seemed useful once but now just take up space. Separate your counter contents into three groups:
- Daily-use items – knife block, cutting board, coffee maker, dish soap, utensil crock.
- Weekly-use items – stand mixer, toaster oven, cookbook stand, fruit bowl.
- Rarely-used items – specialty appliances, seasonal gadgets, duplicate tools.
Only the first group deserves permanent counter space. Everything else should live in a cabinet, drawer, or pantry shelf – or get donated if it hasn’t been touched in a year. This single step solves more clutter problems than any product purchase ever will.
Step 2: Map Your Counter Zones
Professional kitchen designers plan counters around “zones” tied to specific tasks. Applying the same logic at home makes a huge difference in how smoothly your kitchen flows.
The Prep Zone
This is the open stretch of counter near your sink and stove where chopping, mixing, and assembling happen. Keep this area as clear as possible – it should have almost nothing permanently sitting on it besides a cutting board and maybe a knife block.
The Cooking Zone
Right next to the stove, this area holds items you reach for while actively cooking: oils, salt and pepper, a spoon rest, and frequently used spices. A magnetic strip or small caddy works well here since space is tight.
The Landing Zone
Near the entrance or the spot where mail, keys, and bags get dropped. Contain this with a small tray or basket so it doesn’t spread across the whole counter.
The Appliance Zone
Wherever your coffee maker, toaster, or blender lives permanently. Group appliances together near an outlet so cords don’t cross the whole kitchen.
Step 3: Move Things Off the Counter Entirely
The fastest way to gain counter space isn’t better bins – it’s getting things off the counter altogether. Under-cabinet storage is one of the most underused strategies in home kitchens, and it can reclaim a surprising amount of usable surface.
Mounting storage to the underside of your upper cabinets keeps everyday items within reach without eating into prep space. Under cabinet baskets are a great option for holding produce, bread, or snack items that would otherwise sit in a bowl on the counter. Similarly, cabinet door spice racks let you store your whole spice collection on the inside of a cabinet door instead of lining up jars along the backsplash.
Step 4: Choose the Right Type of Organizers
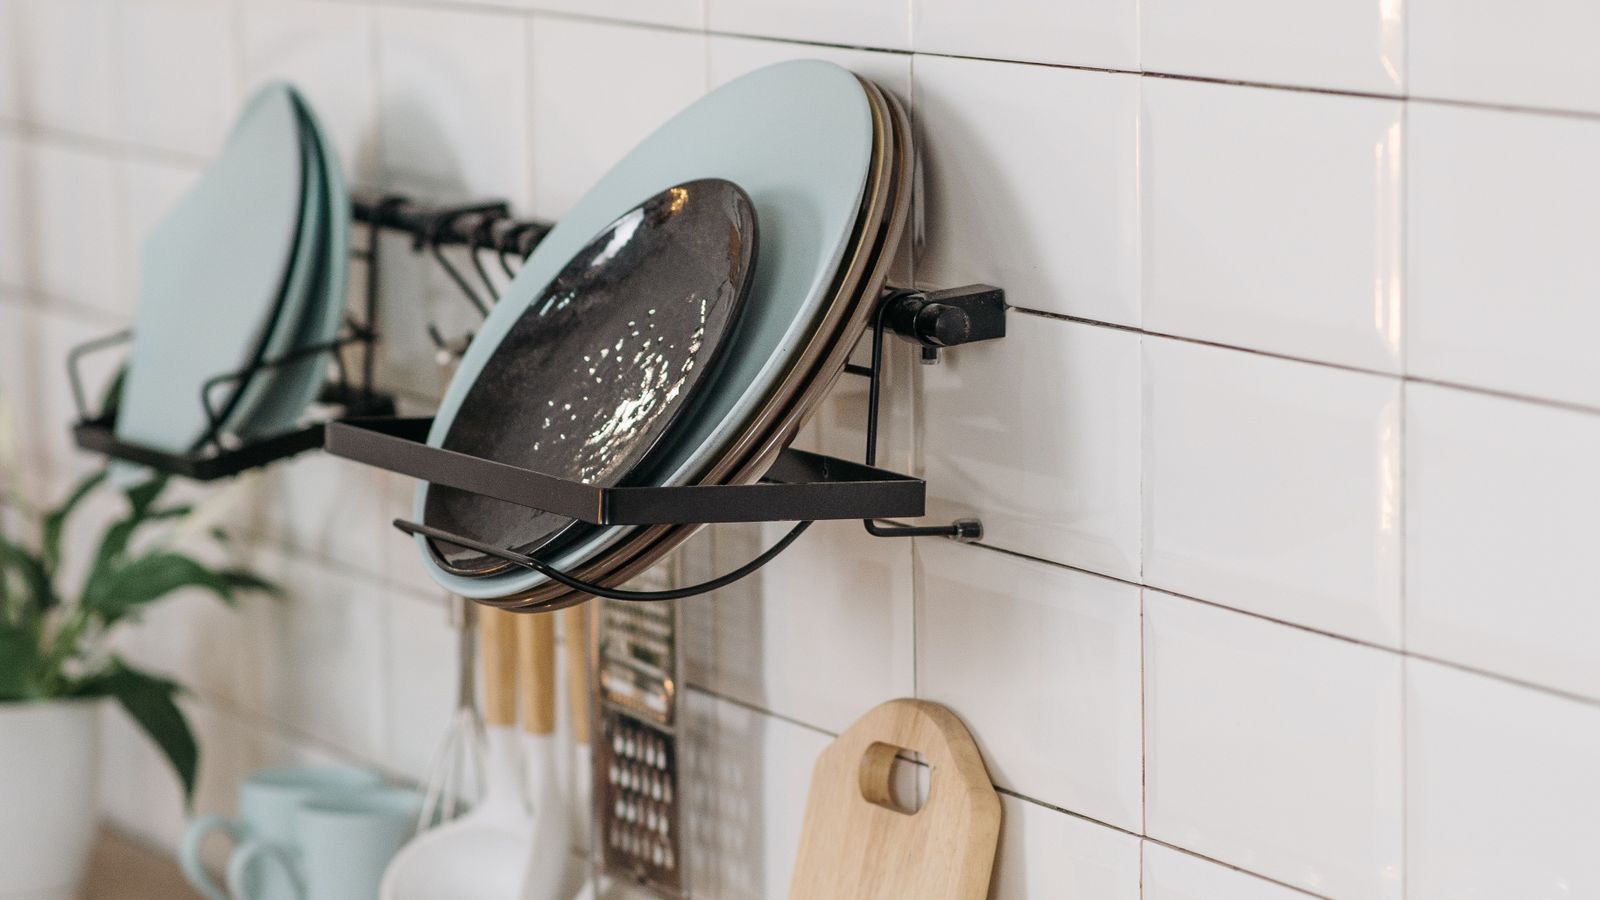
Once you know your zones and have cleared what doesn’t belong, it’s time to think about the tools that will hold everything in place. Not every counter needs the same setup – the right choice depends on your kitchen size, layout, and cooking habits.
Trays and Caddies
A simple tray corrals loose items – oils, hand soap, sponges – into one visually contained area. This is often the single highest-impact, lowest-cost organization move you can make.
Vertical Storage
Anything that stores upward instead of outward saves precious counter footprint. Knife blocks, utensil crocks, and cookbook stands all fall into this category.
Under-Cabinet Add-Ons
As mentioned above, mounted baskets, spice racks, and paper towel holders move everyday items off the counter and onto unused vertical space. If your paper towel roll currently sits on the counter, a mounted holder is worth prioritizing – see our roundup of the best under cabinet paper holders for tested options that clear counter space instantly.
Drawer and Cabinet Inserts
Not strictly “counter” organizers, but essential to the overall system – inserts let you move small tools out of counter caddies and into drawers where they’re just as accessible.
Step 5: Think About Materials and Style
Once function is sorted out, style matters for keeping the space feeling calm rather than chaotic. A few practical tips:
- Stick to two or three materials max (e.g., wood, stainless steel, and ceramic) so the counter doesn’t look like a mismatched collection.
- Choose organizers with a similar color palette to your cabinetry or countertop for a cohesive look.
- Avoid overly ornate pieces on small counters – simple shapes read as more organized even when the amount of stuff is the same.
Step 6: Set a Realistic Budget
You don’t need to buy everything at once. A reasonable staged budget looks like this:
- Starter budget ($20-$50): One tray, one utensil crock, and a basic drawer organizer.
- Mid-range budget ($50-$120): Add under-cabinet storage, a cabinet door spice rack, and a paper towel holder.
- Full setup ($120+): Coordinated matching organizers across every zone, plus premium materials like bamboo or stainless steel.
Starting small and adding pieces as you identify real needs almost always works better than buying a full matching set upfront – you’ll end up with organizers that actually fit your habits instead of a generic bundle.
Common Mistakes to Avoid
- Buying organizers before decluttering. A bin just becomes a new place to hide clutter if you skip the audit step.
- Ignoring your cabinet’s interior space. Under-cabinet and inside-door storage is often the most overlooked resource in a kitchen.
- Choosing organizers that don’t fit your counter depth. Measure before buying – oversized trays and caddies just recreate the clutter problem in a different shape.
- Overdoing appliance storage. Not every small appliance needs to live on the counter permanently; store what you use less than weekly.
Maintaining Your Setup Long-Term
Organization isn’t a one-time project – it drifts back to chaos without a little upkeep. A few habits keep your new setup working:
- Do a five-minute reset at the end of each day, returning items to their designated zone.
- Reassess your setup every few months as your cooking habits change with the seasons.
- Wipe down trays and under-cabinet storage regularly so grease buildup doesn’t discourage you from using them.
Frequently Asked Questions
How much counter space should I leave completely empty?
Aim for at least one clear stretch of at least 2 feet for active food prep. If your kitchen is small, prioritize this over decorative items.
What should never sit on a kitchen counter?
Rarely-used small appliances, mail and paperwork, and duplicate tools are the biggest offenders. Move these to a drawer, cabinet, or designated home office spot.
Is under-cabinet storage worth it for small kitchens?
Yes – it’s often the single best upgrade for small kitchens since it adds storage without consuming any counter footprint at all.
How do I keep my counter organized once it’s set up?
Consistency matters more than perfection. A quick nightly reset, paired with a seasonal review of what’s actually being used, keeps most kitchens from sliding back into clutter.
Small Kitchen vs. Large Kitchen: Different Priorities
Not every kitchen faces the same organizing challenges, and your setup should reflect the amount of space you’re actually working with.
Small Kitchens
In a small kitchen, every inch counts, so vertical and under-cabinet solutions should be your first priority rather than an afterthought. A cabinet door spice rack alone can free up several inches of counter depth that would otherwise be taken up by a spinning spice tower. Compact trays and stackable bins also help since a single large caddy can dominate a small counter and make the space feel even tighter.
Large Kitchens
Bigger counters come with a different trap: it’s easy to let items spread out simply because there’s room. Zoning becomes even more important here, since without clear boundaries a large counter just becomes a bigger surface for clutter to accumulate. Consider using furniture-style dividers, like a designated appliance shelf or a dedicated coffee station, to keep zones visually distinct even across a long run of counter.
Building Your Setup in Stages
Trying to organize an entire kitchen counter in one afternoon usually backfires – you end up buying more than you need and guessing at what will actually work. A staged approach tends to produce a setup that lasts:
- Week one: Complete the audit and remove anything that doesn’t belong on the counter.
- Week two: Add one or two under-cabinet pieces to relocate spices, paper towels, or produce.
- Week three: Introduce trays and caddies to contain what’s left on the counter.
- Week four: Review the whole system, adjust anything that isn’t working, and fine-tune placement based on how you actually moved through the kitchen that month.
This slower pace also protects your budget – you’re only buying pieces once you’ve confirmed a real need for them, rather than guessing upfront.
Final Thoughts
Getting started with a kitchen counter setup doesn’t require a full renovation or an expensive haul of matching containers. It starts with an honest look at what you use, a plan for where things belong, and a willingness to move items off the counter and into smarter storage – especially underused space like the underside of your cabinets. Build your system in stages, stay consistent with small daily habits, and your counter will stay functional and calm long after the initial organizing push.