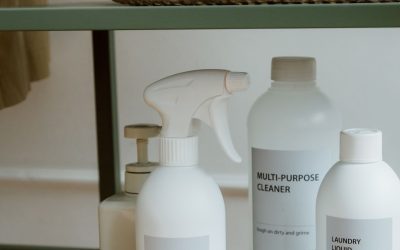
A kitchen counter can have great appliances and still look chaotic if the small details clash. Two of the most overlooked pieces are the under cabinet knife rack and the toaster cover – one hangs above your workspace, the other sits right on it. When their finishes, tones, and shapes don’t agree, the whole counter feels mismatched even if everything else is tidy. Matching these two items is a simple, low-cost way to pull your kitchen together into one cohesive setup.
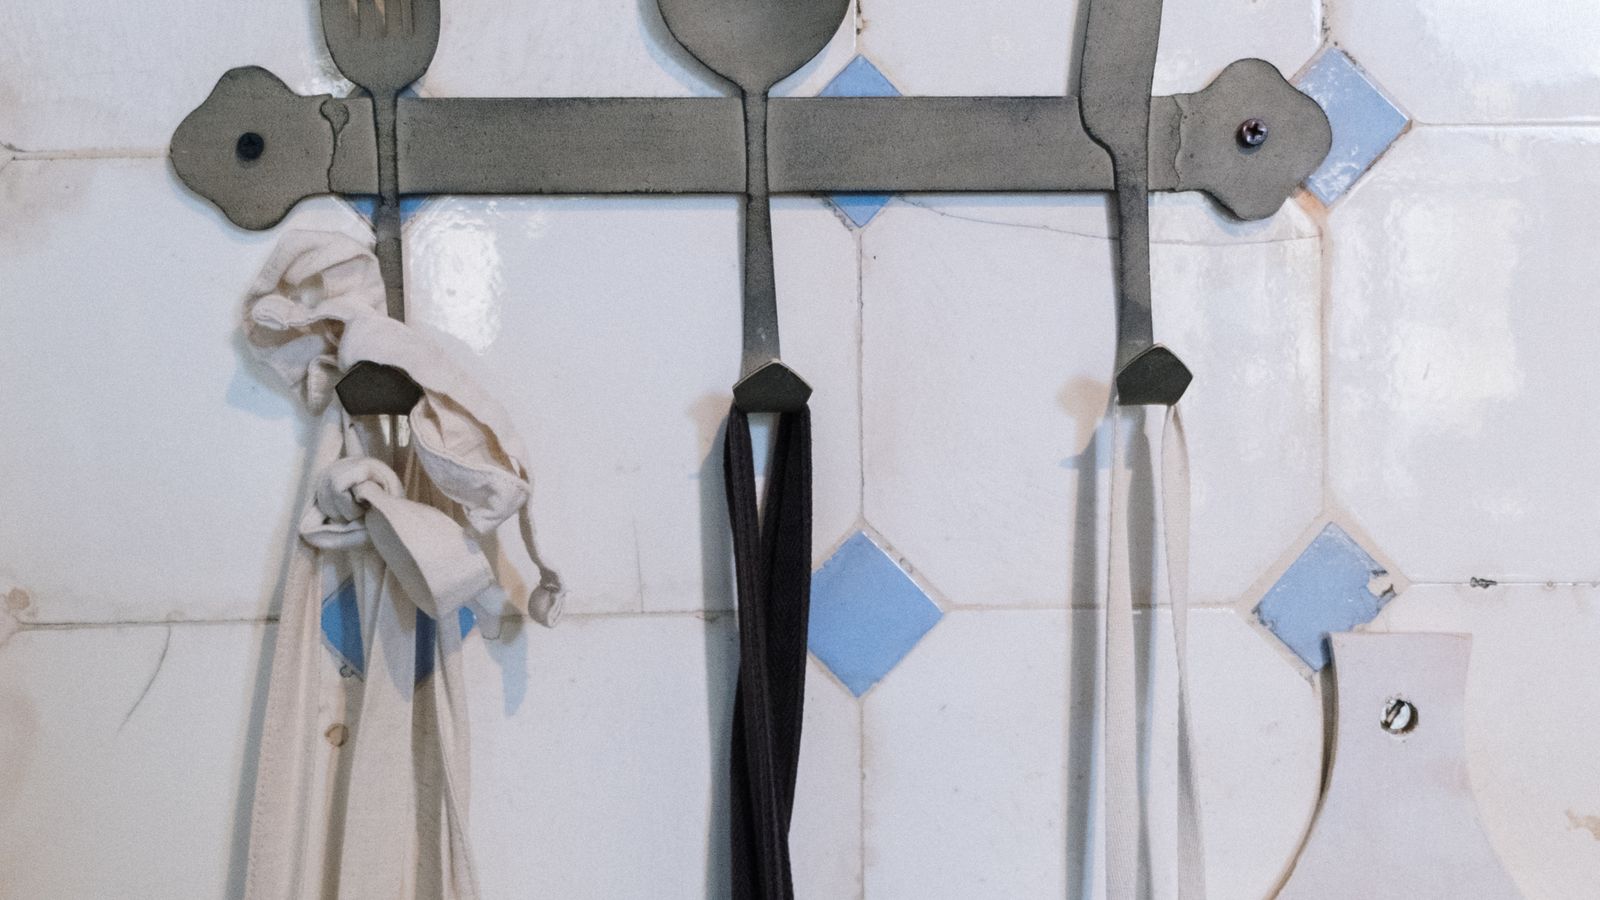
This guide walks through the exact steps for coordinating an under cabinet knife rack and a toaster cover, from identifying your kitchen’s dominant finish to choosing materials that age well together. You don’t need a full remodel – just a clear plan and about 30 minutes of comparison shopping.
What You’ll Need Before You Start
Before buying anything new, gather a few reference points so your decisions are based on your actual kitchen, not guesswork.
- A tape measure, for cabinet clearance and counter space
- Photos of your current cabinet hardware, faucet, and any existing metal fixtures
- Your toaster’s dimensions (width, height, depth) if you already own one
- A notepad or phone note to track finishes you’re considering (stainless, matte black, brushed brass, white, wood)
- Good daylight – finishes that look identical under warm kitchen bulbs can look completely different in daylight
Step 1: Identify Your Kitchen’s Dominant Metal Finish
Every kitchen has a “lead” finish, even if you’ve never thought about it – the metal that shows up most often in cabinet pulls, faucet, and light fixtures. Walk your kitchen and note whether that finish is polished chrome, brushed stainless, matte black, or warm brass/gold. This is the finish your knife rack should echo, since it mounts directly under the cabinets and sits at eye level.
If your fixtures are mixed (say, black faucet with brass pulls), pick whichever finish is closer to your knife rack’s mounting area, since that’s the zone viewers scan first.
Step 2: Choose the Knife Rack Material and Finish
Under cabinet knife racks typically come in three finish families:
- Brushed stainless steel – the most versatile, pairs with almost any counter color and most appliance finishes.
- Matte black – reads modern and bold, works best in kitchens that already lean dark or industrial.
- Natural wood or bamboo – softens a stainless-heavy kitchen and pairs beautifully with warm countertops.
Once you know your dominant finish from Step 1, narrow your search to a rack in that family. If you’re still comparing options, browse under cabinet knife racks to see how different finishes and slot styles look mounted in real kitchens.
Step 3: Pick a Toaster Cover That Echoes the Rack
The toaster cover is your second visual anchor, and it sits at counter level rather than cabinet level, so it needs to relate to the knife rack without being an exact clone. Look for one of these matching strategies:
Same-Finish Matching
If your knife rack is brushed stainless, choose a toaster cover with metallic trim, a stainless snap-button, or a stainless-toned fabric panel. This is the most reliable route for a cohesive look.
Tonal Matching
If your knife rack is matte black, a solid black or charcoal toaster cover (canvas, vinyl, or quilted cotton) reads as a set even without shared metal parts.
Complementary Neutral Matching
For wood-toned racks, a cream, linen, or oatmeal toaster cover keeps the palette warm without forcing an exact material match. Explore a range of styles among toaster covers to compare fabric weights, closures, and trim colors before deciding.
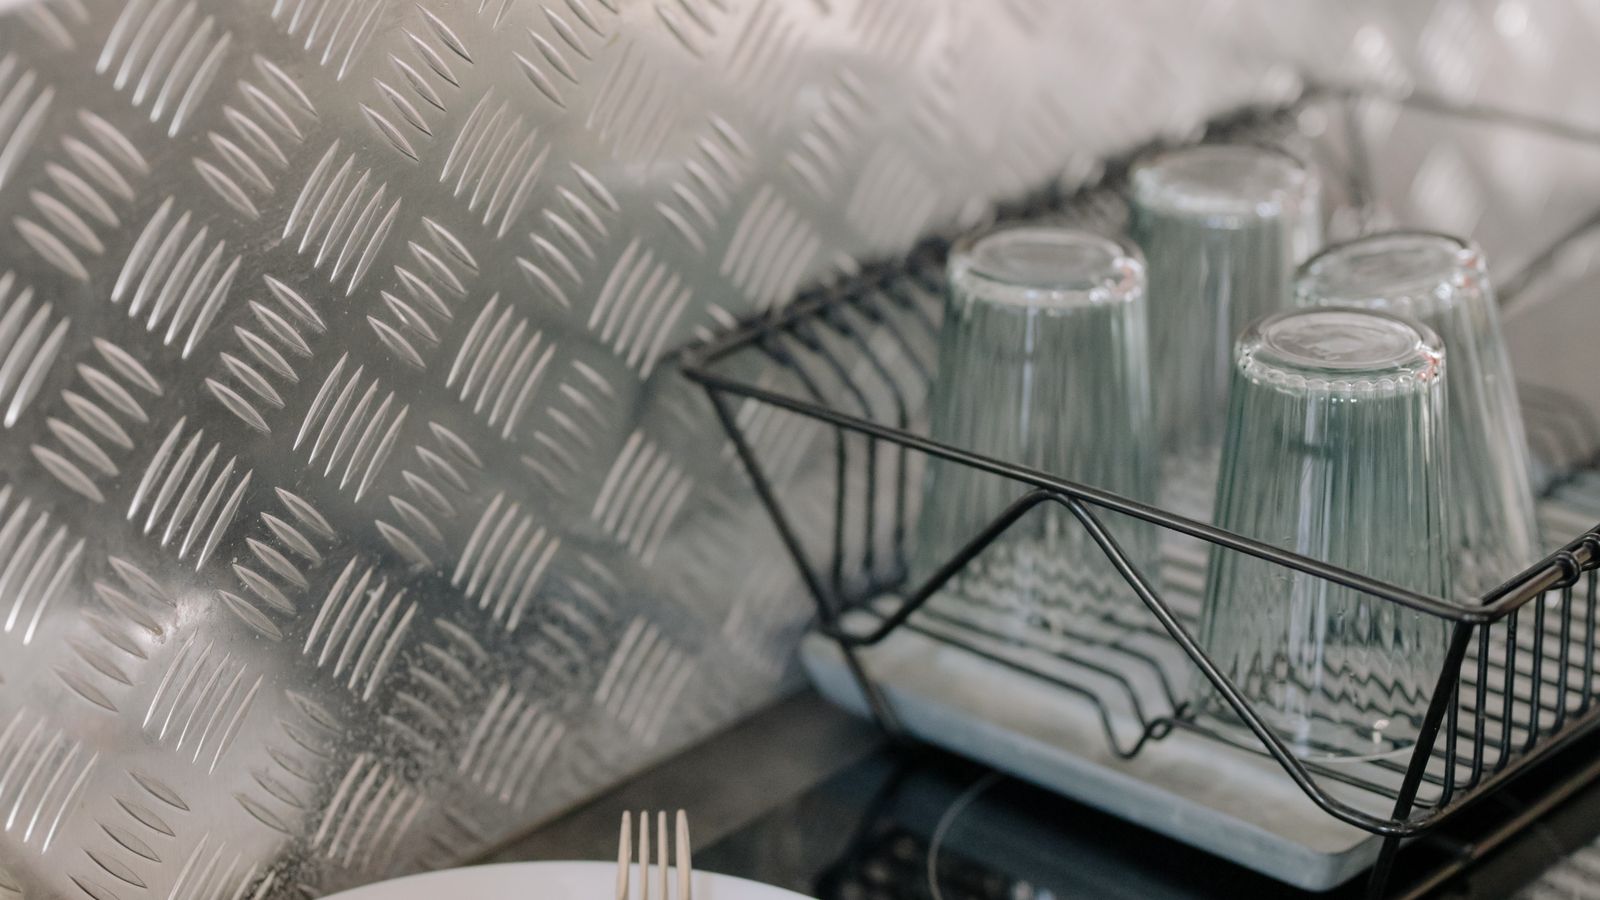
Step 4: Measure Clearance and Placement
Matching finishes only works if the pieces are actually installed well. Measure the vertical distance between your countertop and the bottom of your cabinets before mounting a knife rack – most magnetic strips need at least 3 to 4 inches of clearance below the cabinet to avoid interfering with tall knives or utensils stored underneath. Then measure your toaster’s footprint with its cover on, so it doesn’t crowd the rack’s mounting screws or block a nearby outlet.
Step 5: Mount the Knife Rack
- Mark the mounting position on the underside of the cabinet, centered over the counter zone where knives will be pulled from.
- Pre-drill pilot holes if the rack ships with screws rather than adhesive strips.
- Secure the rack, checking it sits level with a small level or by eye against the cabinet edge.
- Test the mount by hanging your heaviest knife first – it should hold firmly with no wobble.
Step 6: Style the Toaster and Surrounding Zone
- Place the toaster directly beneath or beside the knife rack zone, so the two pieces sit in the same sightline.
- Fit the cover over the toaster when it’s not in use, smoothing out the fabric so seams and trim face forward.
- Step back and view the counter from the entryway of the kitchen – this is the angle guests actually see, and it’s the best test of whether the finishes read as a set.
Common Mistakes to Avoid
- Matching under bad lighting. Warm bulbs can make brass and gold look identical to each other in-store but mismatched at home. Always double-check finishes near a window.
- Ignoring scale. A large, heavy-duty knife rack can visually overwhelm a small toaster cover, or vice versa. Keep proportions balanced with your counter size.
- Overcommitting to a trend finish. Trendy colored finishes can date quickly; neutral stainless, black, or wood tend to stay cohesive with future appliance purchases.
- Mounting too low. A knife rack mounted without enough clearance can catch on tall items stored on the counter, creating a safety hazard as well as a styling issue.
- Forgetting the rest of the wall. If you have other wall-mounted kitchen tools nearby, glance at kitchen wall organizers for options that share the same finish family, so the whole wall – not just the rack – feels intentional.
Safety Notes
Under cabinet knife racks hold sharp blades at a height where hands, and sometimes children, can reach. Mount racks high enough that blades don’t hang below the cabinet edge into open air, and always insert knives blade-up or fully seated according to the manufacturer’s instructions. Unplug the toaster before fitting or removing its cover, and let the toaster cool completely first, since fabric covers placed on a warm appliance can trap heat.
Maintaining the Cohesive Look Over Time
Wipe the knife rack with a soft cloth and mild soap periodically to prevent water spots or fingerprint buildup, especially on stainless finishes. Toaster covers should be spot-cleaned or machine washed per the label, since crumbs and grease can dull fabric color and undercut the coordinated look you worked to build. Revisit your pairing whenever you replace either piece – swapping just the toaster for a new color, for example, is the easiest way to accidentally break a match that took real effort to create.
Frequently Asked Questions
Do the knife rack and toaster cover need to be the exact same finish?
No. An exact match looks intentional but so does a well-planned tonal or complementary pairing. What matters most is that the two pieces don’t compete or clash when viewed together.
Can I match a black knife rack with a stainless toaster?
Yes, if the toaster cover itself carries black trim, black piping, or a black snap closure – the cover becomes the bridge between the two finishes.
What if my kitchen already has mixed metal finishes?
Pick the finish closest to eye level or the one used most often, and build your knife rack and toaster cover pairing around that anchor rather than trying to match everything in the room.
How do I know if my toaster cover fits my toaster properly?
Measure the toaster’s width, height, and depth with slots open (for wide slots), and compare against the cover’s listed dimensions before buying, allowing a small amount of slack for easy on/off use.
Is wood a good choice for a busy kitchen?
Wood knife racks look warm and pair well with cream or linen toaster covers, but they need occasional oiling to resist moisture near a sink or stovetop area.
Final Thoughts
Matching an under cabinet knife rack and toaster cover isn’t about buying a matching “set” off a shelf – it’s about identifying your kitchen’s dominant finish, choosing pieces that echo or complement it, and installing them with enough care that the whole counter reads as one considered space. With the finish identified and a bit of measuring, this is one of the fastest upgrades to make a kitchen counter feel finished.