A cluttered countertop makes even a simple dinner feel like a chore. If your knives are buried in a drawer, your spice jars are toppling over every time you reach for the oregano, and your utensils are scattered across three different crocks, it’s time for a proper kitchen counter setup. The good news is that you don’t need a full renovation – three smart, wall- and cabinet-mounted tools can free up an enormous amount of counter space in an afternoon: a magnetic spice tin system, an under cabinet knife rack, and a kitchen pegboard. This guide walks you through exactly how to plan, prep, and install all three so your counters stay clear and your most-used tools stay within arm’s reach.
Why This Three-Piece Setup Works
Each of these three tools solves a different countertop problem, and together they cover almost everything that normally piles up near the stove and sink:
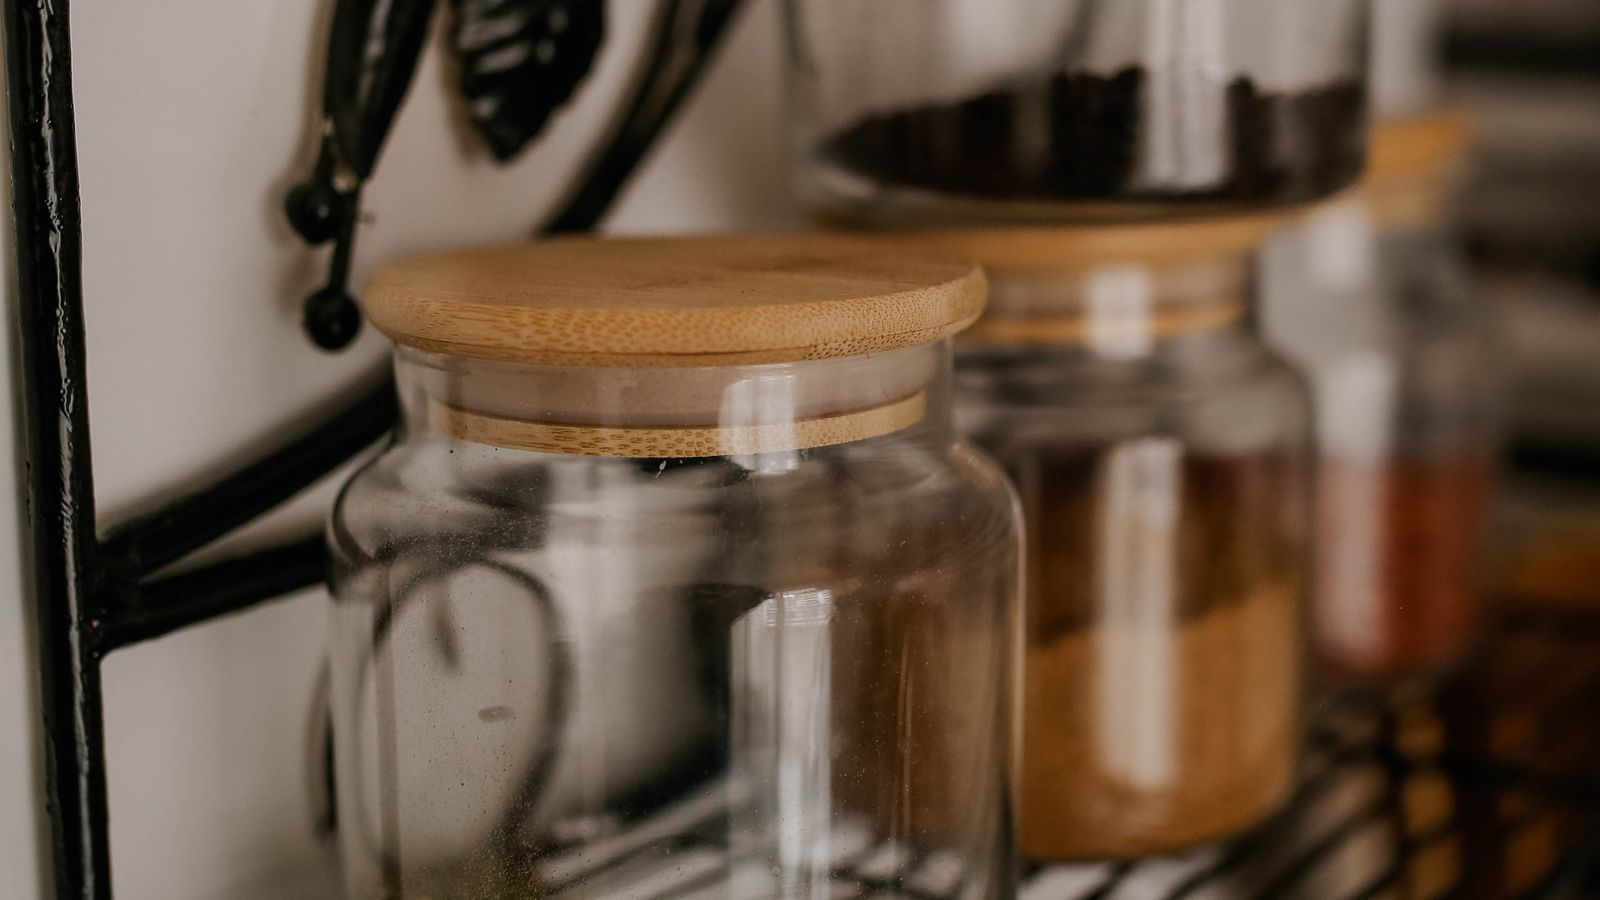
- Magnetic spice tins replace a spinning spice rack or a shelf full of mismatched jars with a slim, vertical strip that sticks to the side of your fridge, range hood, or a mounted steel plate.
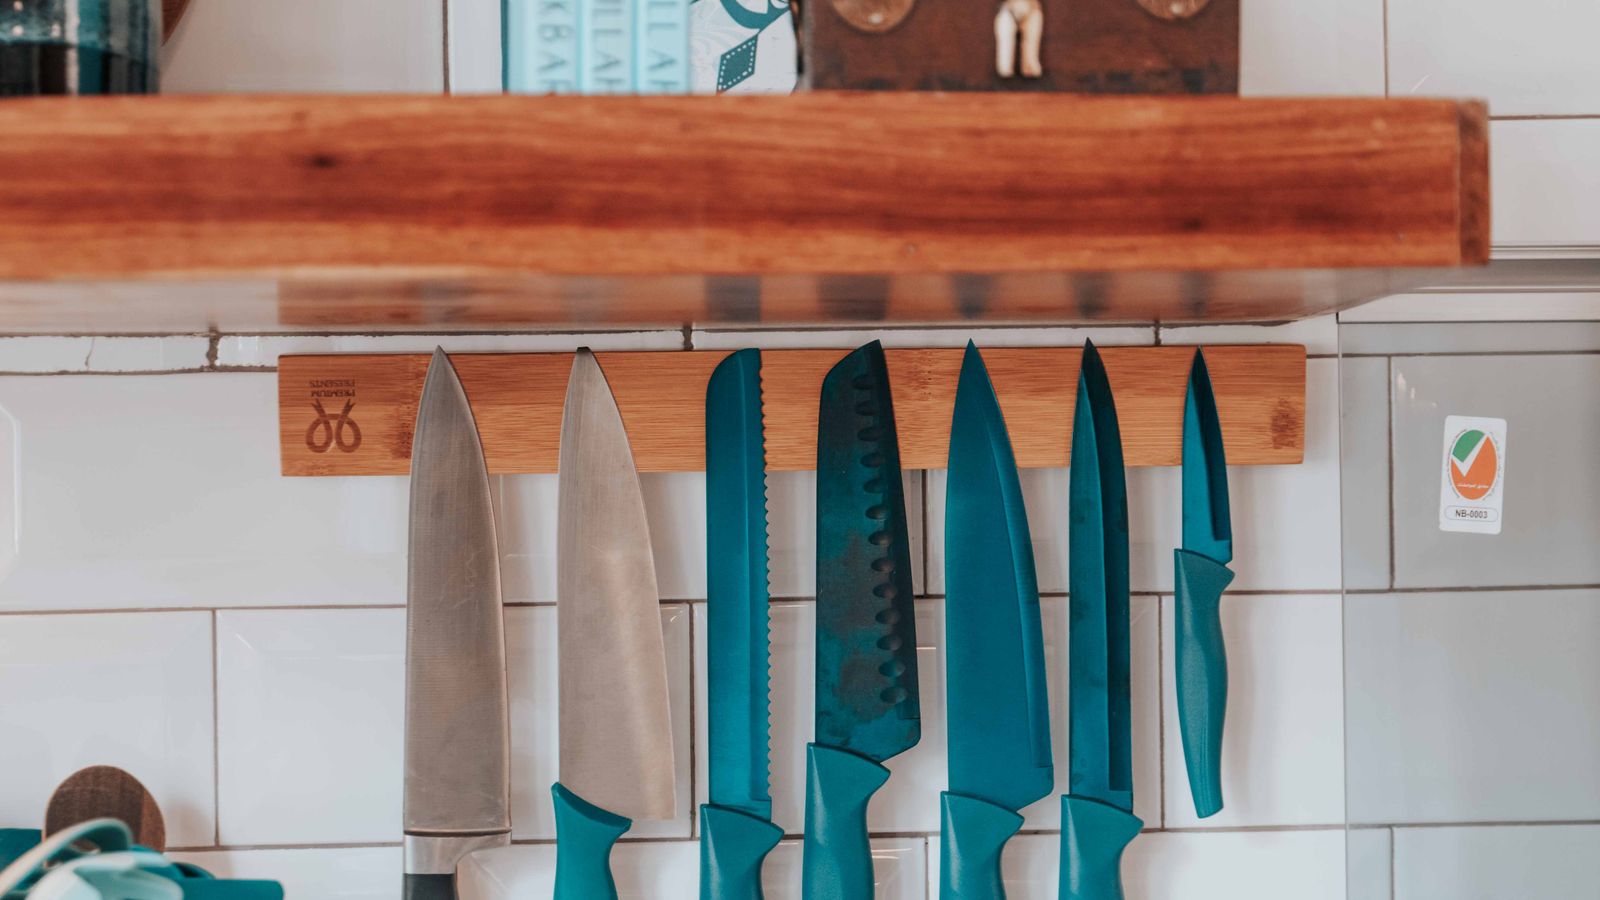
- Under cabinet knife racks get sharp blades off the counter and out of a drawer, mounting a magnetic strip to the underside of your upper cabinets so knives hang blade-up, out of reach of curious hands.
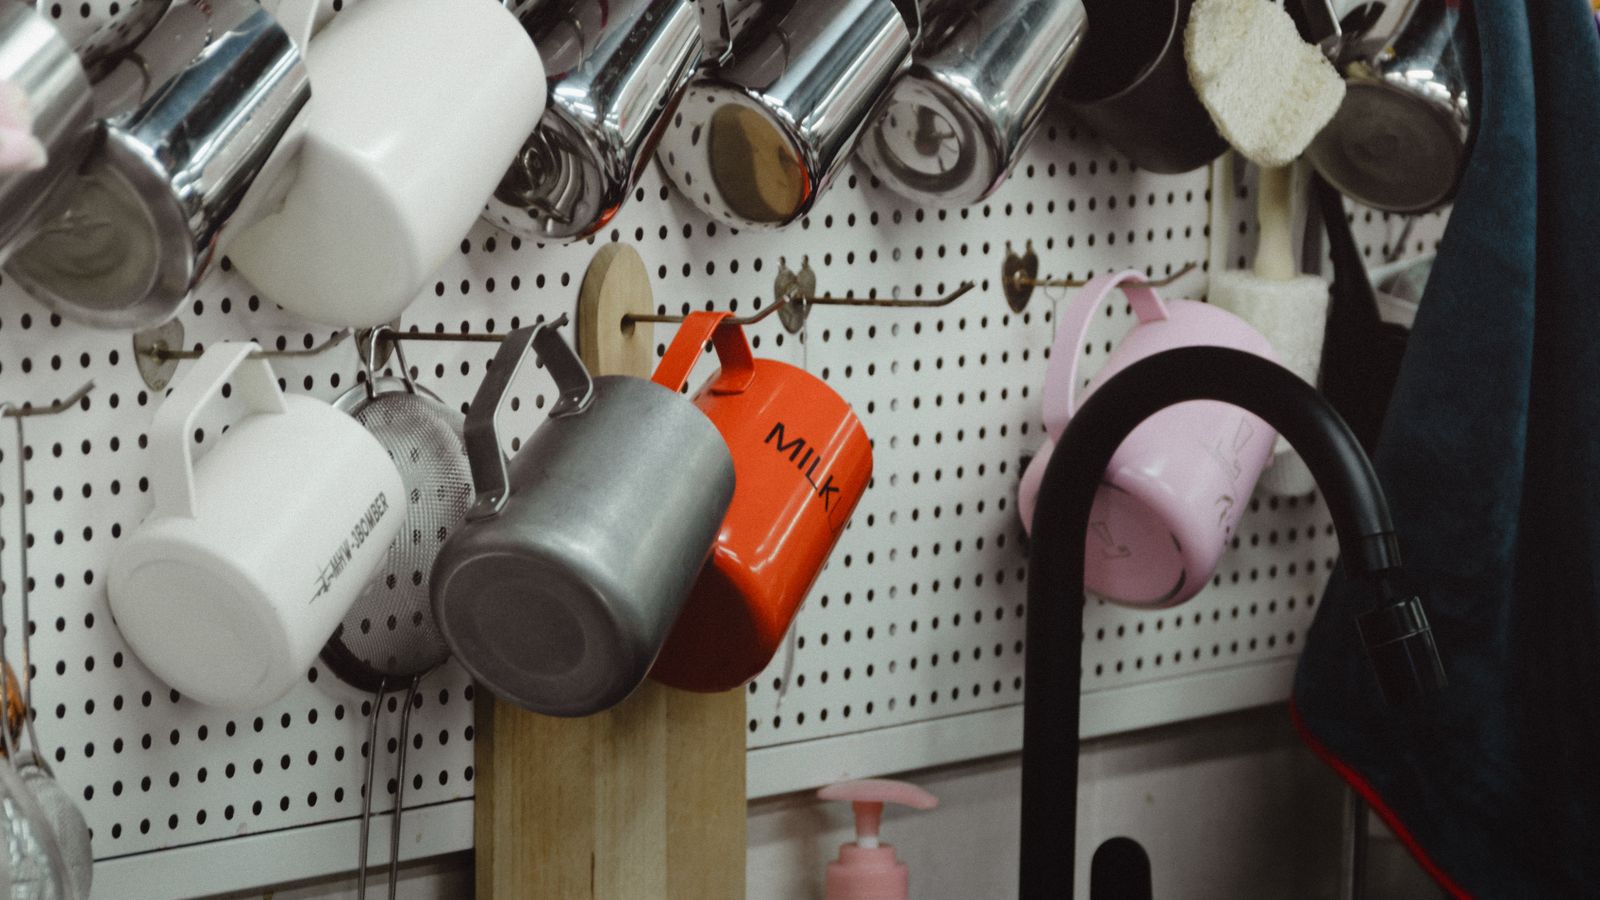
- Kitchen pegboards handle everything else – pots, utensils, cutting boards, oven mitts, even small potted herbs – using a grid of hooks and shelves that you can rearrange as your cooking habits change.
Used together, these three systems can clear 60-80% of the “stuff” that typically sits on a countertop, leaving you with open prep space and a kitchen that actually looks intentional.
Step 1: Plan Your Layout Before You Drill Anything
Before buying a single item, walk your kitchen and figure out three zones:
- The spice zone – usually the wall or cabinet side nearest the stove, within a step of where you cook.
- The knife zone – the underside of an upper cabinet near your main cutting board, ideally over a stretch of counter, not over the sink.
- The pegboard zone – a blank wall section, often between the stove and the fridge, or above a stretch of counter with no upper cabinets.
Measure each zone with a tape measure and sketch a rough layout on paper (or your phone’s notes app). This ten-minute step prevents the most common mistake: buying a pegboard or rack that’s too wide for the space you actually have.
Check for Studs, Cabinets, and Clearance
Use a stud finder to mark the wall studs in your pegboard zone – a full sheet of pegboard loaded with cast iron pans needs solid backing, not just drywall anchors. For the under cabinet knife rack, confirm there’s at least 15-18 inches of clearance between the cabinet bottom and the counter, so a hanging knife doesn’t collide with anything stored below.
What You’ll Need to Buy or Gather
You don’t need a huge toolkit for this project, but having everything on hand before you start saves multiple trips to the hardware store.
- A magnetic spice tin set (tins plus a magnetic wall plate or strip)
- An under cabinet knife rack or magnetic strip rated for your knife collection’s weight
- A kitchen pegboard kit, including hooks, shelves, and a mounting frame or French cleat
- A stud finder, tape measure, pencil, and level
- A drill/driver with appropriate bits, plus wall anchors if you’re not hitting studs
- Painter’s tape (for marking hole positions without damaging paint)
If you’re still comparing products, our roundups of magnetic spice tins, under cabinet knife racks, and best kitchen pegboards break down capacity, mounting styles, and durability so you can pick the right one for your kitchen before you start drilling.
Step 2: Install the Magnetic Spice Tin System
- Choose the surface. Some magnetic spice tin kits come with a metal backing plate that mounts to drywall; others rely on an existing steel surface like the side of a refrigerator or a range hood. Decide which applies to your kitchen before buying.
- Mark the mounting points. Hold the plate or strip in place at a comfortable reaching height (usually 48-60 inches off the floor) and mark screw or adhesive positions with a pencil.
- Mount the plate. If you’re using screws, pre-drill pilot holes and drive them in with a level guiding you. If you’re using an adhesive-backed strip, clean the surface thoroughly with rubbing alcohol first – grease residue is the number one reason these strips fall off within a month.
- Fill and label the tins. Fill each tin no more than three-quarters full so the lid seals properly, and label the top so you can read it from above when the tins are mounted vertically.
- Arrange by frequency of use. Put your most-used spices – salt, pepper, garlic powder, paprika – at eye level, and reserve the top or bottom rows for spices you reach for less often.
Step 3: Mount the Under Cabinet Knife Rack
- Locate the mounting position. Measure the underside of the cabinet you chose and mark the center point, leaving at least 2 inches of clearance from the cabinet’s front edge so knife handles don’t collide with the door when it opens.
- Pre-drill pilot holes. Most under cabinet knife racks mount with two to four screws directly into the cabinet bottom. Pre-drilling prevents the thin cabinet material from splitting.
- Secure the rack. Drive the screws in evenly, checking that the rack sits flush and doesn’t wobble when you tug on it – a loose rack with knives attached is a real safety hazard.
- Hang knives blade-up, spine-down. Always mount blades with the sharp edge facing up and away from where hands naturally reach underneath, and space them so blades don’t touch each other.
- Test the hold. Give each knife a gentle downward tug once mounted. If any knife slides or feels loose on the magnet, reposition it closer to the strongest part of the strip (usually the center).
Step 4: Build Out the Kitchen Pegboard
- Mount the frame or panel. Attach mounting strips or a French cleat to the wall studs you marked earlier, then hang the pegboard panel so it sits flush and level.
- Start with your heaviest items. Position hooks for pots, pans, and cutting boards first, since these need the strongest anchor points and the most spacing.
- Fill in utensils and smaller tools. Add hooks for spatulas, whisks, ladles, and towels around the heavier items, grouping similar tools together so you can find things by habit rather than searching each time.
- Add a shelf if your kit includes one. A small pegboard shelf is ideal for a cutting board, a small potted herb, or a stack of bowls that doesn’t have its own hook-friendly handle.
- Step back and adjust. Live with the initial layout for a few days of real cooking, then move hooks around – pegboards are designed to be reconfigured as your habits become clear.
Safety Notes
- Keep the knife rack positioned so blades don’t hang directly over a walkway or a spot where a child could reach up.
- Never mount a loaded pegboard, spice plate, or knife rack using only adhesive strips if the combined weight exceeds the manufacturer’s stated limit – use screws into studs for anything holding cast iron or a full knife set.
- Recheck all three installations after the first week; screws in cabinet bottoms and drywall anchors can loosen slightly as they settle under daily use.
- Wipe magnetic surfaces and knife strips periodically – grease buildup near the stove reduces magnetic hold over time.
Common Mistakes to Avoid
- Skipping the stud finder. A heavy pegboard loaded with cast iron pans and a drywall anchor alone is a recipe for a wall repair project.
- Mounting the spice rack too far from the stove. If reaching a spice takes more than one step, you’ll end up setting a jar back on the counter out of habit – defeating the whole point.
- Overcrowding the knife strip. Cramming knives too close together makes it easy to nick a knuckle when removing one. Leave at least an inch of breathing room between blades.
- Ignoring cabinet door clearance. Always open nearby cabinet doors and drawers after mounting to confirm nothing collides with the new hardware.
- Buying oversized hardware for a small kitchen. A pegboard or knife rack that dwarfs your available wall space just becomes a new kind of clutter.
Maintaining Your New Counter Setup
Once everything is mounted, a little routine upkeep keeps the system working well:
- Refill spice tins before they run completely empty.
- Wipe down the knife strip and blades weekly, especially near a stove where grease and steam collect.
- Rotate pegboard hooks seasonally as your cooking habits shift.
- Re-tighten any screws that feel loose rather than waiting for something to fall.
Frequently Asked Questions
Do I need to hit a wall stud for all three installations?
Not always. A magnetic spice plate or a lightweight knife strip can often use quality drywall anchors, but a fully loaded pegboard carrying pots and cast iron should be anchored into studs or a French cleat rated for the total weight.
Can I install these without drilling into cabinets or walls?
Some magnetic spice tin kits and lightweight knife strips offer adhesive-mount versions, which work well on smooth, grease-free surfaces for lighter loads. For a pegboard carrying cookware, a drilled mount is far more reliable long-term.
How much wall or cabinet space do I actually need?
A basic setup can fit in a surprisingly tight footprint: about 12-18 inches of wall for a spice strip, 12-16 inches under a cabinet for a knife rack, and a 2×2 foot section of open wall for a starter pegboard.
Is it safe to store knives on a magnetic strip with kids in the house?
Mount the strip high enough that children can’t reach it, and always hang knives with the blade pointed up and away from the edge where hands would naturally grab.
What if my kitchen has no open wall space for a pegboard?
Look for a narrow vertical strip of wall next to the stove or fridge – many pegboard kits come in slim panel sizes specifically for tight kitchens, so you don’t need a full 4-foot sheet to get useful storage.
Final Thoughts
A clear countertop isn’t about owning less – it’s about giving every tool a dedicated home so it’s easy to grab and easy to put away. Installing a magnetic spice tin system, an under cabinet knife rack, and a kitchen pegboard together tackles the three biggest sources of counter clutter in one weekend project. Take the time to plan your layout, find your studs, and mount each piece securely, and you’ll end up with a kitchen that’s not only tidier but genuinely faster to cook in.