An instant hot water dispenser is one of those kitchen upgrades you stop noticing until it stops working. Tea, oatmeal, French press coffee, and quick soup broths all get faster with near-boiling water on tap, but that convenience depends on a small internal tank, a heating element, and a handful of mineral-prone parts that need regular attention. Skip the maintenance and you will eventually get slow flow, lukewarm water, a rattling tank, or a dispenser that simply refuses to heat at all. With a simple routine, most units can run reliably for many years.
This guide walks through what a hot water dispenser actually needs, how often to do it, the tools involved, and the mistakes that shorten a unit’s lifespan the fastest.
Why Maintenance Matters More Than You’d Think
Instant hot water dispensers work by holding a small reservoir of water at a set temperature, usually somewhere between 190°F and 212°F, ready to release the moment you press the lever or button. That constant heat cycle, combined with whatever minerals are in your tap water, means scale builds up inside the tank and along the internal tubing faster than in an appliance that only heats water occasionally. Left unchecked, scale insulates the heating element, forcing it to work harder and use more energy, and it can eventually clog the narrow spout, dropping flow to a trickle.
Beyond scale, dispensers accumulate mineral crust on the spout tip, dust and grease around the base, and in some models, a small charcoal filter that needs periodic replacement. None of this is difficult to manage, but it does need to happen on a schedule rather than only when something visibly goes wrong.
What You’ll Need Before You Start
Gather these supplies so you are not stopping mid-task to search a cabinet:
- White vinegar or a food-safe descaling solution
- Distilled water (helpful for the final rinse in hard-water areas)
- A soft microfiber cloth and a small soft-bristle brush (an old toothbrush works well)
- A container that can hold at least 32 ounces of hot liquid
- Mild dish soap
- Your dispenser’s manual, if you still have it, for model-specific tank-access instructions
Always unplug the unit before opening any panel or removing the spout, and let the internal water cool for at least 20 minutes if you have recently used it. The tank holds water at near-boiling temperatures, and even a small splash can cause a burn.
Step-by-Step: Cleaning and Descaling Your Dispenser
Most manufacturers recommend descaling every 1 to 3 months if you have hard water, or every 3 to 6 months with soft water. If you notice slower flow, a hissing sound during heating, or a metallic taste, descale immediately regardless of schedule.
1. Unplug and Cool the Unit
Switch off and unplug the dispenser at the outlet. Wait until the reservoir is no longer hot to the touch before proceeding.
2. Empty the Tank
Dispense any remaining water into a heat-safe container until the flow stops or the tank light indicates empty. Some countertop models have a drain valve on the back or underside; check your manual for the exact location.
3. Prepare the Descaling Solution
Mix equal parts white vinegar and water, or follow the ratio on a commercial descaler labeled safe for drinking-water appliances. Avoid bleach or harsh chemical cleaners, which can damage internal seals and leave a residue that is unsafe to ingest.
4. Run the Solution Through the System
Pour the solution into the reservoir up to the fill line, then let it sit for 15 to 20 minutes without powering the unit on. This gives the acid time to break down mineral deposits clinging to the tank walls and heating element.
5. Flush Thoroughly
Dispense the solution out completely, then refill the tank with plain water and dispense that through as well. Repeat the plain-water flush at least twice more to ensure no vinegar taste or residue remains before the unit is used for drinking water again.
6. Wipe Down the Exterior and Spout
Use a damp microfiber cloth on the housing, and a soft brush dipped in warm soapy water to clear any visible mineral crust around the spout tip. Dry everything before plugging the unit back in.
7. Restart and Test
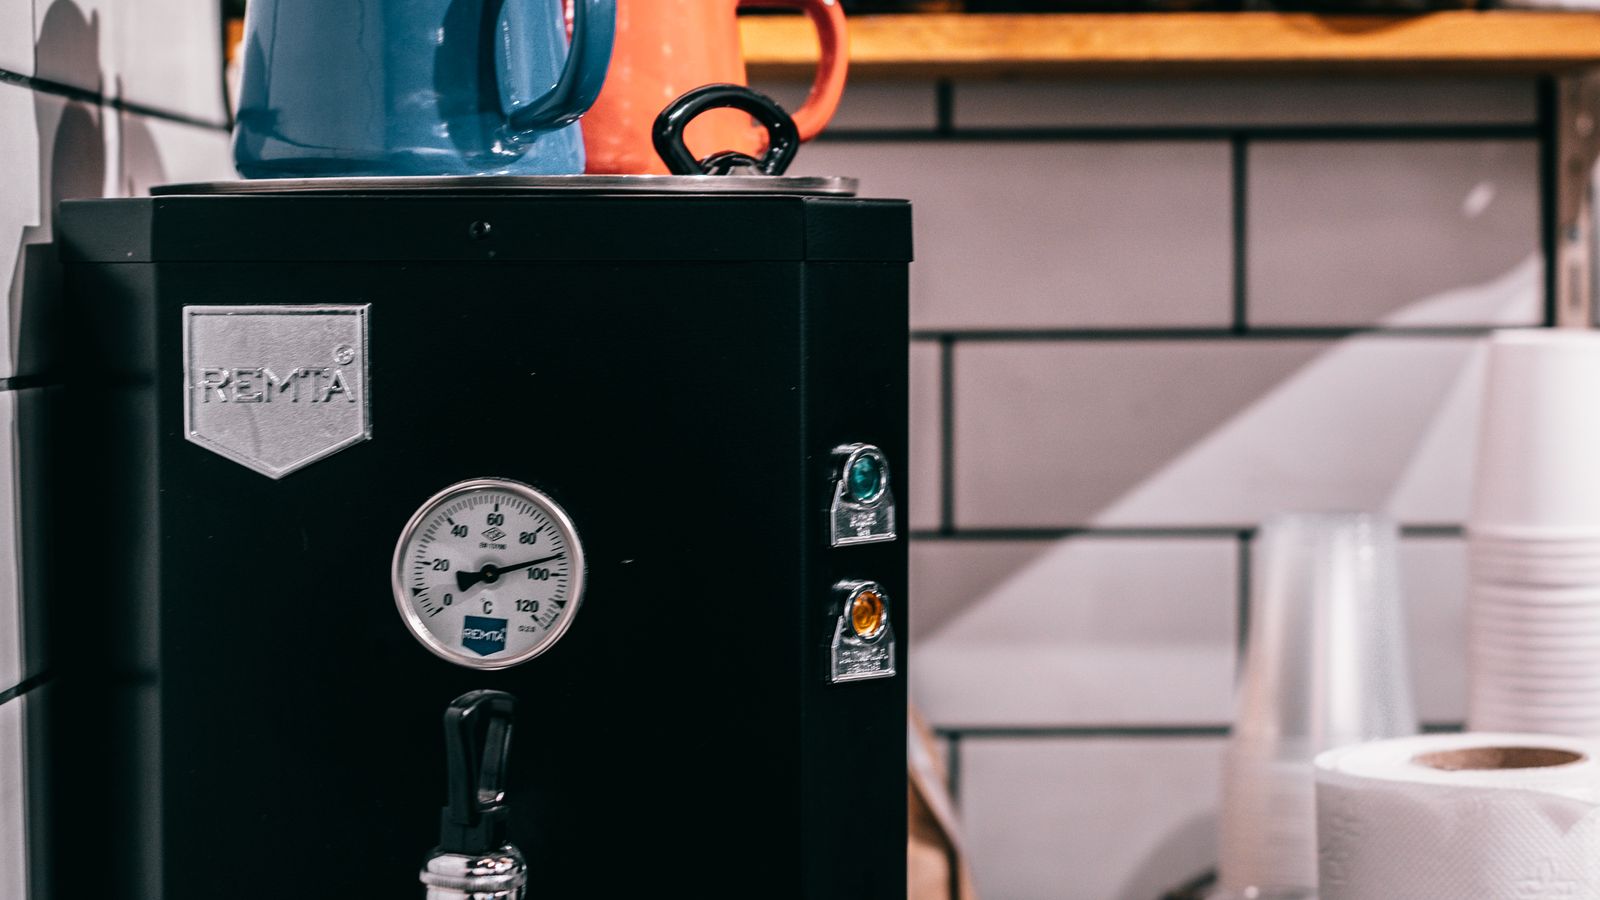
Plug the unit back in, allow it to reach full temperature (this typically takes 10 to 15 minutes), and dispense a test cup to confirm flow rate and taste are back to normal.
Filter Replacement, If Your Model Has One
Some higher-end dispensers include an inline carbon or sediment filter that reduces chlorine taste and fine particulate before the water reaches the tank. If yours does, check the manual for a recommended replacement interval, commonly every 3 to 6 months, and mark it on a calendar. A saturated filter does not usually stop the unit from working, but it stops doing its job silently, so you will not get a warning beyond a gradual change in taste.
Everyday Care Habits That Extend Lifespan
- Use filtered or softened water when possible. This is the single biggest factor in how fast scale builds up. If your home has notably hard water, consider running the dispenser’s inlet through a basic water softening or filtration setup, similar to what pairs well with water coolers in hard-water households.
- Wipe the spout after each use if you tend to see mineral spotting quickly. Thirty seconds with a cloth prevents a hardened crust that is much harder to remove later.
- Avoid unplugging and replugging repeatedly. Constant power cycling stresses the heating element more than leaving the unit on standby, since most models are designed for continuous low-power heat maintenance.
- Keep the unit away from grease splatter. Position it away from the stovetop or fryer if your kitchen layout allows, since grease buildup on the base vents can affect airflow and cooling.
- Check the drip tray weekly. A neglected tray can overflow, causing water to pool near the base and, over time, corrode the housing or nearby outlet.
Common Mistakes That Shorten a Dispenser’s Life
- Skipping descaling until flow noticeably slows. By that point, scale has usually already coated the heating element, requiring a longer and more aggressive cleaning cycle than routine maintenance would have.
- Using the wrong cleaning agent. Bleach, ammonia-based cleaners, or anything not labeled food-safe can degrade internal gaskets and leave a taste or residue behind.
- Ignoring unusual sounds. A popping, hissing, or knocking noise during heating often signals scale buildup on the heating element and should prompt an immediate descale rather than being written off as normal operation.
- Leaving the tank empty for extended periods. Some heating elements are designed to always be submerged; running the unit dry, even briefly, can damage the element on certain models. Check your manual before dispensing the tank fully empty for cleaning.
- Forgetting to check the power cord and outlet. A frayed cord or a loose-fitting outlet connection is a fire risk that has nothing to do with the water system but is just as important to catch early.
When Maintenance Isn’t Enough
Even a well-maintained dispenser will eventually reach the end of its service life, typically somewhere between 5 and 10 years depending on usage and water quality. Signs it is time to consider a replacement rather than another repair include a tank that no longer holds temperature consistently, visible corrosion on internal components after opening the housing, or a heating element that fails again shortly after being descaled. If you are shopping for a new unit, comparing current instant hot water dispensers side by side is a useful way to see which models prioritize easier tank access and lower-maintenance designs, since some manufacturers have moved toward tool-free descaling ports specifically to make this routine simpler.
If you are renovating a kitchen and considering how the dispenser fits into your broader appliance layout, it is also worth reviewing options like best downdraft cooktops for the same countertop zone, since dispenser placement relative to heat and grease sources directly affects how often you will need to clean the unit’s exterior.
Frequently Asked Questions
How often should I descale my hot water dispenser?
Every 1 to 3 months with hard water, and every 3 to 6 months with soft or filtered water. If flow slows or you hear unusual sounds during heating, descale right away regardless of the calendar.
Can I use bottled or filtered water instead of tap water?
Yes, and it is one of the easiest ways to reduce scale buildup. Filtered water still contains some minerals, but generally far less than untreated tap water, which means less frequent descaling.
Is it safe to use vinegar in a drinking-water appliance?
Yes, as long as you flush the system thoroughly afterward. Two to three plain-water rinses after descaling should remove any lingering taste or acidity before the unit is used again for drinking water.
Why does my dispenser take longer to heat up than it used to?
This is almost always a sign of scale coating the heating element, which insulates it and reduces heating efficiency. A thorough descale typically restores normal heat-up times.
Should I unplug my dispenser when I’m away for an extended period?
Yes. If you will be away for more than a few days, unplug the unit and empty the tank to avoid stagnant water sitting for long periods, which can affect taste and, in rare cases, promote bacterial growth.
Final Thoughts
A hot water dispenser rewards a small amount of regular attention with years of reliable, on-demand convenience. Descaling on a schedule, using filtered water where practical, and paying attention to early warning signs like slow flow or unusual sounds will keep the internal components from wearing out prematurely. When a unit does eventually reach the end of its useful life, the maintenance habits you built along the way will make the transition to a new dispenser, and the ongoing care of it, that much easier.