Pairing an undermount sink with a touchless kitchen faucet is one of the smartest upgrades you can make during a kitchen renovation, but getting the two to work together takes more planning than picking whichever styles catch your eye. The sink’s mounting style, bowl configuration, and deck space all affect where the faucet can sit and how it performs, while the faucet’s sensor placement and reach need to match the sink’s basin size so water actually lands where you want it. Rush this pairing and you risk drilling holes in the wrong spot, splashing water outside the basin, or ending up with a faucet that towers awkwardly over a shallow sink. This guide walks through the entire matching process step by step, from measuring your cabinet base to finalizing finishes, so your renovation plan comes together as one cohesive, functional design.
Why Undermount Sinks and Touchless Faucets Pair So Well
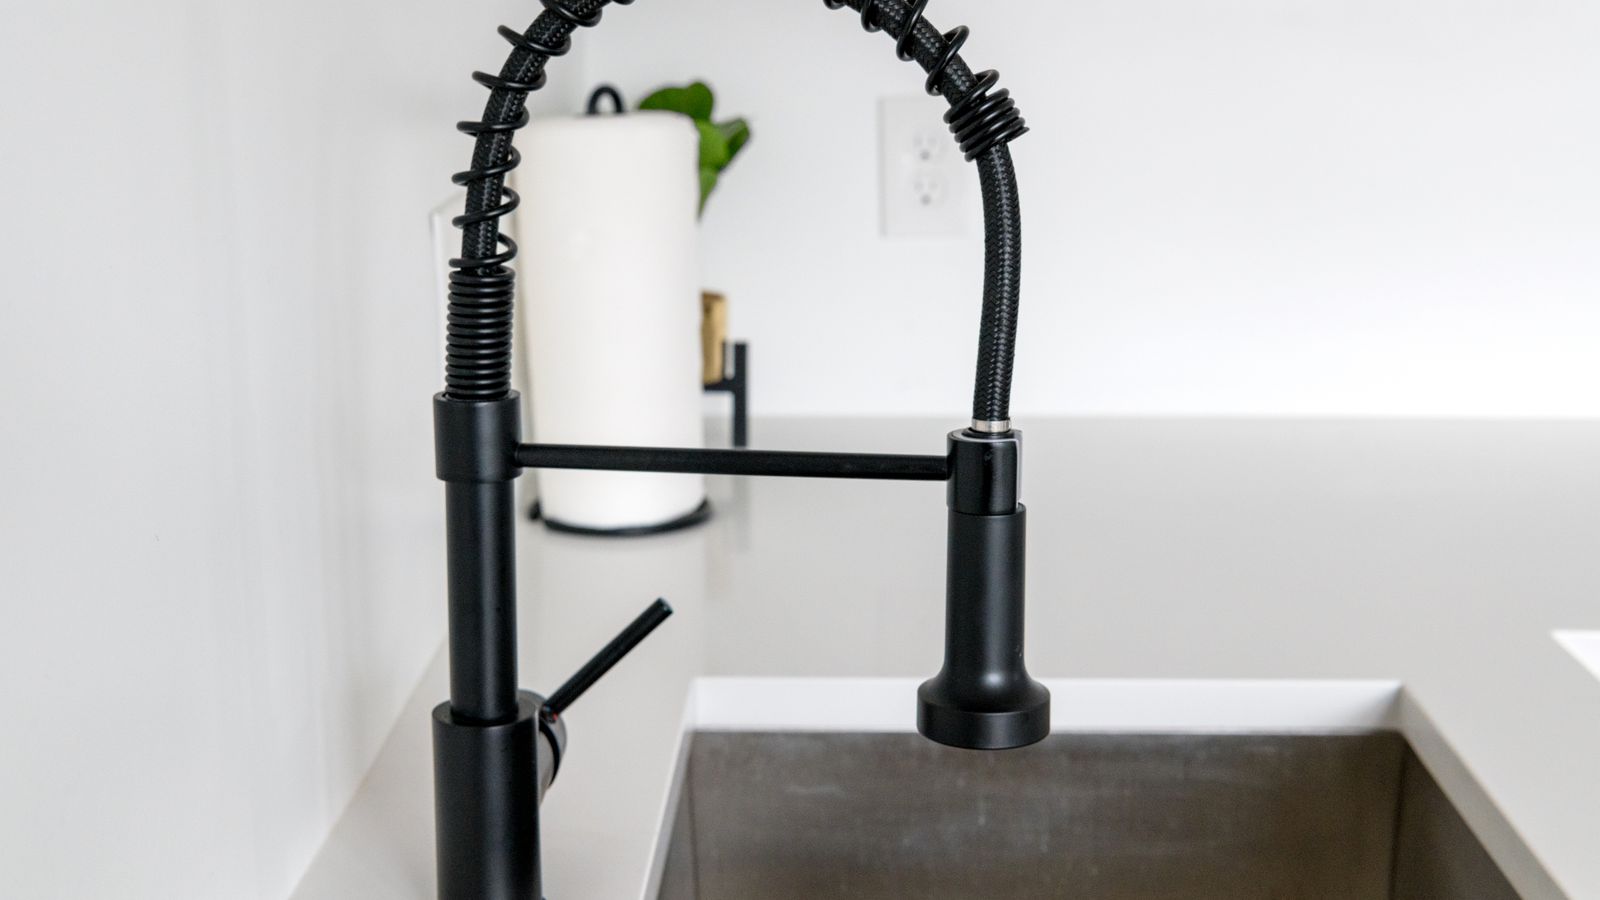
Undermount sinks mount beneath the countertop, leaving no raised rim to catch crumbs or water. That clean, seamless edge is exactly what makes a touchless faucet look intentional rather than tacked on – there’s no lip interrupting the line from counter to basin, so the faucet becomes the visual focal point of the whole setup. Functionally, the combination also makes sense: touchless faucets are prized for keeping countertops and cabinet edges free of drips and fingerprints, and an undermount sink’s smooth transition means any water that does splash wipes straight off the counter into the bowl instead of pooling against a rim. Together they create a kitchen sink area that is easier to keep clean, more hygienic during food prep, and considerably more attractive when your renovation is finished.
Step 1: Measure Your Cabinet Base and Countertop Cutout
Before shopping for either fixture, measure the interior width and depth of the sink base cabinet. Undermount sinks need at least an inch or two of clearance on each side for mounting clips and silicone sealant, so a sink that is too wide for the cabinet won’t work no matter how much you like it. Note the cabinet’s depth as well, since a large single-basin sink paired with a deep counter can push the faucet mounting holes farther back than a touchless model’s sensor range comfortably allows.
- Measure the cabinet’s interior width, depth, and height with a tape measure, recording the smallest clearance point (often near plumbing or a center stile).
- Check whether your countertop material – laminate, quartz, granite, or butcher block – needs a template cut before the sink arrives, since undermount installation requires the countertop fabricator to cut and finish the exposed edge.
- Decide where the faucet holes will go: most undermount setups place them in the countertop behind the sink rather than on the sink deck itself, since undermount sinks have no deck to drill into.
If your countertop material is still undecided, laminate remains a budget-friendly option that pairs fine with an undermount sink as long as the edge is properly sealed; browsing best laminate countertops can help you compare finishes that hold up well around a wet sink area.
Step 2: Choose the Sink Configuration First
Match the faucet to the sink, not the other way around – the sink’s footprint dictates far more of the layout. Decide on single-basin versus double-basin, bowl depth, and overall width before you fall in love with a specific faucet model.
Single-Basin vs. Double-Basin
A single large basin gives a touchless faucet a wide, unobstructed landing zone, which is ideal if you rinse oversized pots or sheet pans often. Double-basin sinks split that space, so the faucet needs a swiveling or centered spout that can reach both sides without you manually repositioning it, since the whole point of touchless operation is hands-free convenience.
Bowl Depth
Deeper bowls (9 to 10 inches) reduce splash but require a faucet with enough clearance height to fit large stockpots underneath. Shallower bowls (7 to 8 inches) work with almost any faucet height but splash more easily, so pairing a shallow bowl with a high-arc gooseneck faucet can send water over the edge if the flow isn’t adjusted.
For side-by-side comparisons of bowl depths, gauges, and finishes, reviewing a roundup of undermount sinks is a fast way to narrow down which configuration fits your renovation goals before committing.
Step 3: Match Faucet Height and Reach to the Basin
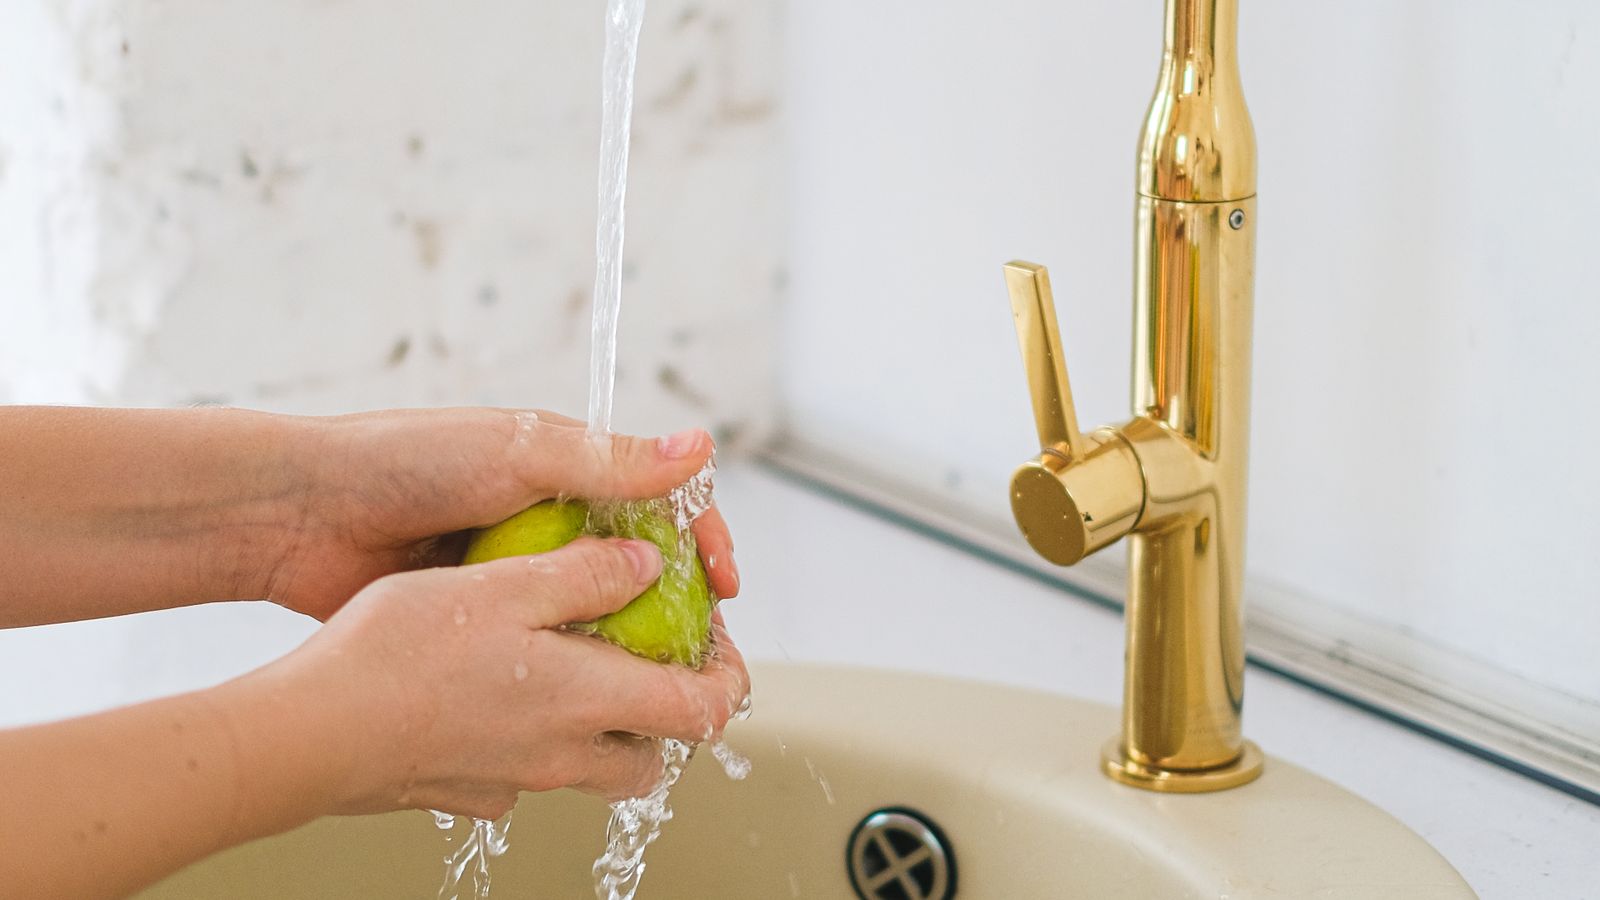
Once the sink is selected, measure from the back of the basin to the front edge and from the basin floor to the countertop surface. A high-arc touchless faucet (typically 15 to 18 inches tall) suits deep, wide single basins where you need clearance for tall pots. A lower-profile or semi-professional pulldown touchless faucet suits double basins or shallower sinks, since its shorter arc keeps water centered rather than spraying near the basin’s edge.
- Spout reach: The spout should extend far enough to hover over the center of the basin (or reach both basins in a double-bowl sink) without crowding the back wall or a window above the sink.
- Sensor placement: Touchless faucets sense motion at the spout tip or along the neck; confirm the sensor won’t be triggered constantly by a nearby dish rack or soap dispenser splashing water near it.
- Deck plate needs: Many touchless faucets ship with a single hole and an optional deck plate for extra holes (soap dispenser, side sprayer). Decide on that layout before the countertop is cut, since retrofitting extra holes afterward is expensive.
To see how different touchless models handle sensor range, spout height, and flow control, browsing touchless kitchen faucets is a useful reference point while finalizing your renovation plan.
Step 4: Coordinate Finishes and Materials
A cohesive kitchen renovation depends on the sink and faucet reading as a matched set, not two separate purchases. Stainless steel sinks pair naturally with stainless or chrome faucets, while a matte black or brushed gold faucet can look striking against a stainless sink if the rest of the kitchen’s hardware (cabinet pulls, light fixtures) repeats that same accent finish. Composite granite or fireclay sinks in white or dark gray tend to pair well with almost any faucet finish, giving you more flexibility if you’re still deciding on hardware elsewhere in the kitchen.
Keep gauge and material durability in mind too – an 18-gauge stainless sink resists dents better than a thinner 22-gauge option, and a faucet with a solid brass body will outlast a plastic-core model even if the touchless electronics are identical on paper.
Step 5: Confirm Plumbing and Power Requirements
Touchless faucets need a power source: most run on AA batteries housed in a box mounted inside the cabinet, while a smaller number offer an AC adapter option that plugs into a nearby outlet. Before installation day, confirm your cabinet has room for the battery box or, if you’re choosing the AC-powered version, that an outlet is reachable without running an extension cord across the cabinet floor. Also verify the sink’s drain placement lines up with your existing plumbing rough-in, since undermount sinks sometimes shift the drain position slightly compared to the drop-in sink you’re replacing.
Common Mistakes to Avoid
- Buying the faucet before the sink. Faucet reach and height should always be dictated by the basin’s dimensions, not the reverse.
- Ignoring the countertop cutout timeline. Undermount sinks require the counter to be templated and cut around the sink, so ordering the sink late can delay your entire countertop installation.
- Skipping a battery-access check. A touchless faucet with the battery box wedged behind plumbing lines becomes a hassle every time batteries need replacing.
- Overlooking sensor sensitivity. A sensor placed too close to a window or under direct sunlight can activate unexpectedly; test placement before finalizing the layout.
- Mismatching finishes. A brushed nickel faucet against a chrome sink strainer and drain assembly can look mismatched once installed – order matching drain hardware when possible.
Safety Notes for Installation Day
Undermount sinks are heavy, especially in cast iron or fireclay, and rely on clips and adhesive to stay mounted from below – always confirm the cabinet’s support rails or plywood bracing can handle the sink’s full water-filled weight before installation, not just the empty weight. When wiring or installing a touchless faucet’s battery pack, keep the connection away from standing water under the sink, and shut off the water supply at the shutoff valves before disconnecting any old fixture. If your touchless faucet uses an AC adapter, make sure the outlet is GFCI-protected, as required near any kitchen sink.
Frequently Asked Questions
Can any touchless faucet be installed on an undermount sink?
Most touchless faucets work with undermount sinks since the faucet mounts through the countertop rather than the sink deck. The main consideration is matching the spout height and reach to your specific basin dimensions.
Do touchless faucets need special countertop holes?
They typically use a standard single hole, though some models include a deck plate for additional holes if you also want a soap dispenser or side sprayer. Decide on this layout before the countertop is cut.
How do I know if my basin is too deep for my faucet?
Measure from the countertop surface to the basin floor and compare it to the faucet’s spout height and arc. If large pots can’t clear the spout with the basin’s depth, choose a taller high-arc model.
Will hard water affect a touchless sensor?
Hard water mineral buildup can affect the solenoid valve over time rather than the sensor itself. Regular cleaning of the aerator and periodic descaling keeps both the sensor and flow performing reliably.
Is it harder to install a touchless faucet with an undermount sink versus a drop-in sink?
Not significantly – the faucet installation process is largely the same since it mounts through the countertop either way. The extra planning step is coordinating the countertop cutout timeline with the sink installation.
Final Thoughts
Matching an undermount sink with a touchless kitchen faucet comes down to sequencing the decisions correctly: measure your cabinet, choose the sink configuration, then select a faucet whose height, reach, and sensor placement suit that specific basin. Coordinate finishes so the pairing reads as one design choice rather than two separate purchases, and confirm power and plumbing requirements before installation day arrives. Taking these steps in order turns what could be a mismatched, frustrating renovation into a kitchen sink area that looks intentional and performs exactly as expected for years of daily use.