A laundry room can feel chaotic even when it’s small, mostly because the hamper and the cabinet were bought at different times, from different stores, with zero thought given to how they’d look next to each other. If you’re staring at a mismatched wall mounted hamper and a leftover cabinet wondering how to make them read as one cohesive layout, this guide walks you through the exact process – from measuring the wall to choosing finishes that actually pair well, right down to hanging hardware and daily workflow.
Why Matching a Hamper and Cabinet Actually Matters
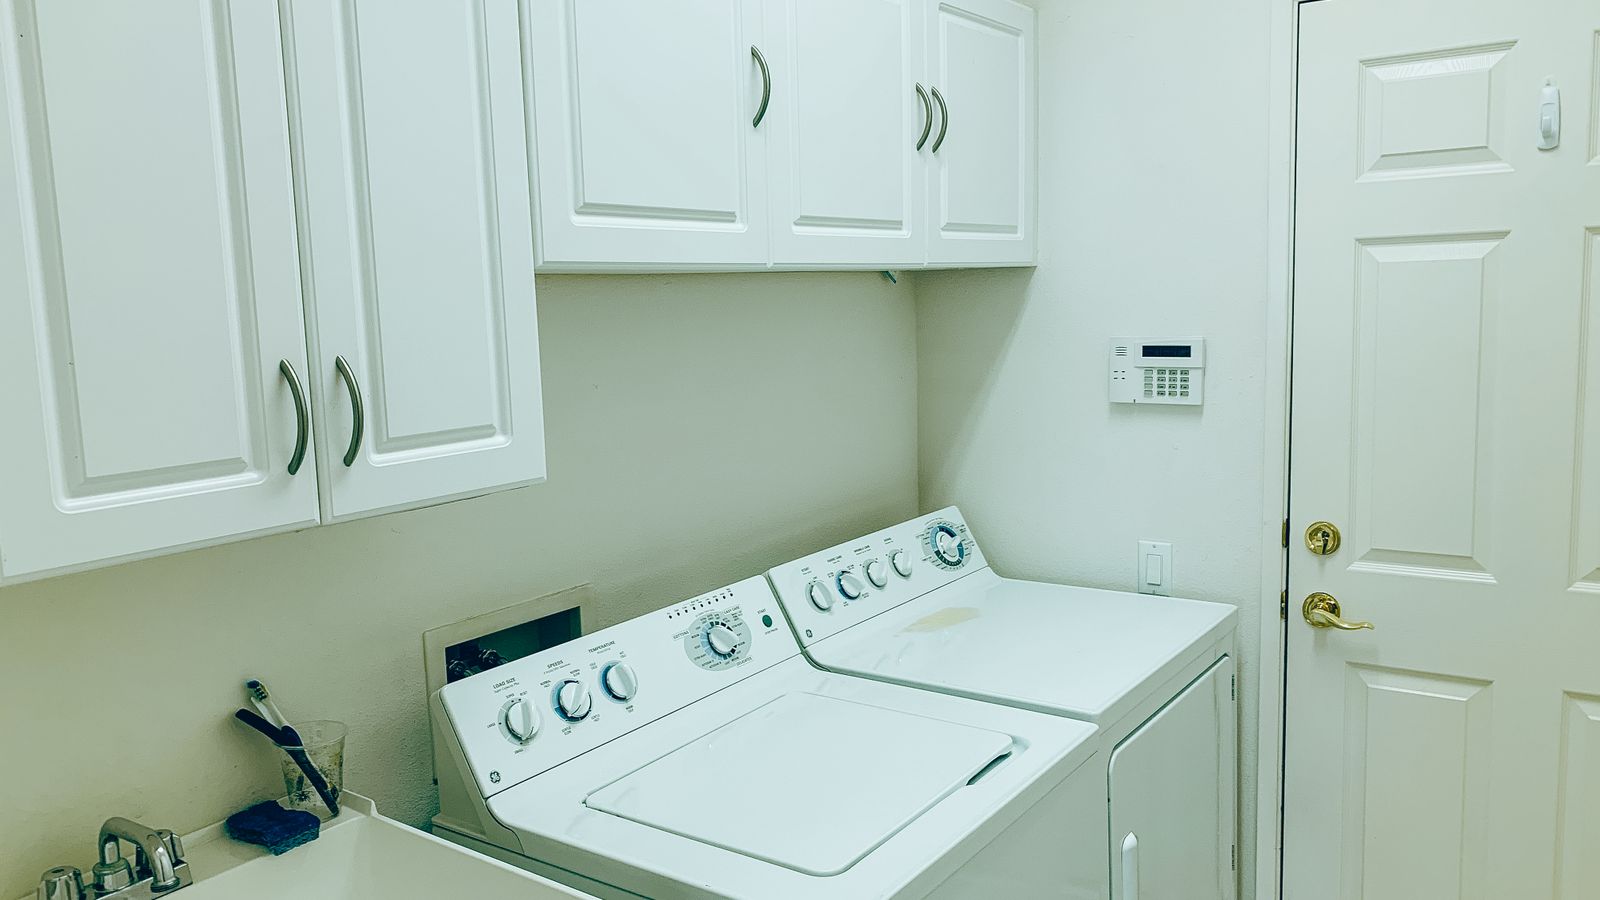
In a small laundry room, every surface is visible at once – there’s no hallway or corner to hide a clashing piece. When a wall mounted hamper and a nearby cabinet share color, material, or hardware language, the whole wall reads as a single built-in system instead of two separate purchases. Beyond the visual payoff, coordinating these two pieces also improves how you actually use the room: hampers positioned near the cabinet that holds detergent and dryer sheets shorten the number of steps in your laundry routine, and matched hardware means you’re not fumbling between two different pull styles when your hands are full of clothes.
What You’ll Need Before You Start
- A tape measure and a level (a laser level makes this much faster on a single wall)
- Painter’s tape to mock up placement before drilling
- Pencil, stud finder, and a drill with appropriate bits/anchors
- Paint chips or finish samples from both the hamper and cabinet manufacturer, if available
- Photos or spec sheets of both pieces (finish, hardware, dimensions)
- A helper for holding pieces level while you mark mounting points
Step 1: Measure the Wall and Map the Zones
Start by measuring the full width and height of the wall you’re working with, then sketch a rough zone map: where the cabinet will sit, where the hamper will hang, and how much clearance you need for the washer or dryer door to swing open. A wall mounted hamper typically needs 14-20 inches of depth clearance when the lid or door is open, so don’t mount it directly above a front-loading appliance without checking that swing radius first. Mark stud locations across the whole span now, even if you’re only mounting one piece today – knowing where your studs are will save you from awkward placement compromises later.
Step 2: Decide on a Shared Finish Language
This is the step most people skip, and it’s the one that makes or breaks the “matched” look. You don’t need identical products – you need a shared finish language across three things: color family, material texture, and hardware finish.
Color and Material
If your cabinet is a painted MDF in a warm white, look for a hamper in the same warm-white family rather than a stark cool white – the two whites sitting side by side will look like a mistake even though each one looks fine alone. If the cabinet is a natural wood tone, choose a wall mounted hamper in a matching or complementary wood species, or a woven/rattan front that picks up the same warm undertone.
Hardware Finish
Pulls, hinges, and knobs are the fastest way to visually unify two different pieces. If your cabinet has brushed nickel pulls, swap the hamper’s stock hardware (many wall mounted hampers ship with basic hardware that’s easy to change) for brushed nickel to match. This single swap does more for cohesion than repainting either piece.
Step 3: Choose Complementary Silhouettes
Matching doesn’t mean identical shapes – it means shapes that visually agree. A cabinet with clean, flat-panel Shaker-style doors pairs well with a wall mounted hamper that has simple, unadorned lines. A more traditional raised-panel cabinet looks better next to a hamper with a slightly more detailed or paneled front. Avoid pairing a very minimalist, boxy cabinet with an ornate, curved hamper (or vice versa) – the contrast in design vocabulary will undercut the coordinated look even if the colors match perfectly. When you’re shopping for either piece, browsing a curated list of wall mounted hampers side by side makes it much easier to compare silhouettes before you commit.
Step 4: Plan the Layout for Workflow, Not Just Looks
Once finish and silhouette are settled, think through how you’ll actually move through the room. A practical order is: hamper for sorting dirty clothes, washer, dryer, then cabinet for folded items or supplies. Mounting the hamper at a height where the opening sits around chest level (roughly 40-48 inches from the floor for most adults) keeps loading it effortless, while the cabinet below or beside it should be reachable without a step stool for everyday items like detergent pods and stain treatment.
- Mock up both pieces with painter’s tape outlines on the wall first.
- Stand back and check sightlines from the doorway – the pairing should look intentional from the first glance into the room.
- Confirm the hamper’s open position doesn’t block cabinet doors or drawers.
- Leave at least 2-3 inches of breathing room between the two pieces rather than butting them flush, unless they’re designed as a matched set.
Step 5: Mount the Hamper Securely
Wall mounted hampers carry real weight once loaded with wet towels or a full week of laundry, so anchor into studs whenever possible. If a stud doesn’t line up with your desired mounting point, use heavy-duty toggle anchors rated for at least 50 pounds. Drill pilot holes, attach the mounting bracket first, then hang the hamper body and check it with a level before loading it. Double-check the swing clearance for the door or lid one more time now that it’s actually on the wall – small measurement errors are easier to catch before the paint is touched up.
Step 6: Install or Reposition the Cabinet
If the cabinet is a standalone floor unit, confirm it’s level front-to-back and side-to-side, and secure it to the wall with an anti-tip strap if it’s tall – this matters even more in a laundry room where kids or pets may be nearby. If it’s wall-hung, follow the same stud-and-anchor approach as the hamper. Once both pieces are mounted, step back again and compare them under the room’s actual lighting (not just daylight from a doorway) since laundry rooms often run on a single overhead fixture that can shift how colors read.
Common Mistakes to Avoid
- Matching color but ignoring sheen. A matte cabinet next to a glossy hamper front will look mismatched even in the exact same paint color – try to keep sheen level consistent.
- Skipping the mock-up step. Drilling first and adjusting later leaves visible patch marks; always tape out the layout before committing.
- Mounting the hamper too high. If you can’t comfortably drop clothes in without stretching, you’ll stop using it as intended within a month.
- Forgetting appliance clearance. A hamper or cabinet door that collides with the washer or dryer door is a daily annoyance that’s easy to avoid with one extra measurement.
- Overlooking floor protection. Laundry rooms see spills and dripping items regularly; pairing your new layout with one of the best laundry room mats protects flooring and adds another coordinated texture to the room.
Safety Notes
Always locate studs before drilling, and use a stud finder rather than guessing – a heavy, loaded hamper on drywall anchors alone can pull free over time. If you’re working near an outlet or water supply line for the washer, shut off power and water before drilling near that section of wall. Keep a helper on hand when lifting cabinets into place; even lightweight units are awkward to hold level solo while marking mounting points.
Finishing Touches
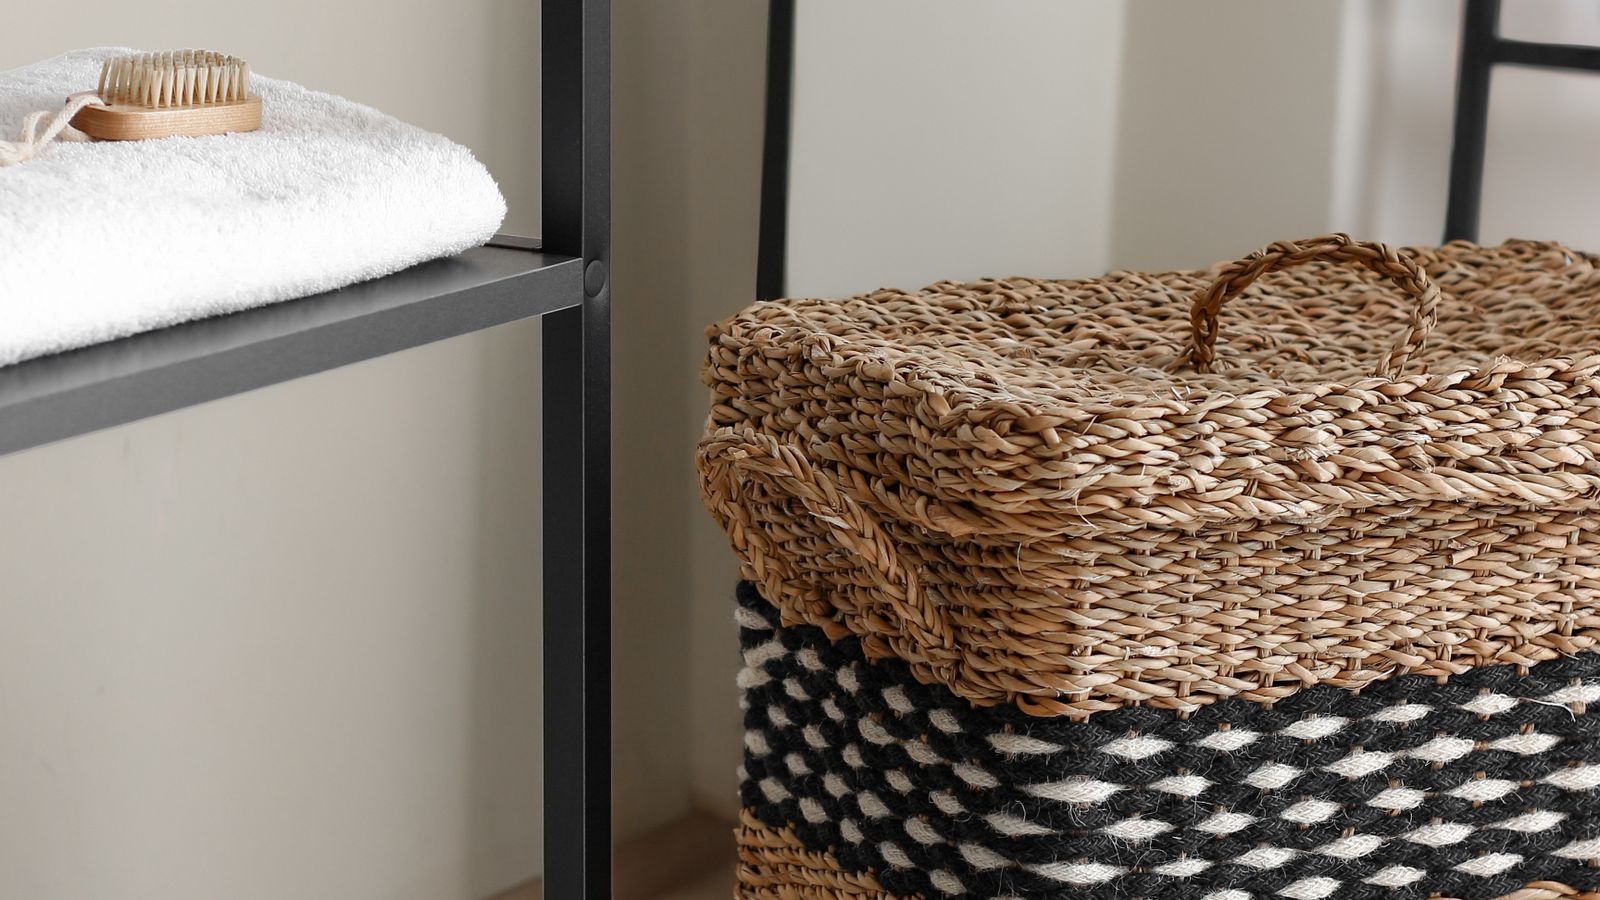
Once both pieces are mounted and functioning well, small styling choices reinforce the cohesive look: a coordinating laundry basket liner, labeled bins inside the cabinet, or a single decorative element (a plant, a framed print) that pulls color from both pieces. If you’re still shopping for the cabinet itself, comparing a range of laundry room cabinets against your hamper’s finish before buying will save you a return trip – bring a photo of the hamper with you or pull it up on your phone while browsing.
Frequently Asked Questions
Do the hamper and cabinet need to be the same brand?
No. Matching finish, hardware, and silhouette matters far more than matching brand – many well-coordinated laundry rooms mix pieces from different manufacturers that simply share a consistent color and hardware story.
How high should a wall mounted hamper be installed?
Most people find 40-48 inches from the floor to the opening comfortable, but adjust based on your own height and whether children will be using it too.
Can I paint a hamper to match my cabinet exactly?
Yes, if the hamper’s material accepts paint (wood or MDF fronts usually do well). Sand lightly, prime, and use the same paint formula and sheen as the cabinet for the closest match.
What if my cabinet and hamper are already very different styles?
Focus on hardware and color first – swapping pulls and repainting one piece to align with the other’s undertone can bridge a surprising style gap without replacing anything.
Is it better to mount the hamper above or beside the cabinet?
Beside generally works better for workflow since it avoids reach issues and keeps both pieces fully accessible; above can work in tight spaces but requires extra care with clearance and weight distribution.