A laundry room only feels chaotic when the layout fights against how you actually do laundry. Sorting, pretreating, washing, drying, and folding all need their own patch of space, and the right combination of a laundry wall shelf, cedar blocks for closets, and a ceiling drying rack can turn even a narrow utility closet into a room that works with you instead of against you. This guide walks through how to plan the layout, what to mount where, and how to shop for the pieces that pull it all together.
Step 1: Map the Space Before You Buy Anything
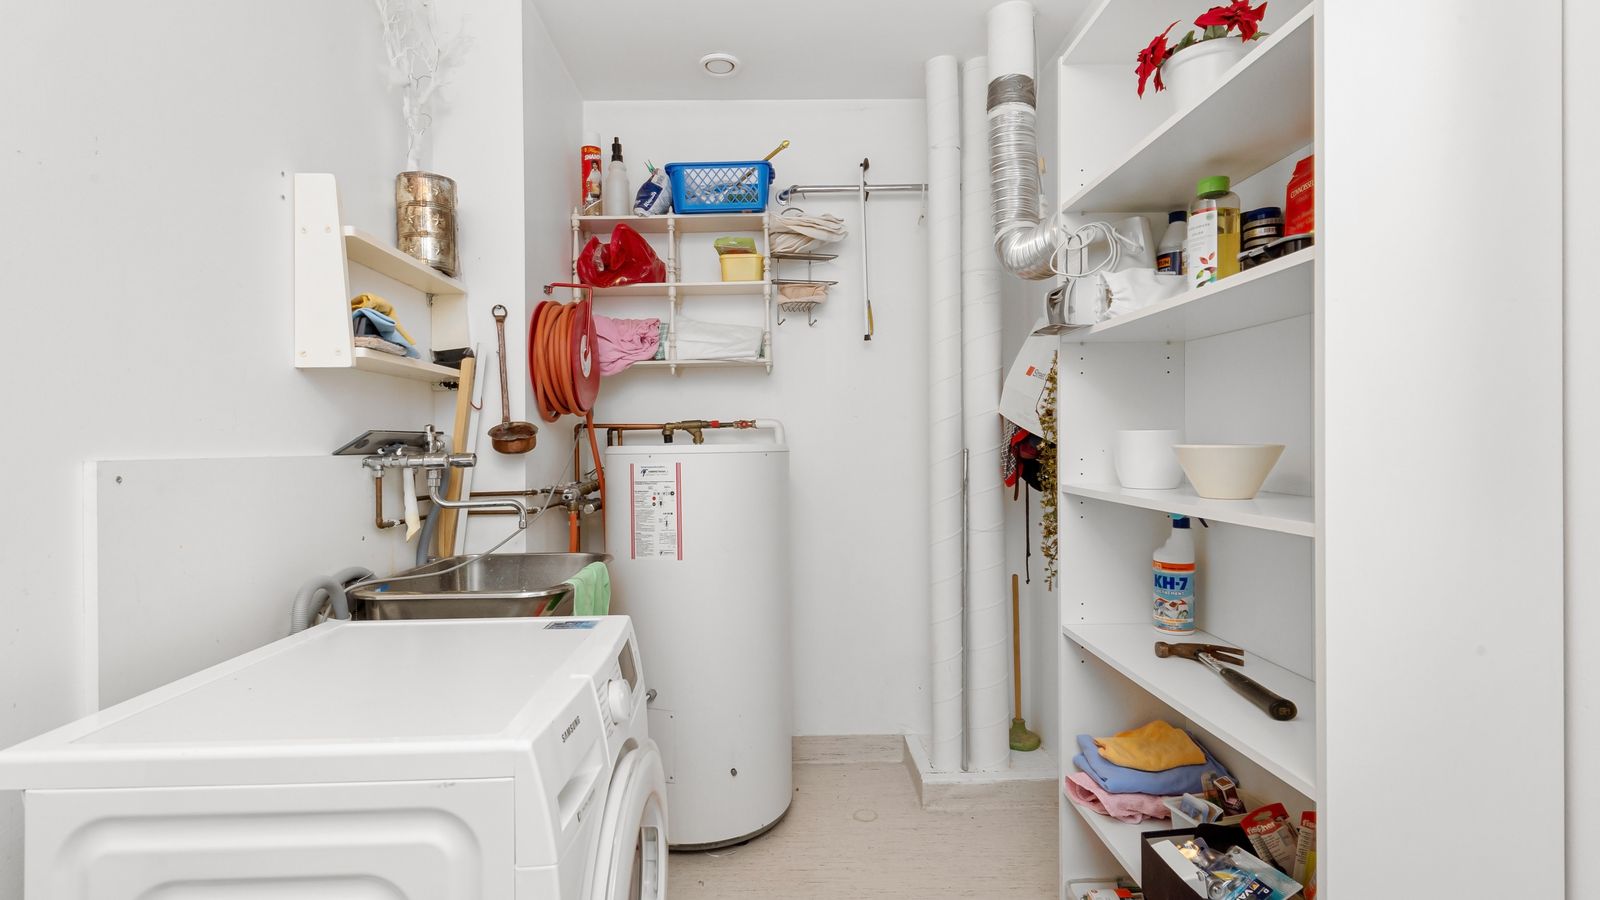
Before you mount a single bracket, walk the room with a tape measure and sketch out four zones: sorting/prep, washing, drying, and folding/storage. Even a small laundry closet can fit all four if you use vertical space instead of trying to cram everything onto the floor. Note the height from the top of your washer and dryer to the ceiling – this is prime real estate for a laundry wall shelf, and it’s also where a ceiling drying rack will need clearance to lower and retract.
Check your ceiling material and joist locations too. A ceiling-mounted drying rack needs to anchor into a joist or use heavy-duty toggle bolts rated for the weight of wet laundry, so knowing your ceiling type now saves a return trip to the hardware store later.
Step 2: Install a Laundry Wall Shelf Above the Machines
The single highest-impact change in most laundry layouts is adding a shelf above the washer and dryer. This reclaims dead air space for detergent, stain removers, dryer sheets, and baskets that would otherwise clutter the floor or a nearby countertop.
- Measure the width between your washer and dryer’s outer edges, plus a few inches of margin on each side, to size the shelf.
- Choose a shelf depth of roughly 10-12 inches – deep enough for detergent bottles and bins, shallow enough that you won’t bump your head reaching into the machines.
- Locate wall studs with a stud finder and mark them; a loaded shelf needs to anchor into studs, not just drywall anchors, especially if you plan to stack bins or jugs on it.
- Mount brackets level, using a torpedo level across the full span, then attach the shelf board and test with light weight before loading it fully.
- Group items by frequency of use: everyday detergent and stain stick within easy reach, seasonal items (like sweater bags or shoe cleaner) toward the back or ends.
If you’re comparing styles – floating wood shelves, wire shelving, or slatted designs that let lint and moisture pass through – it helps to see a range of options side by side before committing. This roundup of laundry wall shelves breaks down materials, weight capacity, and mounting hardware so you can match a shelf to your wall type and load.
Step 3: Give the Folding Zone a Home
Folding needs a flat surface, and in a tight laundry closet that often means a fold-down countertop or a rolling cart that tucks away when not in use. If your layout allows a countertop over a front-load washer and dryer, use that surface for folding and keep the wall shelf above strictly for storage – mixing the two just creates clutter you have to move every time you fold a load.
For narrower spaces without room for a fixed counter, a slim rolling cart with a flat top works as a mobile folding station that can also carry a hamper below.
Step 4: Protect Stored Textiles with Cedar Blocks for Closets
If your laundry room doubles as a linen closet, off-season clothing storage, or a spot to hang freshly dried items before they migrate to bedrooms, moths and musty odors become a real risk – especially in humid, low-airflow utility spaces. Natural cedar blocks placed on shelves, in bins, and inside closet corners repel moths without the chemical smell of mothballs, and they help absorb excess moisture that can lead to mildew.
- Tuck a few blocks into each shelf or bin rather than clustering them all in one spot – cedar’s scent works best distributed evenly.
- Lightly sand the surface of the blocks every few months with fine sandpaper to refresh the cedar oil and renew the scent.
- Keep blocks away from direct contact with delicate fabrics that could snag; a small cloth pouch works well for silks or knits.
- Replace or re-sand blocks roughly twice a year, or sooner if the cedar smell has faded.
Cedar blocks are inexpensive, but not all are cut from the same wood or hold their scent equally long. A closer look at cedar blocks for closets compares aromatic red cedar options and pack sizes so you can stock the shelf you just installed without overbuying.
Step 5: Add a Ceiling Drying Rack for Air-Drying
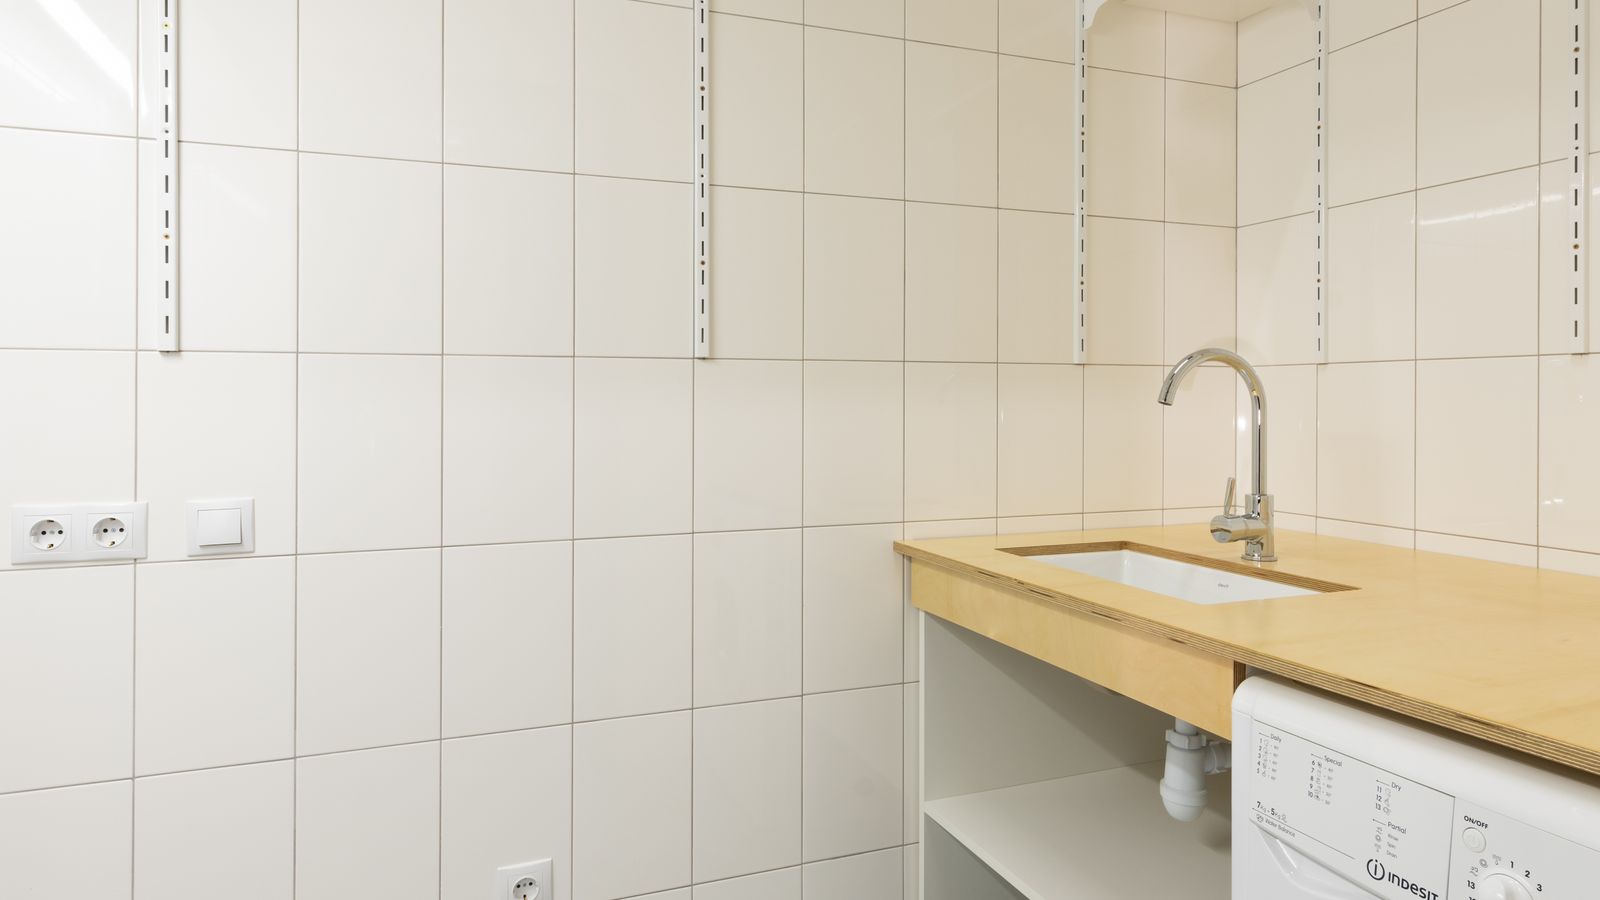
Delicates, activewear, and anything you’d rather not put in a dryer need a drying spot that doesn’t eat up floor space permanently. A ceiling-mounted drying rack solves this by hoisting a slatted rack up out of the way when it’s not in use, and lowering it on a pulley system when you need to hang a load.
- Center the rack over an open floor area, ideally near the washer so wet clothes don’t drip across the room.
- Anchor mounting brackets into ceiling joists – locate them with a stud finder before drilling, and use lag bolts rated for the rack’s listed weight capacity.
- Install the pulley cleat on the wall at a comfortable height, usually 4-5 feet up, so you’re not stretching overhead to raise and lower the rack.
- Test the rack empty first, working the pulley through a full up-and-down cycle to confirm smooth movement before hanging laundry.
- Load evenly across the slats to keep the rack balanced as it rises, and leave a few inches of clearance between hanging items for airflow.
Weight capacity, slat count, and pulley smoothness vary quite a bit between models, which matters if you’re hanging heavier items like towels or jeans. Browsing the best ceiling drying racks is a good next step once you’ve confirmed your ceiling has solid joist access where you want to mount.
Step 6: Bring the Layout Together
Once the shelf, cedar storage, and drying rack are installed, walk through a full laundry cycle mentally: sort dirty clothes, pretreat stains, load the washer, hang delicates on the ceiling rack, run the dryer, fold on the counter, and put everything away with cedar blocks nearby to keep it fresh. If any step feels like it requires backtracking across the room, that’s a sign to adjust – swap the hamper location, move the folding cart, or reposition a bin on the wall shelf.
Small layout tweaks compound. A hamper positioned directly under the wall shelf, for instance, keeps sorting and prep in one tight footprint instead of spread across the room.
Common Layout Mistakes to Avoid
- Mounting the wall shelf too low. Leave enough clearance to open the washer and dryer lids or doors fully without hitting the shelf.
- Skipping stud anchoring. A shelf loaded with detergent jugs is heavier than it looks; drywall anchors alone often aren’t enough.
- Ignoring ceiling rack clearance. Make sure the rack, when lowered, doesn’t collide with light fixtures, shelving, or the door swing.
- Overcrowding cedar blocks in one spot. Spread them across shelves and bins rather than piling them in a single corner.
- Forgetting ventilation. Even with cedar blocks controlling odor, a laundry room needs airflow – crack a window or run a vent fan when drying racks are loaded.

Safety Notes for Wall and Ceiling Mounting
Always confirm you’re drilling into studs or joists rather than relying on drywall alone, particularly overhead. A ceiling drying rack carries the weight of wet fabric, which can be significantly heavier than dry laundry, so use the hardware the manufacturer specifies rather than substituting lighter screws. Wear eye protection when drilling overhead, and have a helper hold the rack steady during installation so it doesn’t swing before the brackets are fully secured.
FAQ
How high should a laundry wall shelf be mounted above the washer and dryer?
Most layouts work well with 6-10 inches of clearance above the machines, enough to open lids fully while keeping the shelf within easy reach.
Do cedar blocks actually keep moths away, or is it just a scent?
The natural oils in cedar are genuinely repellent to clothes moths, not just a masking scent. That said, the effect fades as the oils dry out, which is why periodic sanding or replacement matters.
How much weight can a ceiling drying rack typically hold?
It varies by model and mounting hardware, but many household racks are rated for a moderate load of everyday laundry when anchored properly into ceiling joists. Always check the specific weight rating before hanging heavier items like towels or bedding.
Can I install a ceiling drying rack without hitting a joist?
It’s not recommended for a load-bearing installation. If a joist isn’t available exactly where you want the rack, use heavy-duty toggle bolts rated for the rack’s weight, or shift the mounting position slightly to catch the joist.
What’s the best way to organize a small laundry closet with all three elements?
Prioritize vertical space: wall shelf above the machines for supplies, cedar blocks tucked into bins on that shelf, and a ceiling rack centered over open floor space for air-drying. This keeps the floor clear for movement while using every available surface.
Final Thoughts
A well-planned laundry room layout isn’t about buying more storage – it’s about matching the right piece to the right zone. A laundry wall shelf clears counter clutter, cedar blocks for closets keep stored textiles fresh, and a ceiling drying rack handles air-drying without stealing floor space. Tackle the installation one zone at a time, measure twice before drilling into studs or joists, and you’ll end up with a laundry room that actually supports your routine instead of working against it.