Between a rotisserie oven, an indoor grill, and everything else that lives on your counter, kitchen real estate disappears fast. If you love hands-off roasted chicken as much as you love a quick smash-grilled dinner, you don’t have to choose one appliance over the other — you just need a system for storing, staging, and using both without turning your counter into a cluttered obstacle course. This guide walks through a practical way to organize a countertop cooking lineup that includes a rotisserie oven and an indoor grill, so both machines earn their keep instead of competing for the same six inches of space.
Why These Two Appliances Belong Together
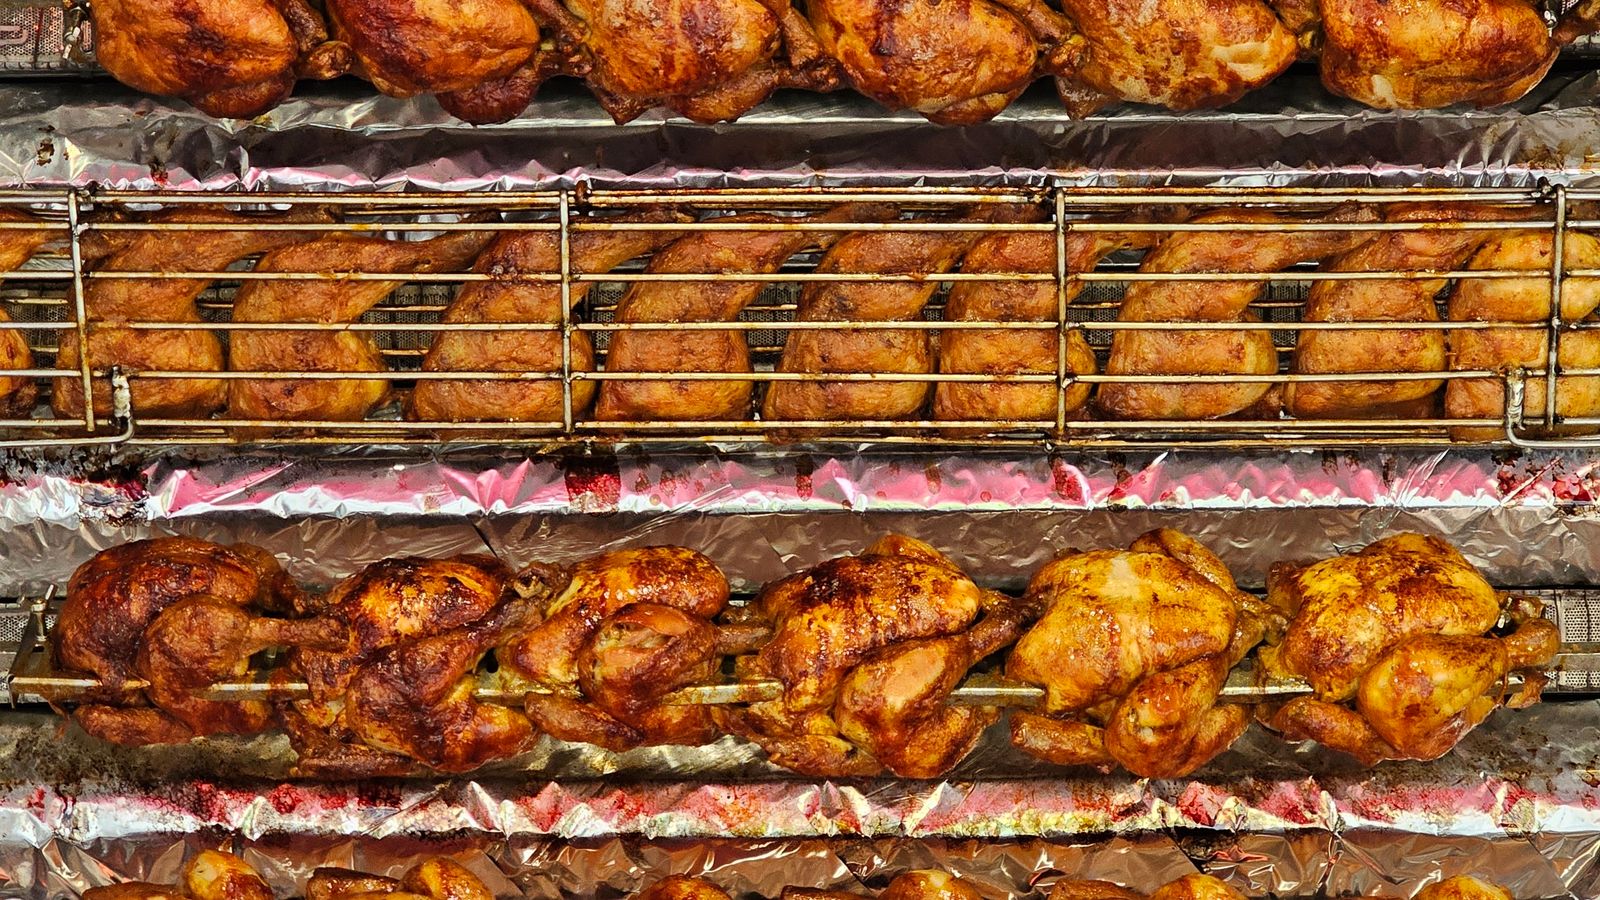
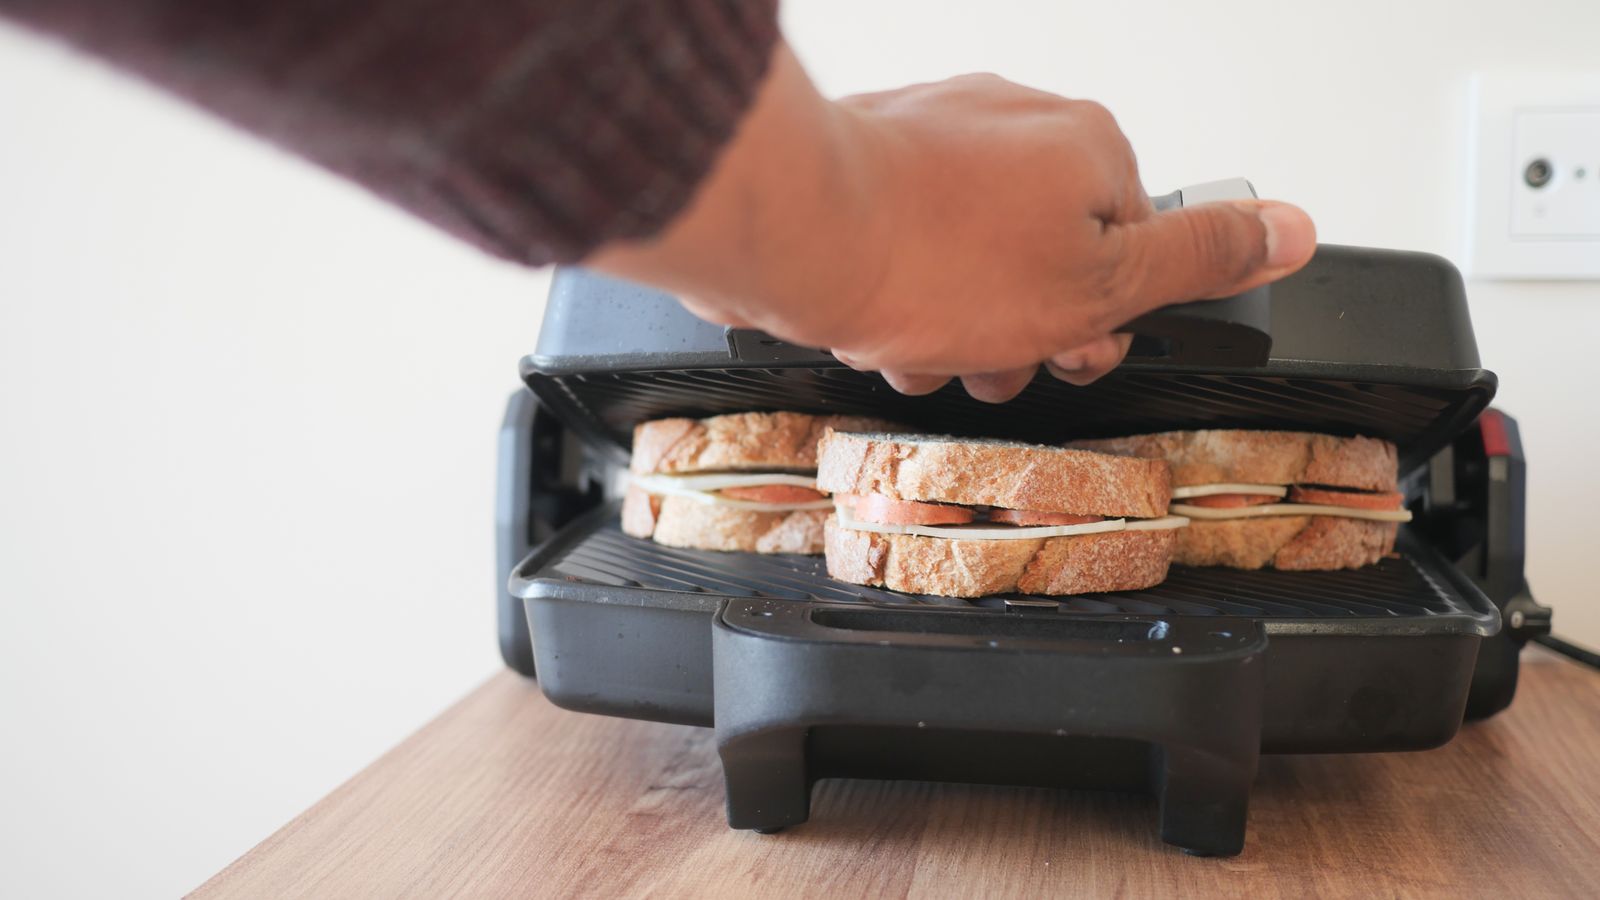
A rotisserie oven and an indoor grill solve different problems, which is exactly why pairing them makes sense. The rotisserie oven is built for slow, even, hands-off cooking — a whole chicken, a pork loin, or a rack of ribs turning on a spit while you do something else entirely. An indoor grill is built for speed and char: burgers, skewers, vegetables, and sandwiches that need direct heat and grill marks in minutes, not hours. Used together, they cover nearly every weeknight dinner scenario without ever needing to preheat a full-size oven.
The catch is that both appliances are bulkier than a toaster or a blender, and both produce heat, grease, and steam that need somewhere to go. Organizing them well isn’t just about tidiness — it directly affects how safely and how often you’ll actually use them.
Step 1: Audit Your Counter and Storage Space
Before you rearrange anything, take stock of what you’re working with. Measure your available counter length, the depth of your cabinets, and the height of the space under your upper cabinets (rotisserie ovens are often taller than people expect once the spit and drip tray are in place). Note where your nearest outlets are, since both appliances need dedicated access and neither should run off an overloaded power strip.
Walk through these questions as you audit:
- Which appliance do you use more often on weeknights — the grill for quick meals or the rotisserie for weekend roasts?
- Do you have a pantry, deep drawer, or nearby cabinet where the less-frequently-used unit could live between uses?
- Is there a heat-safe zone away from cabinets, curtains, or paper towel holders where either appliance can run unattended?
- How much clearance does each unit need on all sides for ventilation, based on its manual?
Step 2: Decide What Stays Out and What Gets Stored
Very few kitchens have room to keep a rotisserie oven and an indoor grill permanently plugged in side by side. The most workable systems designate one appliance as the “counter resident” and treat the other as “on standby” in a nearby cabinet or pantry shelf.
Give the Counter Spot to Your Most-Used Appliance
If weeknight dinners lean toward quick grilled proteins and vegetables, let the indoor grill claim the permanent counter spot, since frequent unplugging and hauling out a heavier rotisserie oven becomes a real barrier to using it. If your household leans toward Sunday roasts and meal-prepped rotisserie chicken for the week, flip the arrangement.
Store the Standby Unit Somewhere Genuinely Accessible
An appliance stored in a hard-to-reach cabinet or stacked under other bulky items quietly stops getting used. Reserve a dedicated shelf at a comfortable height, ideally one that doesn’t require lifting the unit over other cookware. If you have an appliance garage or a rollout shelf, that’s an ideal home for the standby machine.
Step 3: Build a Rotation System
Rather than trying to keep both appliances accessible at all times, build a simple rotation habit around your weekly cooking pattern. Many households find a Sunday-to-Wednesday rotisserie block (roast once, eat leftovers through midweek) pairs naturally with a Thursday-to-Saturday grill stretch for faster dinners. Swapping the appliances once or twice a week is far more sustainable than trying to keep both live on the counter permanently.
Keep a small checklist near your storage cabinet so the swap takes thirty seconds instead of ten minutes:
- Unplug and fully cool the appliance coming off the counter.
- Wipe down the drip tray, grill plates, or rotisserie basket before storing.
- Coil the power cord and secure it with a velcro strap so it doesn’t tangle in storage.
- Place the appliance on its designated shelf, ideally in a fitted bag or with a cover to keep dust and grease off other stored items.
- Bring out the next appliance and wipe down its exterior before plugging in.

Step 4: Group Accessories So Nothing Gets Lost
Rotisserie spits, forks, grill plates, and drip trays have a habit of scattering across different drawers. Dedicate a single bin or drawer organizer to each appliance’s accessories, and label it if other household members share kitchen duties. Keeping the spit fork with the rotisserie basket, and the grill scraper with the grill plates, means you’re never mid-recipe and hunting through three drawers for a missing part.
A few organizing habits that make a real difference:
- Store rotisserie spits and forks upright in a narrow container so the tines don’t snag other utensils.
- Keep a dedicated grease-catching tray or foil liner pre-cut to size, stored flat next to the appliance itself.
- Hang grill scrapers and basting brushes on a small hook near the standby storage shelf rather than in a general utensil crock.
- Store manuals and recipe booklets in a single folder so cook-time references don’t get lost when you switch appliances.
Step 5: Plan Your Prep and Cook Zones
Even a well-organized storage system falls apart if there’s nowhere sensible to prep next to the appliance in use. Set aside a small prep zone — a cutting board station and a spot for marinating trays — adjacent to wherever the active appliance lives that week. For the rotisserie oven, this means room to truss and load a spit without dripping marinade across your workspace. For the grill, it means a landing zone for tongs, a meat thermometer, and finished food coming off the plates.
If your counter is genuinely tight, a rolling kitchen cart can double as both a prep surface and the appliance’s home base, letting you wheel the whole station out of the way when it’s not in use.
Common Mistakes to Avoid
- Storing appliances still slightly warm or greasy. This invites odor, pests, and a much harder cleanup the next time you pull the unit out.
- Placing either appliance too close to cabinets or curtains. Both a rotisserie oven and an indoor grill generate real heat; always leave the clearance your manual recommends.
- Using a single overloaded outlet or power strip. High-wattage appliances like these deserve a dedicated, grounded outlet rather than sharing a strip with a coffee maker and a toaster.
- Skipping accessory organization. A missing spit fork or grill scraper is often the reason an appliance quietly falls out of rotation.
- Ignoring drip trays until they overflow. Empty and rinse trays after every use, not just when they’re visibly full.
Safety Notes
Always let both appliances cool completely before moving or storing them, and unplug each one at the wall rather than relying on a switch alone. Keep dish towels, paper towel holders, and any packaging well clear of the grill plates and rotisserie heating elements while either is running. If you’re storing one appliance in a cabinet below or beside the oven, make sure it isn’t sitting directly under a heat source that could warm it while off. Finally, check cords periodically for fraying, especially if you’re coiling and uncoiling them weekly as part of your rotation.
Choosing Which Appliances to Add to the Lineup
If you’re still shopping for either machine, it helps to know what separates a good countertop rotisserie oven from a mediocre one, and the same goes for indoor grills. Larger capacity rotisserie ovens can handle a full chicken plus side dishes, while compact models save counter depth but limit portion size. Indoor grills vary widely in surface area, temperature control, and how easily the plates come off for cleaning — details that matter far more day-to-day than the marketing photos suggest.
For a closer look at well-reviewed options in each category, our guides to rotisserie ovens and indoor grills break down capacity, wattage, and cleanup considerations so you can pick units that actually fit the storage plan you’ve built.
Frequently Asked Questions
Can a rotisserie oven and an indoor grill share the same outlet?
Only if you’re never running them at the same time and the outlet’s rating comfortably covers each appliance’s wattage individually. Running both simultaneously on one circuit is not recommended, since combined draw can trip a breaker or overheat the outlet.
How much clearance does a countertop rotisserie oven really need?
Most manufacturers recommend at least a few inches of clearance on all sides and above the unit for proper ventilation. Check your specific model’s manual, since spit length and vent placement vary between brands.
What’s the easiest way to clean a rotisserie basket or spit?
Soak removable parts in warm soapy water shortly after use, before grease has a chance to harden. A non-abrasive brush handles baked-on residue without scratching non-stick or coated surfaces.
Should I keep both appliances out if I have the counter space?
If your layout genuinely allows for both without crowding your prep area or blocking ventilation, there’s no reason to store either one. The rotation system in this guide is aimed at kitchens where space is the limiting factor.
Is it worth adding other countertop appliances to this rotation, like a juicer?
Some households do rotate in additional appliances such as juicers alongside their rotisserie oven and grill, especially if morning routines and dinner routines use the counter at different times of day. If you’re weighing options, our roundup of best cold press juicers covers what to look for if you decide to add one to the mix.
Final Thoughts
A rotisserie oven and an indoor grill don’t have to fight for the same square foot of counter. With a short audit of your space, a clear rotation habit, and dedicated homes for each appliance’s accessories, you can keep both in easy reach without permanent clutter. The goal isn’t a perfectly styled counter — it’s a system simple enough that you’ll actually use both appliances instead of letting one gather dust in the back of a cabinet.