A full kitchen remodel can easily run into the tens of thousands, but most of the visual impact – a fresh sink, refreshed cabinets, and a new color scheme – can be achieved for a fraction of that cost if you shop smart. This guide walks you through a budget-friendly shopping plan built around three high-impact, low-cost upgrades: a sink grid to protect your basin, a cabinet refacing kit to skip a full tear-out, and cabinet paint to change the entire mood of the room. Follow these steps in order and you will avoid the most common budgeting mistakes homeowners make when planning a kitchen refresh.
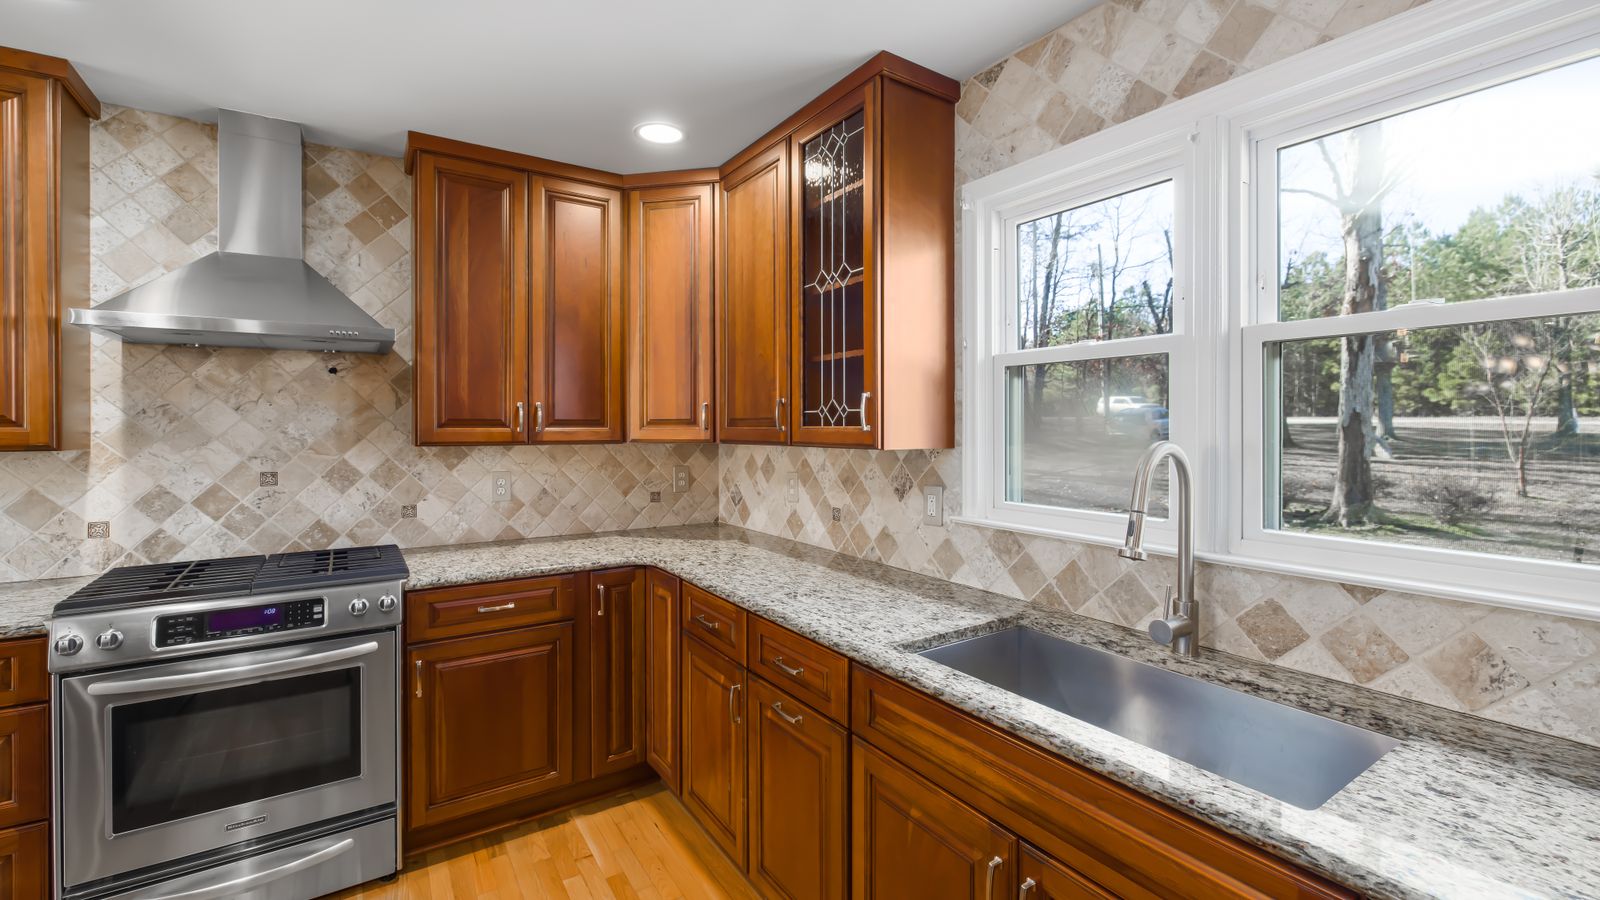
Step 1: Set a Realistic Budget Ceiling Before You Shop
Before opening a single browser tab, write down a total dollar amount you are willing to spend, then split it into three buckets: sink protection and hardware, cabinet surface renewal, and paint/finish supplies. A rough starting split for a budget-focused plan is 10% sink accessories, 50% cabinet refacing materials, and 40% paint and prep supplies. This keeps you from overspending on one category and running out of funds before the project is finished.
Add a 10-15% buffer on top of your ceiling for primer, extra sandpaper, or an unexpected second coat of paint. Budget renovations rarely go exactly as planned, and a small cushion prevents you from cutting corners on quality mid-project.
Step 2: Shop for a Sink Grid First
A sink grid is one of the cheapest upgrades in a kitchen renovation plan, yet it protects your entire investment. Once you have refinished cabinets and a clean sink basin, the last thing you want is chipped enamel or scratched stainless steel from dropped pots and cast-iron pans. A grid sits at the bottom of the basin, elevating dishes so water drains freely and the sink surface stays protected.
What to Look For
- Correct fit: Measure your basin’s interior length, width, and depth before shopping – grids are sold by size range, not by sink brand.
- Material: Stainless steel grids resist rust and last longer than coated wire versions, though coated grids are usually cheaper upfront.
- Rubber feet: Look for silicone or rubber-tipped feet, which prevent the grid itself from scratching the sink finish.
- Folding or rigid design: Folding grids are easier to store if you only need protection occasionally; rigid grids stay in place permanently and require less thought day to day.
Because sink grids are a small purchase, this is a good place to compare a handful of options side by side rather than settling on the first one you see. If you want a curated shortlist to speed up the comparison, these sink grid picks cover a range of sizes and price points worth checking before you commit.
Step 3: Decide Between a Full Reface and a Refacing Kit
Cabinet refacing kits are the centerpiece of a budget renovation because they let you change the look of your cabinets without replacing the boxes themselves. A kit typically includes new veneer or laminate sheets for cabinet faces, replacement doors or door fronts, edge banding, adhesive, and basic hardware. This approach costs a fraction of full cabinet replacement while delivering a comparable visual transformation.
How to Evaluate a Kit Before Buying
- Measure every cabinet face, door, and drawer front you plan to cover, and total the square footage – kits are sold by coverage area, and buying short means a mismatched second order later.
- Check whether the kit includes edge banding for exposed cabinet sides; this detail is easy to overlook and expensive to source separately if missing.
- Confirm the veneer or laminate finish matches your existing cabinet boxes closely enough, or plan to reface every visible surface so nothing looks mismatched.
- Look at the adhesive type included – contact cement bonds faster but leaves little room for repositioning, while some peel-and-stick veneers are more forgiving for first-time DIYers.
- Read whether new hinges and hardware are included or need to be purchased separately, since hardware costs add up quickly across a full kitchen.
If your cabinet boxes are structurally sound (no warping, water damage, or loose joints), a refacing kit is almost always the more budget-friendly path over full replacement. For a comparison of the options available at different price points, browse cabinet refacing kits before finalizing your measurements and order.
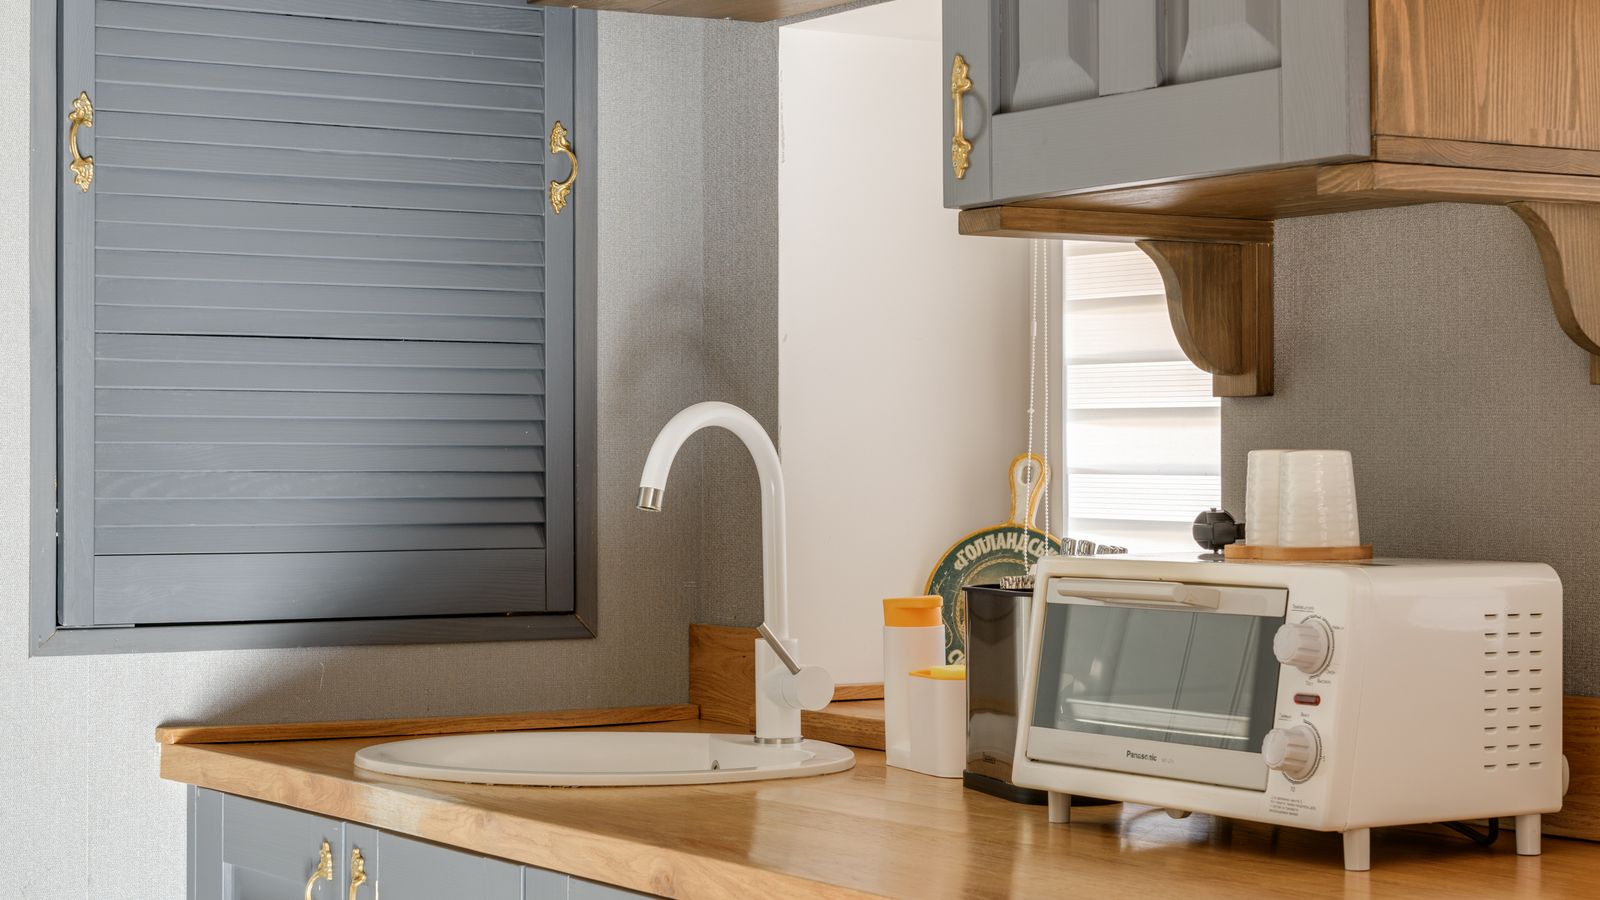
Step 4: Choose the Right Cabinet Paint
If your cabinet boxes and doors are in good shape but the color feels dated, paint is the single most cost-effective renovation tool available. A well-chosen cabinet paint can transform a kitchen’s entire mood for the cost of a few cans and a weekend of work – no refacing kit required.
Shopping Checklist for Cabinet Paint
- Formula type: Look specifically for cabinet-rated or “cabinet and trim” paint, which cures harder than standard wall paint and resists chipping from daily handle contact.
- Finish level: Satin or semi-gloss finishes wipe clean more easily than matte and hide minor imperfections better than high-gloss.
- Primer requirement: Check whether the paint is self-priming or requires a separate bonding primer, especially over laminate, melamine, or previously varnished wood.
- Coverage per can: Calculate your total door and face square footage, then compare it against the coverage listed on the can so you buy the correct number of cans in one trip.
- Dry and cure time: Budget renovations often stall because painted doors get rehung before the paint has fully cured, leading to sticking and marring – plan for the full cure window listed on the label, which is often longer than the touch-dry time.
Color-wise, warm whites, soft greiges, and deep navy or sage green remain reliable choices that photograph well and suit most kitchen layouts. If you’re undecided, this roundup of cabinet paint options is a useful starting point for comparing formulas and finish types before you buy.
Step 5: Sequence Your Purchases to Avoid Wasted Trips
Order matters more than most first-time renovators expect. Buy your sink grid early since it’s inexpensive and won’t affect other decisions. Next, finalize your cabinet refacing kit measurements and order, because the veneer finish you choose may influence which paint colors look best on any remaining unrefaced surfaces (like a pantry door or end panel). Purchase paint last, once you know exactly how much surface area needs coverage and what finish tone will complement the new refacing material.
Buying in this sequence also means you can return unused sink grid or paint stock within a standard return window if your measurements change slightly during the project, rather than being stuck with materials ordered too early.
Step 6: Prep Work That Saves Money Down the Line
- Clean and degrease every surface before refacing or painting – grease residue is the number one cause of adhesive and paint failure in kitchens.
- Remove all hardware and label it by drawer or door location so reassembly goes quickly and nothing gets mismatched.
- Sand glossy or laminate surfaces lightly to give paint and adhesive something to grip, even on kits marketed as “no-sand.”
- Protect countertops and flooring with drop cloths before opening any adhesive or paint can – cleanup costs and time add up fast on a budget project.
- Test fit hardware and the sink grid once the box is dry, before final installation, to catch sizing issues while you can still exchange items.
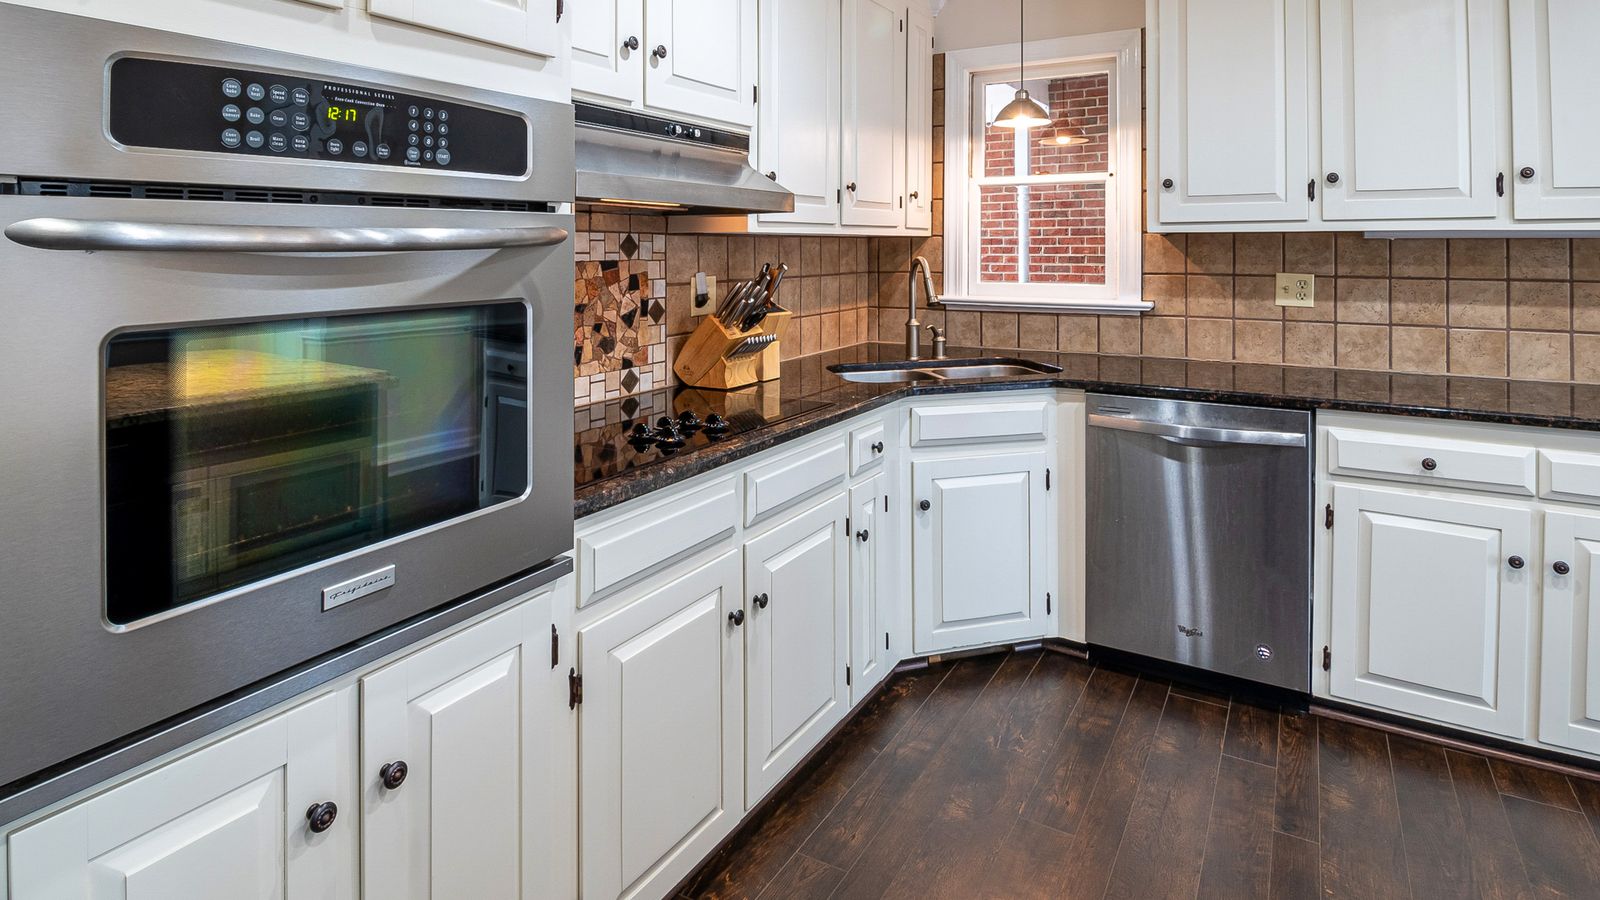
Common Budget-Busting Mistakes to Avoid
- Underestimating square footage on a refacing kit and needing to place a second, more expensive rush order.
- Skipping primer to save a few dollars, then needing extra coats of finish paint that cost more overall.
- Buying a sink grid without measuring basin depth, resulting in a grid that sits too high and interferes with the faucet.
- Choosing the cheapest paint rather than a cabinet-rated formula, leading to chipping within months and a repaint that erases any savings.
- Not accounting for hardware costs separately when a refacing kit doesn’t include new hinges, handles, or knobs.
Frequently Asked Questions
Is a cabinet refacing kit really cheaper than replacing cabinets?
Yes, in most cases. Refacing keeps your existing cabinet boxes in place and only replaces visible surfaces, which typically costs a fraction of full cabinet replacement, provided the boxes themselves are structurally sound.
Can I paint over a cabinet refacing kit’s veneer?
Some veneers accept paint well with proper priming, but check the manufacturer’s guidance first – many refacing veneers are pre-finished and not designed to be repainted, so plan your finish choice before ordering the kit.
Do I need a sink grid if my sink is stainless steel?
Stainless steel resists staining better than enamel or fireclay, but it still scratches and dents from dropped cookware. A grid is a low-cost way to extend the life of any sink material.
How long should I wait before using cabinets after painting?
Cabinets are typically touch-dry within a day, but full cure – when the finish reaches its maximum hardness and chip resistance – can take one to three weeks depending on the product. Handle doors gently during this window even if they feel dry.
What’s the single highest-impact upgrade on a tight budget?
Cabinet paint generally delivers the most visual change per dollar spent, since it transforms the dominant surface area in most kitchens without the material cost of a refacing kit or new hardware.
Final Thoughts
A budget kitchen renovation plan works best when you shop in a deliberate order: protect what you have with a sink grid, refresh cabinet surfaces with a refacing kit where the boxes are sound, and finish with a durable cabinet paint where a color change alone will do the job. Measuring carefully, buying cabinet-rated products, and sequencing your purchases will keep you inside your budget while still delivering a kitchen that looks like it cost far more than it did.