If your under-sink cabinet is a jumble of half-empty sprays, a crusty scrub brush, and a plunger you’re not even sure works anymore, it’s time for a reset. A well-stocked cleaning supply cabinet doesn’t need to be huge – it needs to be effective. Three items do the heaviest lifting in most homes: a dedicated stovetop cleaner, a reliable bathroom cleaner, and a plunger that’s actually up to the job. Upgrading these three essentials first gives you the biggest return for the least amount of cabinet space.
This guide walks you through why each of these three items deserves an upgrade, how to evaluate what’s currently in your cabinet, and how to choose replacements that will actually get used instead of gathering dust behind the pipes.

Why These Three Items Come First
Most households own dozens of cleaning products, but only a handful get used every week. The stovetop, the bathroom, and the toilet are three of the highest-friction cleaning jobs in the house – meaning they’re the ones people put off, rush through, or handle with the wrong tool. Upgrading the products for these three tasks specifically pays off because:
- They’re used weekly (stovetop, bathroom) or in an emergency (plunger), so quality matters more than for occasional-use items.
- A poor match between tool and surface (like an abrasive cleaner on a glass cooktop) can cause real damage.
- A weak plunger at the wrong moment turns a five-minute fix into a call to a plumber.
Once these three are sorted, everything else in the cabinet – glass cleaner, dusting spray, floor cleaner – is easier to organize around them.
Step 1: Audit What’s Currently in the Cabinet
Before buying anything, spend ten minutes doing a quick inventory. Pull everything out from under the sink or wherever your supplies live, and sort into three piles: keep, replace, and toss.
- Check expiration and separation. Many sprays separate or lose potency after a couple of years. If a bottle has visibly settled layers or an off smell, it’s due for replacement.
- Match product to surface. Look at what your stovetop and bathroom surfaces actually are (glass-ceramic, stainless, enamel, tile, cultured marble) and confirm your current products are labeled safe for them.
- Test the plunger. A plunger with a cracked, misshapen, or overly stiff rubber cup won’t form a seal. If it looks warped or the flange is torn, it needs to go.
- Consolidate duplicates. It’s common to find three half-used bottles of the same all-purpose spray. Combine or discard so you have a clear picture of real gaps.
Step 2: Choose the Right Stovetop Cleaner
Stovetops vary more than people expect, and the wrong cleaner can scratch or dull the surface permanently.
Match the cleaner to your cooktop type
- Glass-ceramic (induction or radiant): Needs a non-abrasive cream cleaner specifically formulated for ceramic glass. Regular all-purpose sprays can leave streaks and won’t cut through baked-on residue.
- Stainless steel: Look for a cleaner that also leaves a light protective finish to resist fingerprints and water spots, paired with a soft microfiber cloth.
- Enamel or coil ranges: These can tolerate slightly more abrasive formulas, but a paste-style cleaner still outperforms spray-and-wipe products on stuck-on grease.
What to look for on the label
- “Non-scratch” or “safe for ceramic glass” if that’s your surface.
- A thicker, cream or paste consistency clings to vertical and angled surfaces better than a thin spray.
- Fragrance-free options if the range sits near an open kitchen or dining area.
If you’re not sure which formula suits your kitchen, our roundup of stovetop cleaners breaks down the top options by surface type, so you can match the product to your exact range before you buy.
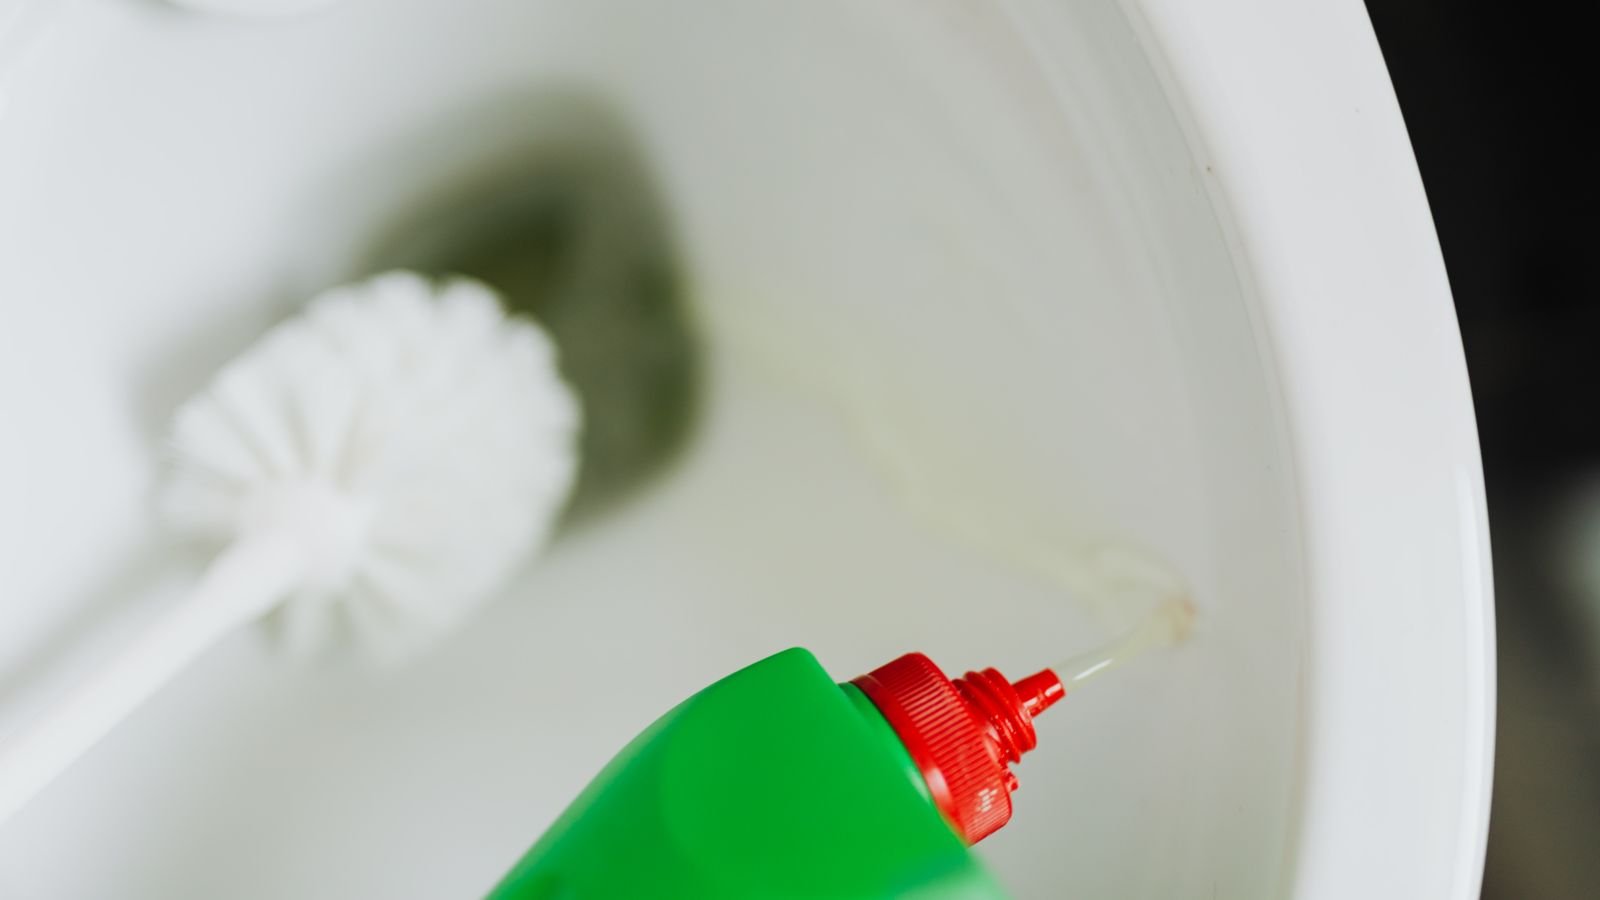
Step 3: Pick a Bathroom Cleaner That Covers the Whole Room
Bathrooms combine several different materials in a small space – tile, grout, chrome fixtures, glass, and porcelain – which is why a single, well-chosen bathroom cleaner is more efficient than a shelf full of specialty sprays.
Key features to prioritize
- Disinfecting claims. A product that’s registered to kill common household germs and mildew does double duty as both a cleaner and sanitizer.
- Soap scum and hard water cutting power. Look for formulas built to dissolve mineral deposits around faucets and shower doors, not just wipe surface dust.
- Grout-safe formula. Overly acidic cleaners can wear down grout over time; a balanced pH formula is safer for daily use.
- Ventilation-friendly scent. Bathrooms are often small with limited airflow, so a milder scent or fragrance-free version is worth considering.
A spray bottle plus a dedicated bathroom scrub brush or non-scratch sponge is usually enough to cover the sink, tub, and toilet exterior in one pass. For a closer look at which formulas handle soap scum, mildew, and hard water best, see our guide to bathroom cleaners.
Step 4: Get a Plunger That Actually Works
Not all plungers are built the same, and the flat, cup-shaped plunger many people default to is actually the weakest option for toilets.
Types of plungers
- Cup plunger: Best for flat surfaces like sinks and tubs. It doesn’t form a strong seal in a toilet bowl’s curved opening.
- Flange plunger: Has an extra fold of rubber that extends into the toilet drain, creating a much tighter seal and far more effective suction. This is the right choice for toilets.
- Accordion plunger: Made of harder plastic and generates strong pressure, though it can be less comfortable to grip and more prone to splashing if used incorrectly.
What to check before buying
- Handle length and grip comfort – a longer handle gives more leverage with less effort.
- Rubber quality – softer, more pliable rubber creates a better seal than stiff, cheap plastic.
- Storage caddy or holder included, so it isn’t sitting directly on the bathroom floor between uses.
Every household should keep at least one flange-style plunger dedicated to the toilet and a separate cup plunger for sinks and tubs. Our comparison of the best plungers covers seal strength, handle design, and storage options if you want to see how the leading models stack up.

Step 5: Organize the Upgraded Cabinet
Once you’ve replaced the three essentials, a little organization keeps them easy to reach when you actually need them.
- Group by room. Keep kitchen products (stovetop cleaner, degreaser) together, separate from bathroom products, so you’re not hunting through unrelated bottles.
- Use a caddy or bin. A small plastic caddy keeps bottles upright and makes it easy to carry supplies from room to room during a cleaning session.
- Store the plunger upright and dry. A dedicated holder prevents water from pooling on the floor and keeps the rubber cup in better shape longer.
- Label a “toss by” reminder. Many cleaning sprays perform best within about two years of purchase; a small sticky note with the purchase date helps you track freshness.
Common Mistakes to Avoid
- Using an all-purpose spray on a glass-ceramic stovetop. This can leave a hazy film that’s difficult to remove and may scratch the surface with repeated use.
- Mixing bleach-based and ammonia-based cleaners. Never combine bathroom cleaning products – the fumes can be genuinely dangerous. Rinse one product fully before applying another.
- Keeping a flat cup plunger as your only toilet plunger. It rarely forms a strong enough seal, leading to frustrating, ineffective plunging.
- Storing chemicals within reach of children or pets. Keep sprays on a higher shelf or in a cabinet with a child safety latch.
- Letting the plunger sit wet against the floor. This encourages mold growth on both the plunger and the surrounding surface.
Safety Notes
Always read product labels before combining cleaning agents, and use disinfecting bathroom cleaners in a ventilated space with the door or window open. When using a plunger, wear rubber gloves and avoid vigorous plunging that could splash contaminated water. Store all cleaning chemicals out of reach of children and pets, and never transfer cleaners into unlabeled containers.
Frequently Asked Questions
How often should I replace my stovetop cleaner?
Most cream or spray stovetop cleaners stay effective for about a year to two years after opening, though thicker cream formulas tend to last longer since they’re used sparingly. Replace immediately if you notice separation, an off odor, or reduced cleaning power.
Can I use the same cleaner for the bathroom and kitchen?
Some all-purpose disinfecting sprays are labeled safe for both, but a dedicated bathroom cleaner is usually formulated to handle soap scum and mildew more effectively, while a kitchen cleaner focuses on grease. Keeping them separate generally gives better results in each room.
Why does my plunger keep failing?
The most common cause is using a flat cup plunger on a toilet, which can’t form a proper seal against the curved drain opening. Switching to a flange-style plunger and pressing firmly to eliminate air pockets before plunging usually solves the problem.
How many plungers does a household actually need?
Two is a practical minimum: one flange plunger dedicated to the toilet and one cup plunger for sinks and tubs. Using a single plunger for both is less hygienic and less effective, since the shapes serve different purposes.
What’s the easiest way to keep the cabinet organized long-term?
A simple caddy system with grouped products, plus a quick monthly check for expired or near-empty bottles, keeps the cabinet functional without much ongoing effort.
Final Thoughts
You don’t need to overhaul your entire cleaning cabinet to see a real difference – starting with the stovetop cleaner, bathroom cleaner, and plunger covers the three tasks that come up most often and matter most when they go wrong. Match each product to your actual surfaces, store them thoughtfully, and replace them on a reasonable schedule, and the rest of your cleaning routine gets noticeably easier.