A slide-mount range takes the daily hits of a busy kitchen: boil-overs on the cooktop, baked-on grease inside the oven, and grime that creeps into the seams around the built-in trim. Because the unit is fitted flush into cabinetry, dirt and food splatter have fewer places to escape and tend to bake into the surface with every use. A thorough deep clean once every few months keeps the range looking new, prevents smoke and odors from residual grease, and protects the finish so the unit lasts as long as it should. This guide walks through a complete, room-by-room process for cleaning a slide-mount range from top to bottom, along with the safety notes and common mistakes worth avoiding.
What You’ll Need Before You Start
Gathering supplies ahead of time makes the whole job faster and keeps you from tracking grease across the kitchen while you search for a rag. A typical deep-clean kit includes:
- Dish soap or a degreasing kitchen spray
- Baking soda and white vinegar for a natural scrubbing paste
- A non-abrasive sponge and a soft microfiber cloth
- A plastic scraper (never metal) for stuck-on residue
- An old toothbrush or grout brush for tight seams and control knobs
- Rubber gloves
- A shop vacuum or handheld vacuum with a crevice tool
- Oven-safe cleaner rated for your range’s interior finish (continuous-clean, self-clean, or standard porcelain)
Check your owner’s manual before using any commercial oven cleaner – some slide-mount models have continuous-clean liners or specialty coatings that react poorly to harsh chemical sprays.
Safety Notes Before You Begin
- Turn off and unplug or shut off the breaker for the range before cleaning any electrical components, burner elements, or the control panel.
- Let the oven and cooktop fully cool if you’ve cooked recently – never clean a hot surface.
- Work in a ventilated kitchen, especially if using a commercial oven cleaner with strong fumes; open a window or run the range hood.
- Wear gloves when working with degreasers or oven cleaner, since both can irritate skin.
- Never spray cleaner directly into gas burner ports or electrical connections – apply it to a cloth first.
Step-by-Step: Deep Cleaning Your Slide-Mount Range
Step 1: Remove Grates, Knobs, and Removable Parts
Start by pulling off the burner grates (for gas models), control knobs, and any drip pans or trim rings. Soak grates and knobs in warm, soapy water for 15-20 minutes to loosen baked-on grease before scrubbing. This soak step alone handles most of the stubborn residue, so don’t skip it – scrubbing dry, hardened grease is what wears out sponges and patience fastest.
Step 2: Vacuum Loose Debris
With the grates and knobs removed, run a handheld vacuum or shop vac with a crevice attachment over the cooktop surface, the gaps around burner bases, and – if it’s a gas range – the burner ports. Crumbs and grease flakes left in these areas turn into stubborn stains once they’re wetted with cleaner, so clear them out first.
Step 3: Degrease the Cooktop Surface
Spray a degreasing cleaner across the cooktop and let it sit for a few minutes to break down grease. Wipe with a non-abrasive sponge, working in small sections. For stainless steel, wipe with the grain to avoid streaking. For baked-on spots, make a paste of baking soda and a little water, spread it over the stain, and let it sit for 10-15 minutes before scrubbing gently.
Step 4: Clean the Seams and Slide-Mount Trim
The trim edges where a slide-mount range meets the surrounding cabinetry collect grease and crumbs that a standard wipe-down misses. Run a toothbrush or grout brush dipped in soapy water along these seams, then dry thoroughly. Moisture trapped in these gaps can eventually damage cabinetry, so always finish with a dry cloth pass.
Step 5: Deep Clean the Oven Interior
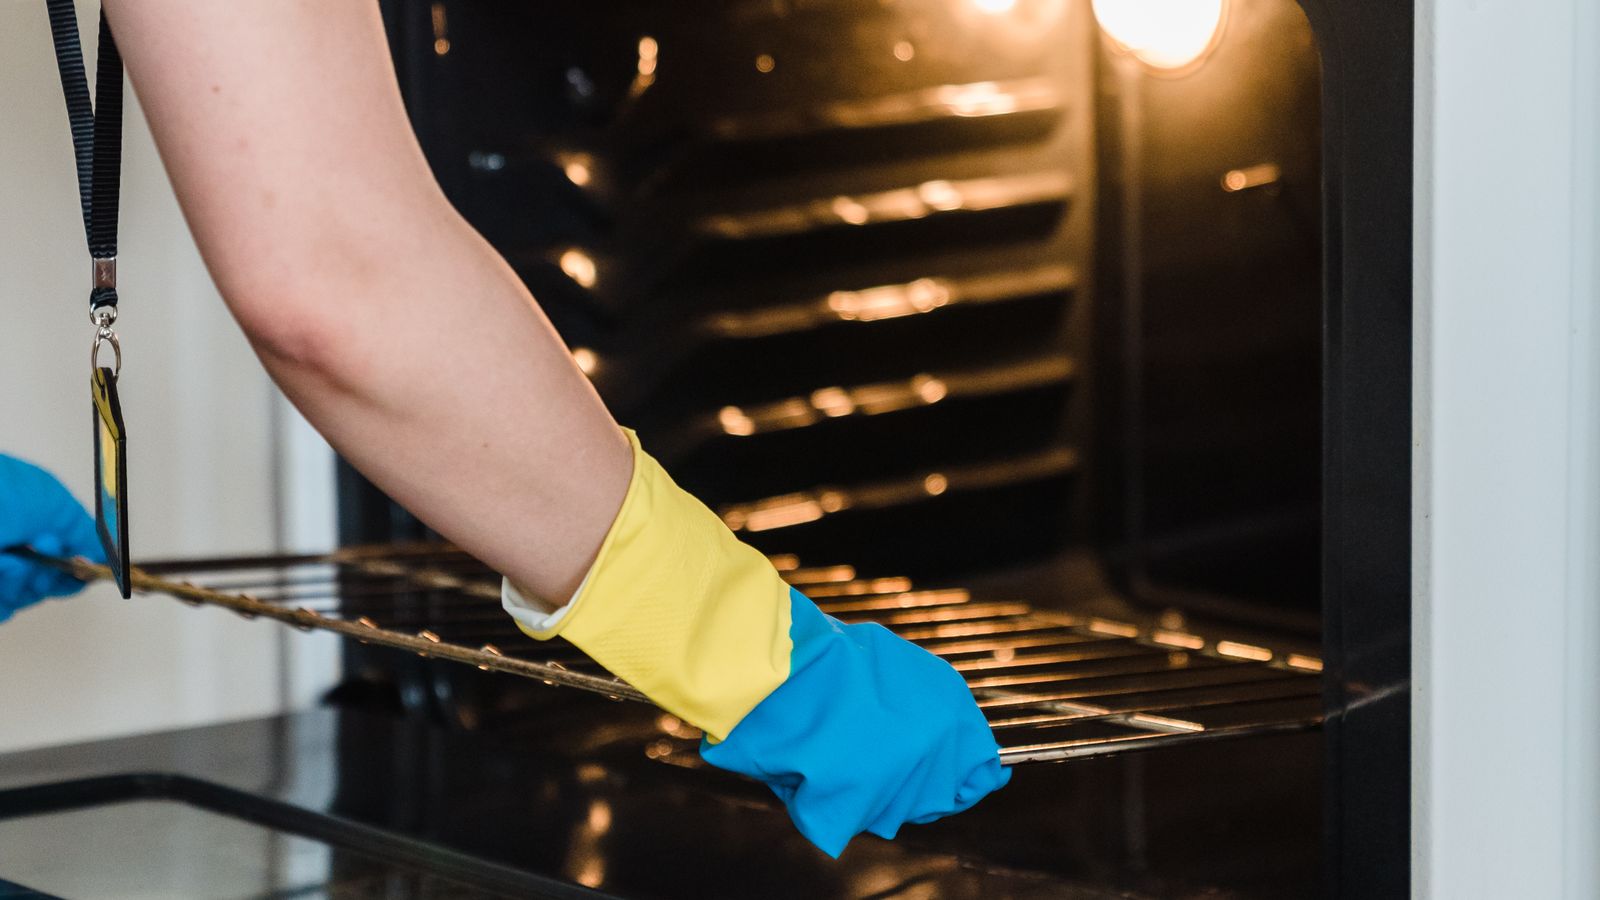
If your range has a self-clean cycle, run it according to the manufacturer’s instructions, then wipe out the loosened ash once the oven has cooled completely. If it doesn’t have a self-clean function, apply an oven-safe cleaner to the interior walls, avoiding the heating elements, and let it sit for the time specified on the label. Scrub with a non-abrasive sponge, then wipe clean with a damp cloth followed by a dry one to remove any cleaner residue before your next bake.
Step 6: Clean the Oven Door and Window
Glass oven doors often trap grease between cleanings that regular wiping can’t fully reach on the inside pane. Use a glass-safe cleaner or a vinegar-water solution on the exterior and interior-facing glass. For heavy buildup between double-pane doors, check your manual – some models allow the door to be removed and the panes separated for a deeper clean.
Step 7: Wipe Down the Control Panel and Handles
Dampen a microfiber cloth (never spray liquid directly onto digital control panels) and wipe down the display, buttons, and handles. This step is easy to skip but matters – control panels accumulate cooking splatter and hand oils daily, and buildup here can eventually interfere with touch-sensitive buttons.
Step 8: Reassemble and Do a Final Wipe
Once grates, knobs, and trim rings are fully dry, put them back in place. Do a final wipe-down of the entire range with a clean microfiber cloth to catch any remaining streaks or cleaner residue, then step back and check the finish under good lighting for missed spots.
How Often Should You Deep Clean a Slide-Mount Range?
A full deep clean every 4-6 weeks is a reasonable baseline for households that cook often, with a quick wipe-down of the cooktop and control panel after each use. Kitchens that see heavy frying, baking, or boil-overs may need attention more often. Waiting too long between cleanings lets grease bake into the finish repeatedly, which makes each future cleaning session harder and can eventually dull stainless steel or discolor porcelain interiors.
Common Mistakes to Avoid
- Using abrasive scrubbers or steel wool on stainless steel or glass cooktops – these leave permanent scratches.
- Spraying cleaner directly onto the control panel – liquid can seep behind buttons and damage electronics.
- Skipping the trim and seam areas – grease buildup here is what usually attracts pests and stains cabinetry over time.
- Using metal scrapers on glass cooktops – always use a plastic scraper rated for glass surfaces.
- Running the self-clean cycle with grates or foil liners still inside – check the manual first, since not all inserts are self-clean safe.
- Cleaning while the range is still warm – this can cause cleaner to smoke or bond to the surface instead of lifting away.
Maintaining the Results Between Deep Cleans
A few small habits go a long way toward stretching the time between deep-clean sessions:
- Wipe up spills and boil-overs as soon as the surface has cooled rather than letting them bake on during the next use.
- Keep a microfiber cloth and a mild degreaser under the sink for quick after-dinner wipe-downs.
- Use pan sizes that match your burners to reduce boil-over onto the cooktop and surrounding trim.
- Check the range’s exhaust vent or nearby range hood filter regularly – a clogged filter pushes more airborne grease back down onto the cooktop.
If your slide-mount range shares kitchen space with other built-in appliances, it’s worth keeping the whole lineup on a similar maintenance schedule. Pairing your range with a nearby warming oven for finished dishes, or a undercounter freezer for cold storage, means grease and splatter can spread between units if one is neglected – so a consistent cleaning routine across the whole kitchen pays off.
When to Consider Replacing Your Range
Deep cleaning restores appearance and function, but it can’t fix everything. If you’re noticing uneven heating, a finish that won’t come clean no matter how thoroughly you scrub, or control panel issues that persist after cleaning, it may be time to start browsing options. A well-reviewed lineup of slide mount ranges is a good starting point for comparing features like self-clean cycles, glass-top durability, and interior coatings that make future cleaning easier.
Frequently Asked Questions
Can I use the same cleaner on a gas and electric slide-mount range?
Most degreasers and baking-soda pastes work on both, but gas ranges need extra care around burner ports – never let cleaner pool inside the small gas openings, as residue can clog them and affect flame quality.
Is it safe to run the self-clean cycle every time I deep clean?
No. Self-clean cycles run at very high temperatures and generate strong odors and some smoke. Manufacturers generally recommend using it only occasionally – check your manual for the recommended frequency, since overuse can stress the heating element and door seal over time.
What’s the best way to clean a glass cooktop without scratching it?
Stick to a non-abrasive sponge, a plastic scraper for stuck spots, and cleaners formulated specifically for glass or ceramic cooktops. Avoid anything labeled abrasive, and never use steel wool.
How do I remove yellowing on a white porcelain oven interior?
A baking soda paste left to sit for 20-30 minutes before scrubbing works well on porcelain. For heavier yellowing, an oven-safe commercial cleaner combined with the self-clean cycle (if available) typically restores most of the original color.
Should I clean the range hood filter at the same time?
Yes – cleaning the range at the same time as the hood filter is efficient, since both collect airborne grease from the same cooking sessions. A greasy filter also recirculates residue back onto the cooktop, undermining your cleaning effort.
Final Thoughts
Deep cleaning a slide-mount range isn’t complicated, but it does take a methodical approach – working from the removable parts inward, tackling the interior, and finishing with the seams and control panel that are easy to overlook. Sticking to a regular schedule, paired with quick wipe-downs after cooking, keeps grease from ever building up to the point where it takes real effort to remove. And if your range has reached the end of its serviceable life despite your best cleaning efforts, comparing current models is a straightforward next step toward a kitchen setup that’s easier to keep spotless.