Moving a full-size side by side refrigerator is one of those chores that looks simple until you actually try to do it. These units are tall, top-heavy, and often weigh well over 250 pounds once the doors, shelves, and ice maker are accounted for. Whether you’re rearranging your kitchen, prepping for a move, or swapping out an old freezer for a new one, the right combination of planning and equipment – especially a sturdy appliance dolly – turns a two-person wrestling match into a controlled, low-stress task. This guide walks through how to simplify the whole process, from measuring doorways to strapping the fridge down safely for the trip.
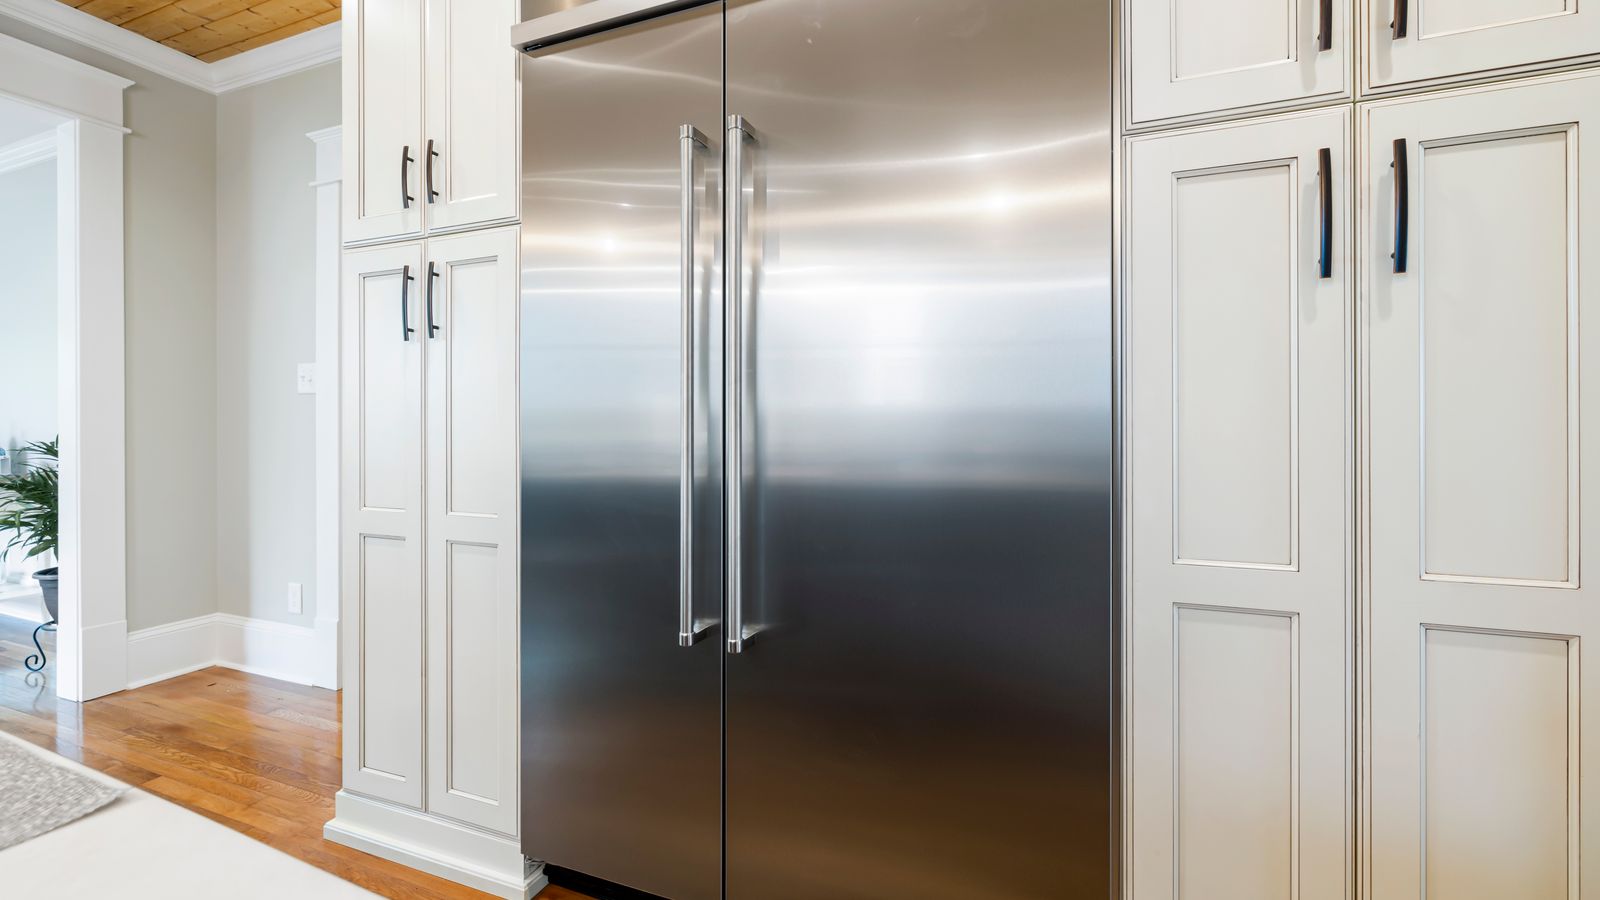
Why a Side by Side Refrigerator Needs Special Handling
A side by side refrigerator and freezer isn’t just heavier than a standard fridge – it’s built differently. The center of gravity sits higher because both compartments run the full height of the cabinet, and the doors open on opposite sides, which means the unit can shift unpredictably if it’s tilted too far in the wrong direction. Add in an ice maker, a water line, and glass shelving, and you have an appliance that punishes careless handling. Scratched floors, dented panels, and cracked interior components are the most common results of trying to muscle one of these units without a plan.
Simplifying the setup starts with accepting that this is a two-step problem: you need to protect the appliance itself, and you need equipment that can carry its weight without straining your back or your budget. That’s where an appliance dolly earns its keep.
Preparation: Tools and Materials You’ll Need
Before you touch the refrigerator, gather everything you’ll need so you’re not improvising halfway through the job.
- A rated appliance dolly (also called a hand truck) with a weight capacity of at least 400 lbs
- Furniture straps or ratchet straps to secure the fridge to the dolly
- Moving blankets or thick furniture pads
- Painter’s tape to secure doors shut
- A tape measure for doorways, hallways, and stairwells
- A second person – this is not a solo job
- Furniture sliders or a ramp for thresholds and steps
- A bucket or towels for draining the water line and ice maker reservoir
If you’re shopping for equipment, browsing a curated list of appliance dollies before moving day gives you a sense of load ratings, stair-climbing features, and strap systems so you’re not grabbing whatever’s cheapest at the hardware store.
Step-by-Step: Moving Your Side by Side Refrigerator
Step 1: Empty and Defrost
Remove all food, shelves, bins, and drawers. Loose items inside the fridge are the number one cause of interior damage during a move – a shelf that shifts can crack a glass panel or jam a door. If the unit has an automatic ice maker, unplug it and let the freezer defrost for at least 24 hours before moving day to avoid water leaking out mid-transport.
Step 2: Disconnect Power and Water
Unplug the refrigerator well ahead of time. If it’s connected to a water line for the ice maker or door dispenser, shut off the supply valve and disconnect the line carefully, draining any residual water into a towel or bucket. Coil the water line and tape it to the back of the unit so it doesn’t drag or snag.
Step 3: Secure the Doors
Use painter’s tape (never duct tape, which can damage the finish) to hold both doors firmly shut. A door swinging open mid-transport is one of the fastest ways to lose control of the appliance or damage a doorframe.
Step 4: Measure Your Path
Walk the route from the fridge’s current spot to its destination and measure every doorway, hallway turn, and stairwell along the way. Compare those numbers to the appliance’s width, depth, and height (including any handles). This single step prevents the frustrating scenario of getting a fridge halfway down a hallway and discovering it won’t clear a corner.
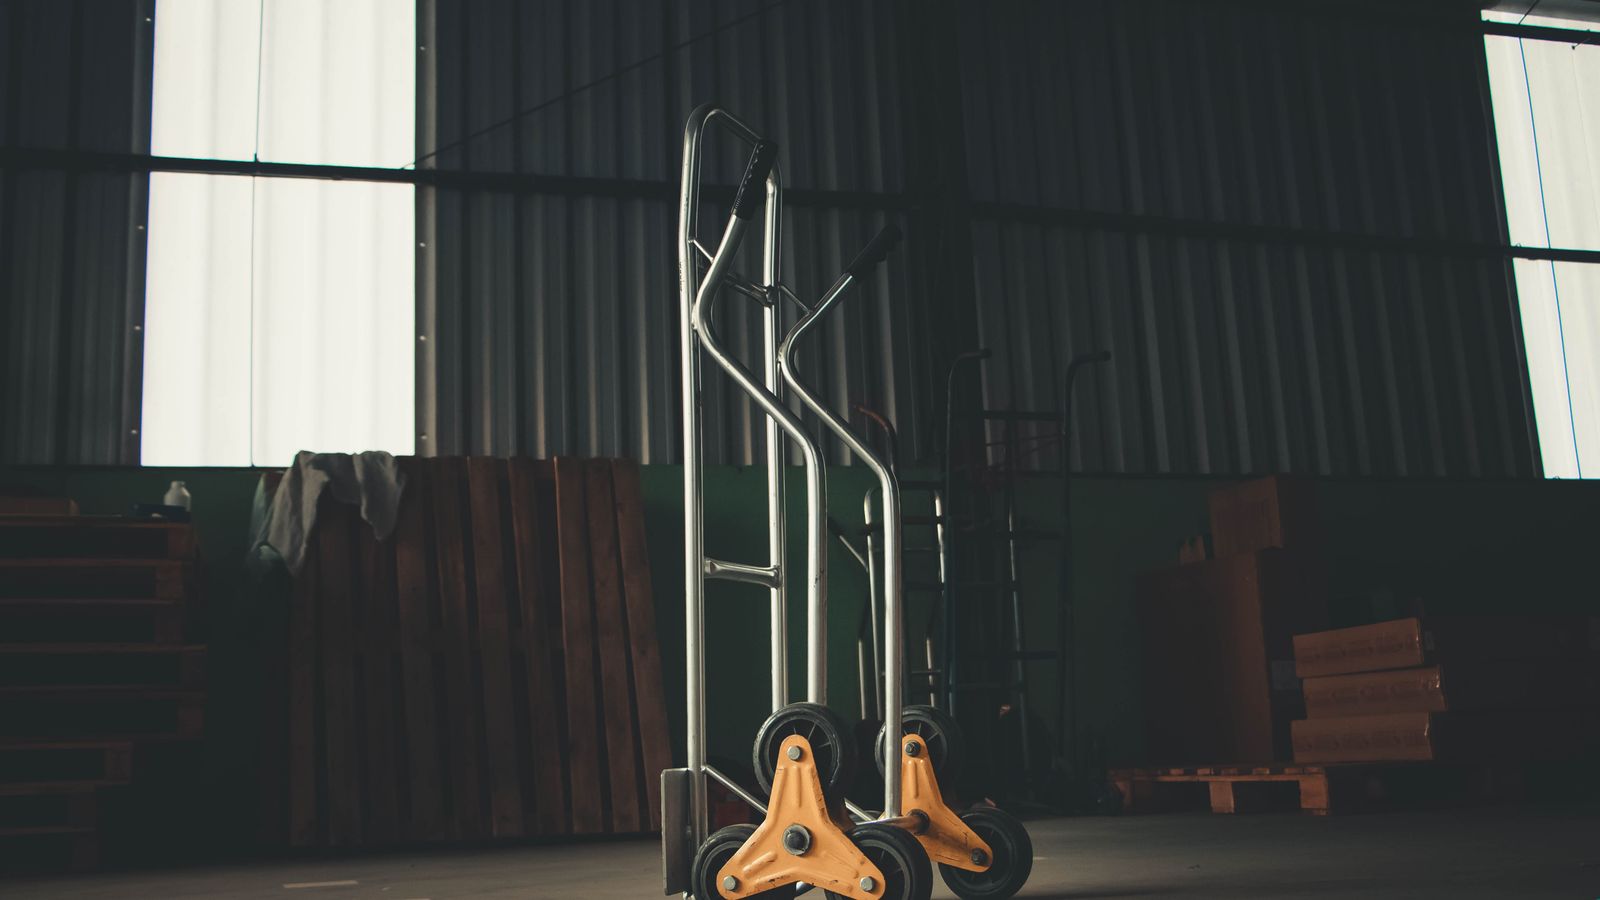
Step 5: Pad and Load the Dolly
Wrap the refrigerator in moving blankets, paying extra attention to corners and the control panel. Tilt the appliance back slightly – no more than 45 degrees – and slide the dolly’s base plate underneath. Center the fridge on the dolly platform so weight is distributed evenly; an off-center load is much harder to control and more likely to tip.
Step 6: Strap It Down
Run ratchet or furniture straps around the refrigerator and the dolly frame at two points – typically near the top and near the base – and tighten until the appliance can’t shift. Test the strap tension by gently rocking the fridge; it shouldn’t move independently of the dolly.
Step 7: Move Slowly and Deliberately
With one person guiding the dolly and a second steadying the appliance, move at a slow, even pace. Take stairs one at a time, letting the dolly’s wheels or stair-climbing mechanism absorb the impact rather than dropping the unit down each step. On flat ground, avoid sudden turns – pivot gradually instead.
Step 8: Reposition and Let It Settle
Once the refrigerator is in its new spot, remove the straps and blankets, then let it sit upright and unplugged for at least a few hours – some manufacturers recommend up to 24 – before powering it on. This allows the compressor oil to settle back into place, which prevents damage to the cooling system.
Safety Notes
Refrigerators are awkward, front-heavy, and unforgiving of shortcuts. Keep these safety points in mind throughout the process:
- Always lift with your legs, not your back, and never attempt to tilt or carry a side by side unit alone.
- Keep the appliance as close to upright as possible; excessive tilting can damage the compressor.
- Wear closed-toe shoes with good grip – a dropped appliance on an unprotected foot is a serious injury risk.
- Clear the path of rugs, cords, and pets before you start moving.
- If the dolly starts to tip, let go and step back rather than trying to catch a 250+ pound appliance.
Common Mistakes to Avoid
Even with the right equipment, a few recurring mistakes trip people up:
- Skipping the defrost. Moving a freezer that’s still full of ice guarantees a mess and possible water damage.
- Using a standard hand truck instead of an appliance dolly. Standard dollies aren’t rated for the weight or shaped to cradle a wide refrigerator body safely.
- Laying the fridge on its side. This can cause compressor oil to flow into the cooling lines, leading to performance issues later.
- Not measuring doorways first. Getting stuck mid-hallway with a heavy appliance is avoidable with five minutes of measuring.
- Plugging it in immediately. Skipping the settling period can shorten the compressor’s lifespan.
Setting Up Your New Space
Once the refrigerator is in place and running, take the opportunity to rethink how you organize it. A fresh setup is the ideal time to add bins, lazy Susans, or door racks that make better use of the interior space – small upgrades that keep food visible and reduce waste. If you’re overhauling how everything is arranged inside, a look at best refrigerator organizers can help you plan a layout before you start putting groceries back in. And if this move was part of a larger appliance upgrade, comparing models is easier once you’ve seen how much room a full-size unit actually needs – a roundup of side by side refrigerators is a useful reference if you’re still deciding what to bring into the new space.
Frequently Asked Questions
Can I move a side by side refrigerator without a dolly?
It’s technically possible with enough people and furniture sliders, but it’s far riskier for both the appliance and your back. A rated appliance dolly distributes the weight, keeps the unit stable, and lets two people handle a job that would otherwise require four or more.
How long should a refrigerator sit before being plugged in after a move?
Most manufacturers recommend letting it stand upright for at least a few hours, and up to 24 hours if it was tilted significantly during transport. This gives the compressor oil time to redistribute properly.
What weight capacity should my appliance dolly have?
Look for a dolly rated for at least 400 lbs. A large side by side refrigerator with an ice maker and full shelving can easily exceed 250-300 lbs, and you want a comfortable safety margin.
Is it okay to tilt the refrigerator on its side to fit through a doorway?
Avoid this whenever possible. Laying a refrigerator on its side can let compressor oil migrate into the cooling lines, which may cause cooling problems after it’s set back up. A slight backward tilt on the dolly is much safer than a full side-lay.
Do I need to disconnect the ice maker before moving the fridge?
Yes. Shut off the water supply, disconnect the line, and let the ice maker fully defrost before the move to avoid leaks and water damage during transport.
Final Thoughts
Moving or repositioning a side by side refrigerator doesn’t have to be a stressful, injury-prone ordeal. With the appliance emptied, defrosted, and properly secured to a well-rated dolly, two people can handle the job safely and efficiently. Take the time to measure your path, pad the corners, and let the unit settle before plugging it back in, and you’ll protect both your investment and your kitchen floors. A little preparation up front turns a dreaded chore into a straightforward afternoon project.