Turning a front-load washer and dryer into a single vertical unit sounds simple until you realize the two machines cannot just be piled on top of each other. A dedicated stacking kit is the piece of hardware that makes the combination safe, level, and code-compliant, and if you have never installed one before, the process can feel more intimidating than it actually is. This guide walks a total beginner through what a washer stacking kit is, why it matters, how to choose the right one, and how to use it correctly so your laundry pair stays secure for years.
What Is a Washer Stacking Kit and Why You Need One
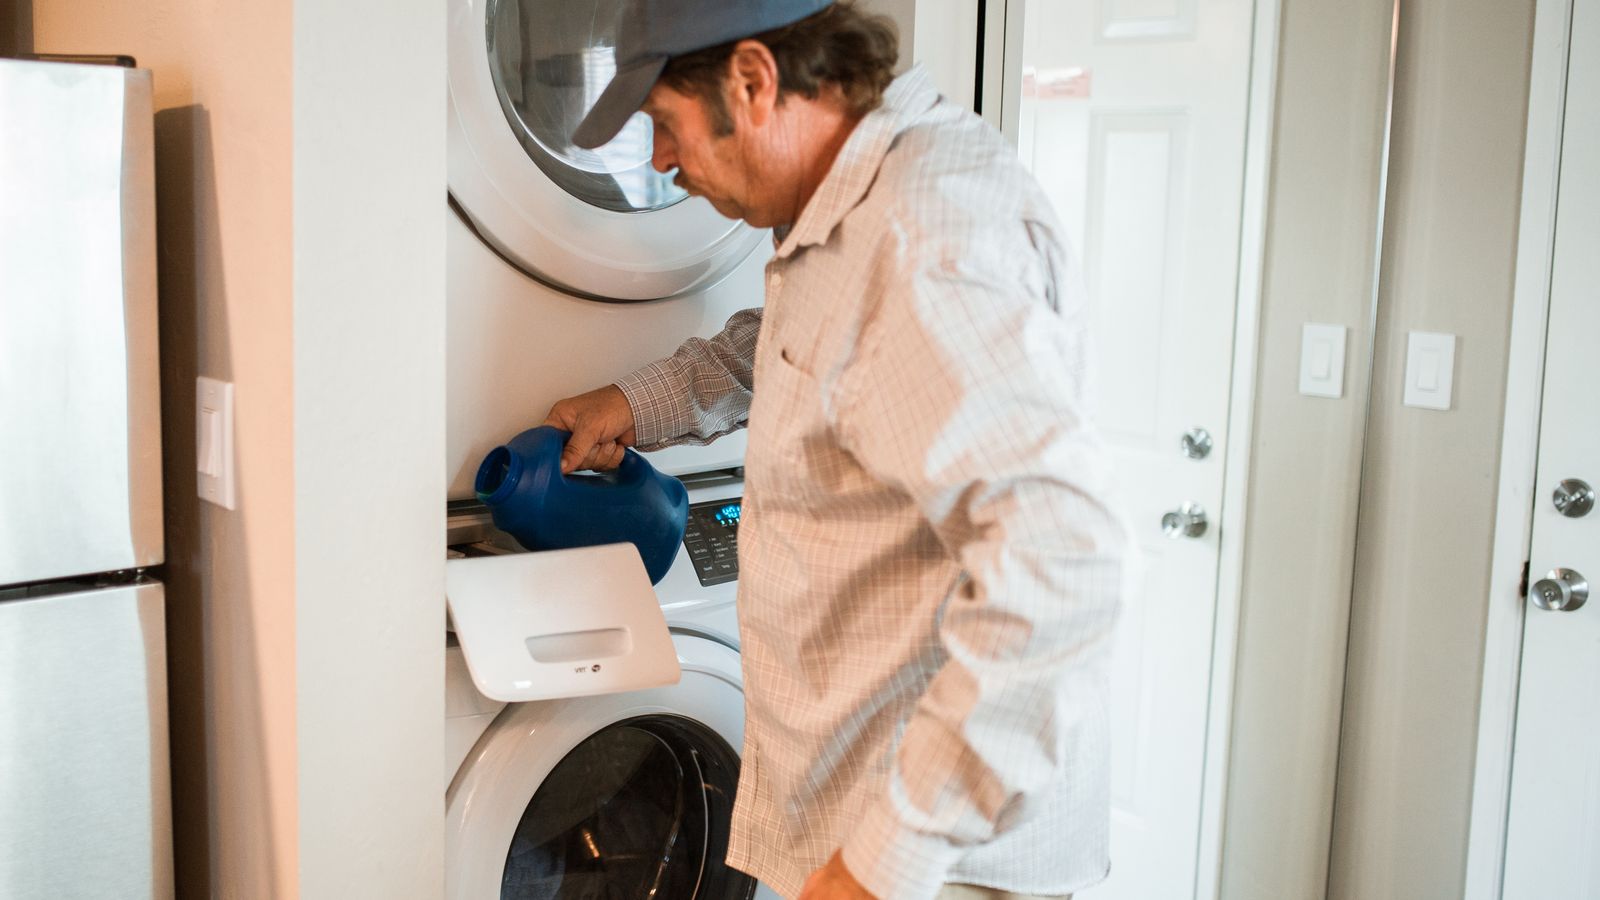
A washer stacking kit is a manufacturer-specific bracket-and-frame system designed to sit on top of a front-load washer and support a dryer above it. It is not a piece of plywood or a generic shelf – it is an engineered frame with locking clips, corner brackets, and often a pull-out shelf that keeps the dryer from sliding, tipping, or vibrating loose over time. Front-load washers spin at high RPMs during the spin cycle, and that motion transfers upward. Without a proper kit, a dryer balanced on top can walk itself toward the edge of the washer cabinet, which is both a safety hazard and a warranty violation.
Most washer and dryer manufacturers require the use of their own branded stacking kit to keep the appliance warranty valid. Using a mismatched or generic kit – or skipping the kit altogether and just setting one machine on the other – can void coverage on both units and, more importantly, create a genuine risk of the dryer shifting during use. If you are working with a small laundry closet, a stacking kit is often the only way to fit both machines without a costly renovation.
Who Should Consider Stacking a Washer and Dryer
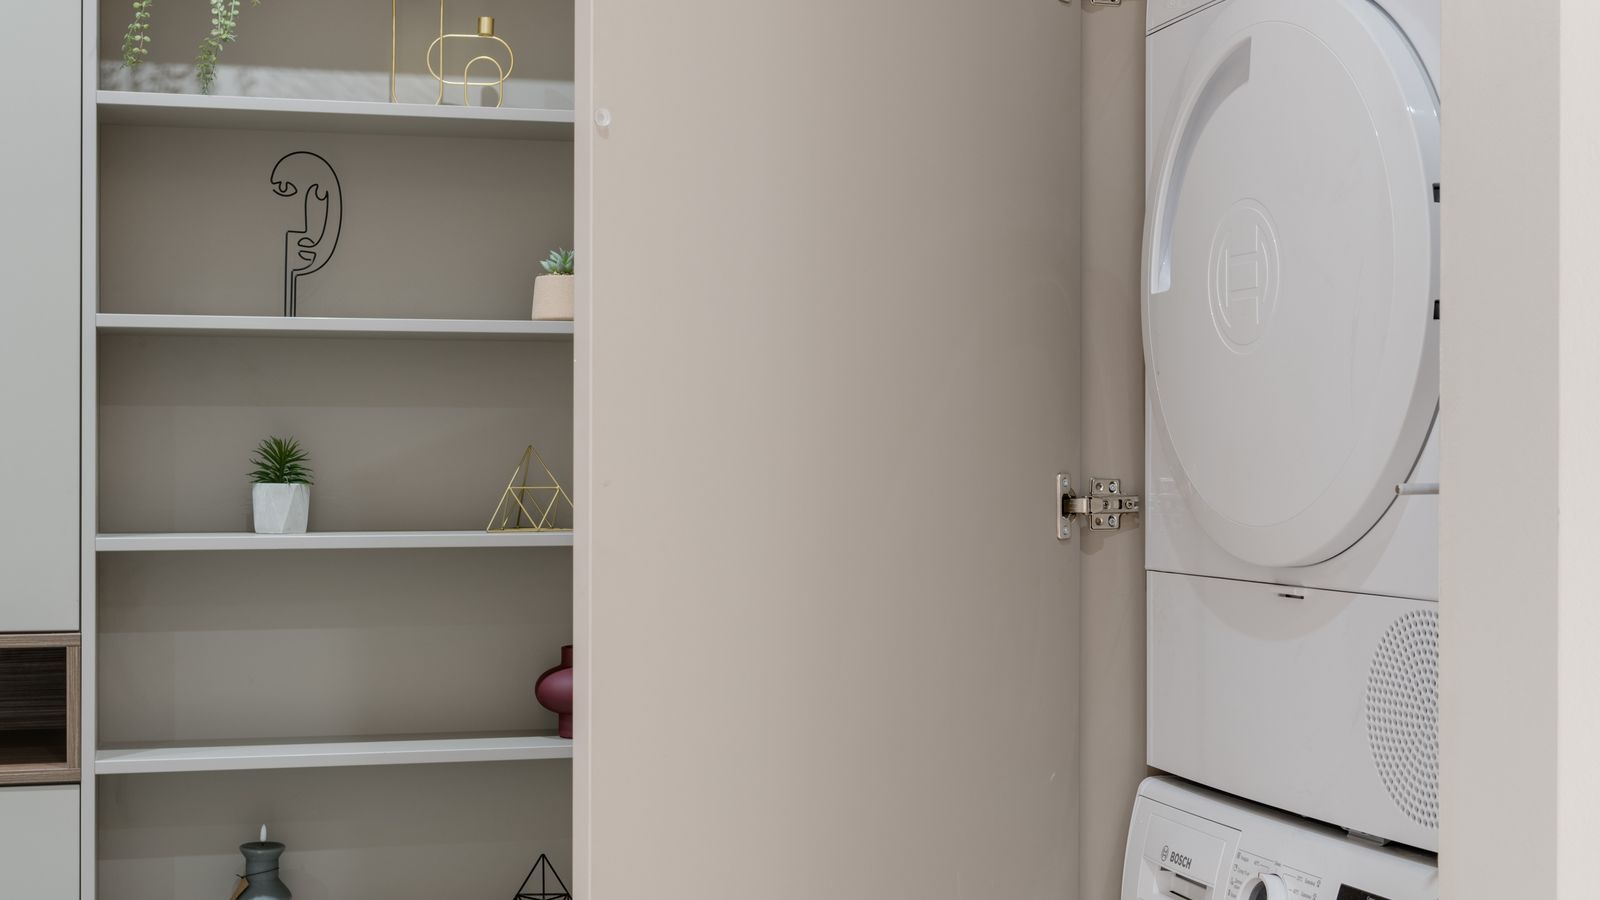
Stacking makes the most sense for apartments, condos, tiny houses, and any laundry closet where floor space is limited but ceiling height is not. It is also popular in basement laundry rooms where homeowners want to free up floor area for storage shelving, folding tables, or a utility sink. If your laundry area is wider than it is tall, a side-by-side layout is usually more practical, but if you are working with a narrow closet, stacking can turn an awkward corner into a fully functional laundry station.
Before you commit, measure your space carefully. A stacked pair typically needs 74 to 80 inches of vertical clearance depending on the models, plus a few extra inches above the dryer for venting and door swing. If you are unsure which appliances fit your footprint or want to compare units built with stacking in mind, browsing a roundup of washer stacking kits is a good first step before you buy anything.
Types of Washer Stacking Kits
Manufacturer-Branded Kits
These are designed and sold by the same company that made your washer and dryer – Whirlpool, LG, Samsung, GE, Maytag, and others each produce their own kit sized specifically for their appliance cabinets. Manufacturer kits are almost always the safest and most reliable choice because the bracket dimensions, screw locations, and weight ratings are engineered around the exact machine you own. They are also frequently required to keep your warranty intact.
Universal or Third-Party Kits
Universal kits are built to fit a range of washer and dryer widths, usually adjustable within a certain size window. They can work well when a manufacturer kit is discontinued or unavailable, but they demand more careful measuring and are not guaranteed to preserve your warranty. Read the compatibility chart closely before buying, and confirm the kit’s maximum supported dryer weight against your specific model.
Kits With and Without a Sliding Shelf
Some stacking kits include a slide-out shelf between the washer and dryer, which is handy for holding a laundry basket, detergent, or dryer sheets at a convenient height. Others are a simpler frame without the shelf. The shelf adds a small amount of extra height to the stack, so double-check your clearance measurement if you want this feature.
How to Choose the Right Stacking Kit
- Match the brand and model. Manufacturer kits are stamped with specific model compatibility numbers. Check your washer and dryer’s model number against the kit’s listed compatibility before ordering.
- Confirm the width matches. Stacking kits are designed for a specific cabinet width range, commonly 24 to 27 inches for standard front-load pairs. A kit that’s too wide or narrow will not seat correctly on the washer’s top panel.
- Check the weight rating. Every kit lists a maximum supported dryer weight. Electric and gas dryers vary in weight, so confirm your dryer falls comfortably within the rated limit.
- Decide if you want a shelf. If you plan to store items between the units, choose a kit with an integrated slide-out shelf rather than trying to add a separate one later.
- Look at the mounting hardware included. A complete kit should include all brackets, corner clips, and screws needed for installation – you should not have to source extra hardware separately.
What You Need Before You Start
Gather these items before beginning the installation:
- The stacking kit itself, with all included brackets and hardware
- A Phillips screwdriver or a cordless drill with the correct bit
- A carpenter’s level
- A helper – dryers are heavy and awkward to lift alone
- Furniture dolly or appliance straps for moving the dryer safely
- The washer and dryer owner’s manuals for reference
Also make sure the washer is unplugged and its water supply lines are disconnected if you are moving it at all, and that the dryer’s power cord (and gas line, if applicable) is disconnected before you begin lifting.
How to Install and Use a Washer Stacking Kit
Step 1: Level the Washer First
Before anything else, make sure the washer sits flat and level on the floor. Use a level across the top of the machine, front-to-back and side-to-side, adjusting the washer’s leveling feet as needed. A washer that isn’t level will transfer that imbalance directly up through the kit and into the dryer, causing vibration and noise once both machines are running.
Step 2: Attach the Base Bracket to the Washer
Most kits include a frame or set of corner brackets that attach to the top edge of the washer cabinet. Follow the kit’s instructions to secure these brackets using the provided screws, making sure each corner is tightened evenly so the frame sits flush and doesn’t rock.
Step 3: Lift the Dryer Into Place
This step requires a second person. Lift the dryer carefully onto the top of the washer, aligning it within the bracket frame. Never attempt to lift a dryer alone or by yourself up a set of stairs – appliance straps or a two-person carry with bent knees will protect both your back and the machine.
Step 4: Secure the Locking Clips or Straps
Once the dryer is resting in the frame, engage the kit’s locking clips, straps, or corner brackets according to the manufacturer’s diagram. These connections are what actually keep the dryer from sliding during the washer’s spin cycle, so don’t skip any of the fastening points even if the dryer already feels stable.
Step 5: Recheck Level and Stability
With both machines assembled, place the level across the top of the dryer to confirm the whole stack is even. Gently push and pull the dryer from several angles to check for any wobble. If you feel movement, recheck that every bracket and clip from Step 4 is fully engaged.
Step 6: Reconnect Venting, Power, and Water Lines
Reattach the dryer vent hose, making sure it isn’t kinked or crushed behind the unit, then plug in the dryer and reconnect the washer’s water supply hoses and drain line. Run a quick empty cycle on both machines to confirm everything operates normally before loading laundry.
Safety Notes and Common Mistakes to Avoid
- Skipping the leveling step. An unlevel washer base undermines the entire stack, no matter how well the bracket kit is installed.
- Using a mismatched or generic kit when a manufacturer-specific one exists for your models – this is the single biggest cause of instability and voided warranties.
- Lifting the dryer alone. Even lightweight dryers are unwieldy to lift onto a washer by yourself; always use a helper or lifting straps.
- Forgetting to tighten every bracket point. A kit that’s only partially fastened can look secure at first glance but loosen after a few spin cycles.
- Crushing or kinking the dryer vent when pushing the stacked unit back into its closet – this restricts airflow and can become a fire hazard over time.
- Overloading the dryer beyond its rated capacity once stacked, which increases vibration and stress on the bracket connections.
- Ignoring persistent vibration or noise after installation – this usually signals a loose bracket, an unlevel washer, or an overloaded load, not something to ignore.
Maintaining a Stacked Washer and Dryer
Once your stack is installed, a little routine maintenance keeps everything secure. Periodically recheck the level of the washer, since floors can shift slightly over time, and inspect the stacking kit’s brackets every few months to confirm nothing has loosened from normal vibration. Clean the dryer’s lint trap after every load and have the vent duct inspected annually, since restricted airflow adds strain to the whole unit. If you’re setting up a broader laundry space and want features like a chute to move clothes down to the machines or crisp results on cotton shirts, resources on laundry chutes and best starch sprays can round out your laundry routine once the appliances themselves are squared away.
Frequently Asked Questions
Can I stack any washer and dryer together?
Only front-load washers are designed to be stacked with a dryer on top; top-load washers cannot support a stacking kit because their lid needs to open upward. You’ll also need a dryer and washer from the same width class, and ideally the same brand, to use a manufacturer-specific kit.
Do I really need the exact manufacturer kit, or will a universal one work?
A universal kit can work if a manufacturer kit isn’t available, but it requires careful measuring and won’t necessarily protect your warranty. Whenever possible, use the kit built specifically for your washer and dryer models.
How much weight can a typical stacking kit support?
This varies by kit and brand, so always check the listed maximum dryer weight in the product specifications rather than assuming. Most standard kits are rated to comfortably support full-size electric and gas dryers, but it’s worth confirming against your specific dryer’s weight before installing.
Is it safe to install a stacking kit myself?
Yes, most kits are designed for DIY installation with basic tools, as long as you have a helper to lift the dryer safely and you follow the manufacturer’s bracket instructions closely. If you’re uncomfortable with the lift or unsure about your specific models, a professional appliance installer can complete the job quickly.
Why is my stacked dryer vibrating more than expected?
Vibration usually traces back to an unlevel washer base, a loosely fastened bracket, or an unbalanced laundry load. Recheck the washer’s level first, then confirm every clip on the stacking kit is fully engaged before assuming there’s a bigger problem.
Can I add a stacking kit to appliances I already own, or do I need to buy new ones?
In most cases, yes – as long as your existing washer and dryer are front-load models within the kit’s supported width and weight range. If you’re shopping for new appliances specifically to stack, comparing options built with stacking kits in mind, like those covered in our guide to Washer Stacking Kits, can save you a mismatched-hardware headache later.
Final Thoughts
A washer stacking kit is a small piece of hardware that solves a real space problem, but it only works safely when matched correctly to your appliances and installed with care. Level the washer first, use the manufacturer-specific kit whenever you can, secure every bracket and clip, and recheck stability before you run your first load. Follow these steps and your stacked laundry pair will run quietly and safely for years, freeing up valuable floor space in the process.