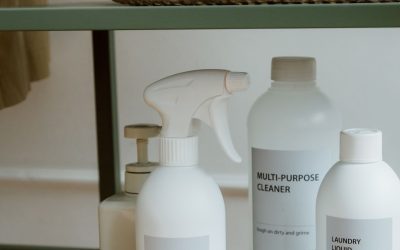
A cluttered cabinet under the sink slows down every cleaning task you try to tackle. If you are setting up a household from scratch or finally organizing years of mismatched bottles and rags, building a focused starter kit is the fastest way to make cleanup routines stick. This guide walks you through the essentials – starting with a recycling sorter, a fabric refresher, and a reliable dish brush – and shows you how to assemble them into a cabinet system that actually gets used every day.
Why a Starter Kit Beats Buying Piecemeal
Most people accumulate cleaning products reactively: a spill happens, they buy a spray, and the bottle ends up wedged behind three others that do almost the same job. A starter kit approach flips that pattern. You decide in advance which categories of tools you need – waste sorting, fabric care, and dishwashing – then choose one solid product for each category before adding anything else. This keeps the cabinet small, keeps costs predictable, and means you are never hunting for the right tool mid-task.
It also makes restocking simple. Once you know exactly what lives in your cabinet, you can reorder the same items instead of guessing which half-empty bottle needs replacing.
Step 1: Take Stock of Your Space and Habits
Before buying anything, open your current cabinet (or the empty one you are filling) and note two things: the physical dimensions available, and the cleaning tasks you actually do weekly. If you rarely hand-wash dishes, a dish brush is still worth having as a backup, but it shouldn’t dictate your cabinet layout. If your household generates a lot of recyclable packaging, the sorter deserves the most accessible spot.
- Measure cabinet height, width, and depth – under-sink cabinets often have plumbing that eats into usable space.
- List your top three recurring cleaning tasks (laundry touch-ups, dishwashing, trash/recycling management).
- Decide whether items need to be visible and grabbed quickly, or can be stored deeper and pulled out occasionally.
Step 2: Choose a Recycling Sorter That Fits Your Routine
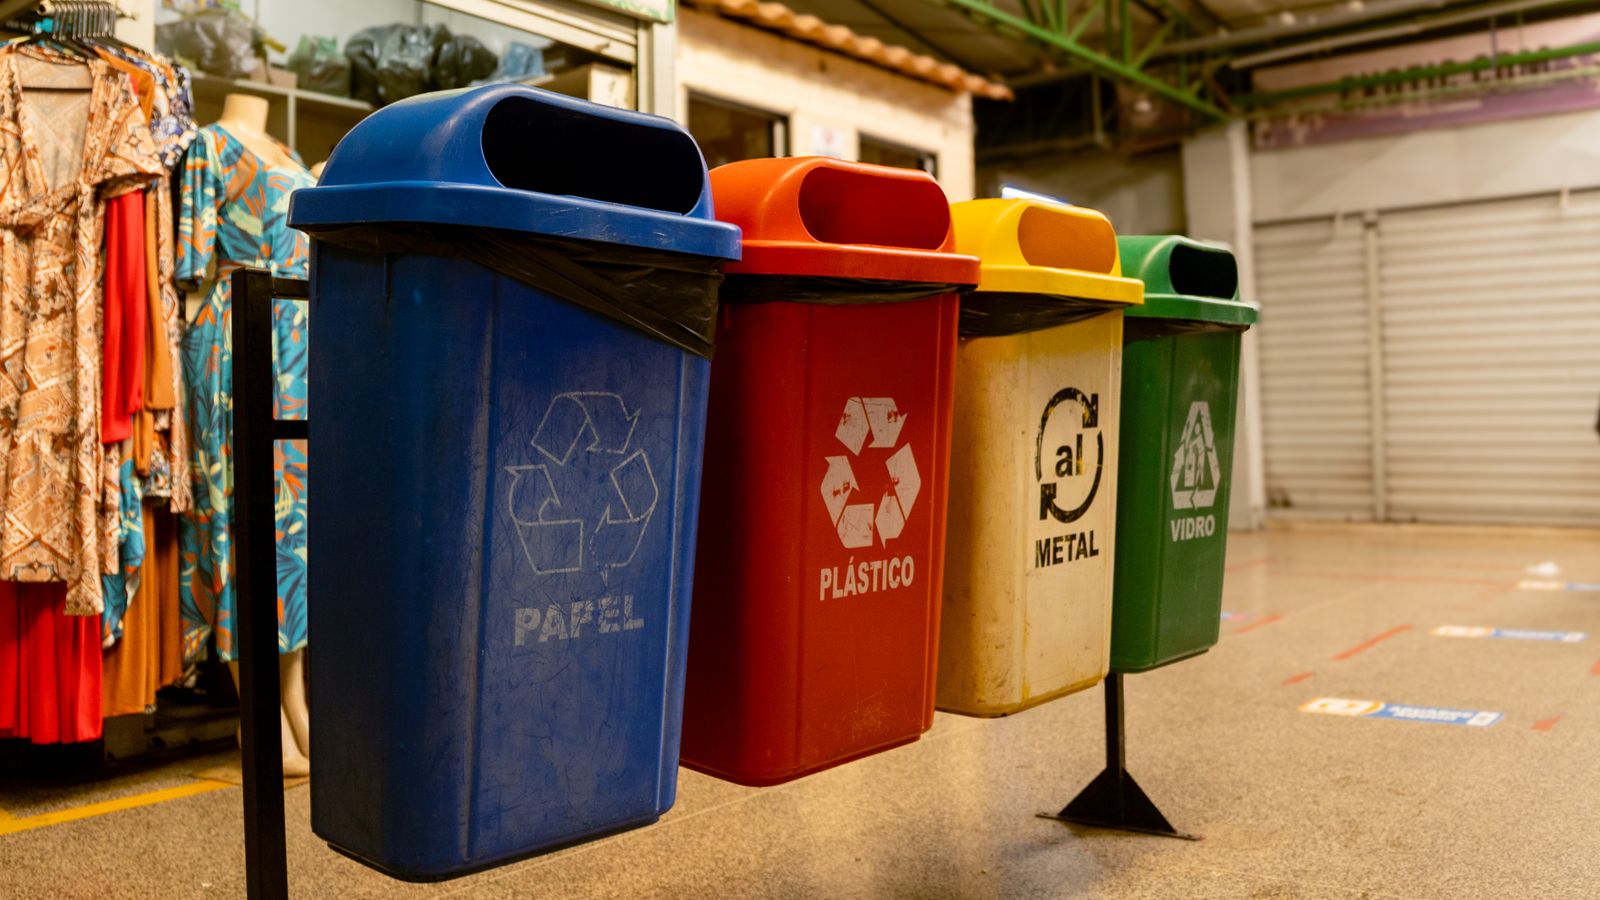
A recycling sorter is the anchor of a tidy waste-management system. Instead of a single overflowing bin, a sorter divides recyclables into streams – paper, plastic, glass, metal – so you are not untangling mixed materials on collection day. When choosing one for a starter kit, prioritize:
Number of Compartments
Two-stream sorters (recyclables vs. trash) work for smaller households or apartments with limited municipal sorting requirements. Three- or four-stream sorters suit homes with curbside programs that separate paper, glass, and plastic.
Footprint and Stackability
Slide-out or stackable sorters make the best use of narrow cabinet space, especially under a sink where plumbing limits your options. Measure twice – a sorter that is a half-inch too wide will not slide past pipes.
Liner Compatibility
Confirm the sorter accepts standard trash bag sizes for each compartment. Sorters requiring proprietary liners get expensive fast and are easy to run out of.
If you want to compare specific models before you buy, our roundup of recycling sorters breaks down capacity, compartment counts, and price tiers so you can match a unit to your kitchen layout.
Step 3: Pick a Fabric Refresher for Between-Wash Care
Not every fabric issue needs a full laundry cycle. A fabric refresher spray handles odor, light wrinkles, and staleness on upholstery, curtains, coats, and clothes that have only been worn once or twice. Including one in your starter kit reduces laundry frequency and keeps soft furnishings smelling clean between deep washes.
What to Look For
- Fabric safety: Choose a formula labeled safe for upholstery, delicate fabrics, and everyday clothing – not just carpets.
- Scent strength: Lighter, less concentrated scents work better in small rooms; unscented options exist for sensitive households.
- Application method: A fine mist nozzle distributes product evenly and dries faster than a heavy stream.
Keep the refresher near your entryway closet or laundry area rather than the main cleaning cabinet if that is where you use it most – accessibility matters more than strict categorization. For side-by-side options, see our guide to fabric refreshers.
Step 4: Select a Dish Brush That Lasts
A dish brush is one of the cheapest items in a cleaning kit but one of the most frequently used, so durability and hygiene matter more than price. Bristles that trap food particles and stay damp breed bacteria quickly, so look for:
Bristle Material
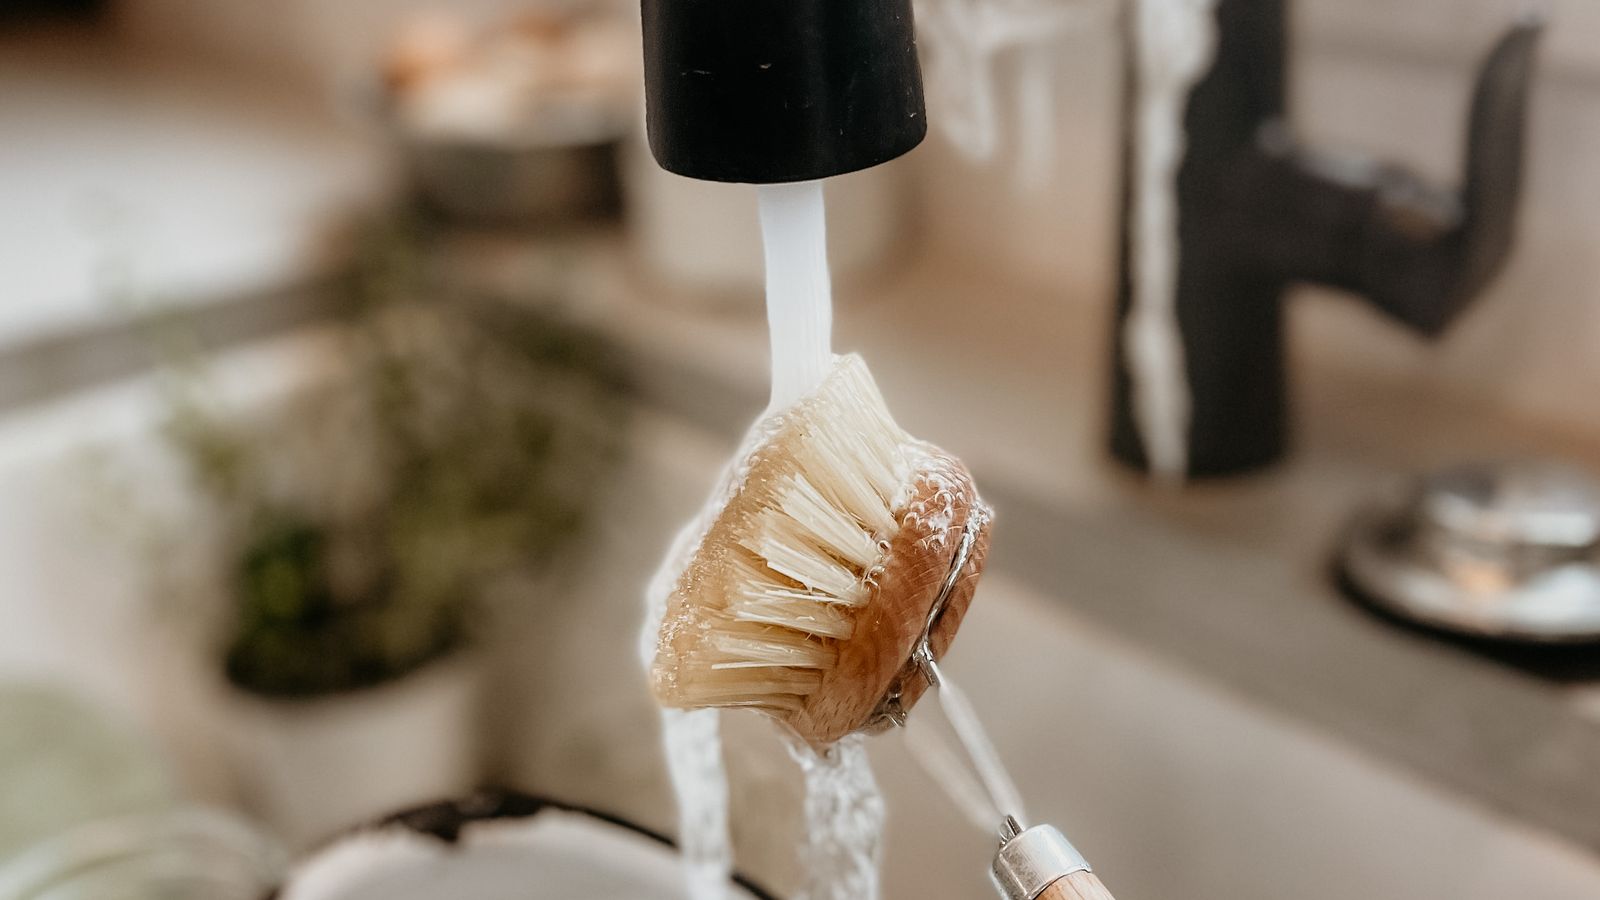
Firm nylon bristles scrub baked-on residue without scratching most cookware finishes. Natural fiber bristles are more eco-friendly but wear out faster and hold moisture longer.
Handle Design
A handle with a built-in stand or hook lets the brush air-dry upright instead of sitting in a wet puddle by the sink – this single feature significantly extends bristle life and reduces odor.
Replaceable Heads
Some dish brushes let you swap just the brush head instead of replacing the whole handle, which cuts down on waste and long-term cost.
Browse our comparison of the best dish brushes to find one that matches your sink setup and dishwashing habits.
Step 5: Assemble the Cabinet Layout
With your three core items chosen, arrange the cabinet so the most-used tools are within easy reach and heavier or bulkier items sit lower or toward the back.
- Place the recycling sorter closest to the cabinet opening if kitchen waste sorting happens daily.
- Store the dish brush in a caddy or on a suction hook near the sink basin rather than fully inside the cabinet, so it dries between uses.
- Keep the fabric refresher on a shelf at eye level or in the laundry area, wherever you actually reach for it.
- Add a small tension rod or bin divider to keep spray bottles upright and prevent tipping.
- Label shelves or bins if multiple household members share cleaning duties – labels cut down on misplaced items.
Safety Notes
Even a small starter kit involves a few safety basics worth reviewing before you finalize your setup.
- Store fabric refreshers and any aerosol products away from direct heat sources or sunlight, since pressurized cans can degrade or rupture when overheated.
- Keep all spray products out of reach of small children and pets, ideally on a shelf above floor level or behind a childproof latch.
- Rinse and air-dry the dish brush fully after each use to prevent bacterial buildup, and replace it every few months regardless of visible wear.
- Never mix cleaning chemicals inside the recycling sorter or trash bins – residue from different products can react unpredictably.
Common Mistakes to Avoid
- Buying too many products at once. A starter kit works because it is minimal – resist the urge to add five more items before you have tested the first three.
- Ignoring compartment sizes on the recycling sorter. A sorter with an undersized glass compartment fills up mid-week and defeats the purpose.
- Using fabric refresher as a substitute for washing. It extends time between washes; it does not replace them for heavily soiled fabrics.
- Storing the dish brush wet in a closed cabinet. This is the fastest way to grow mildew and shorten the brush’s lifespan.
- Skipping labels in shared households. Without labels, sorters and bins drift back into mixed-waste habits within weeks.
Maintaining Your Starter Kit Over Time
Once the cabinet is set up, a quick monthly check keeps it running smoothly. Empty and wipe down the recycling sorter compartments even if they look clean – residue builds up on plastic surfaces over time. Check the fabric refresher bottle for clogging at the nozzle, a common issue with fine-mist sprayers. Inspect the dish brush bristles for splaying or discoloration, and replace it proactively rather than waiting until it visibly frays.
As your household’s needs grow, you can expand the kit with complementary tools, but keep the same principle: add one well-chosen item at a time rather than restocking in bulk.

FAQ
How many compartments should a beginner recycling sorter have?
Start with two or three streams unless your municipality requires strict separation. It is easier to add complexity later than to manage a sorter with more compartments than you actually sort.
Can I use a fabric refresher on upholstered furniture?
Most fabric refreshers are safe on upholstery, but always check the product label and test on a hidden area first, especially with delicate or dyed fabrics.
How often should I replace a dish brush?
Every two to three months under normal use, or sooner if bristles splay, discolor, or develop a persistent odor even after rinsing.
Do I need separate dish brushes for pots and glassware?
Not for a starter kit. One firm-bristle brush handles most dishes; you can add a second, softer brush later if you frequently wash delicate glassware.
What is the best way to keep the cabinet from smelling musty?
Ensure the dish brush and any damp cloths dry outside the cabinet, keep the recycling sorter empty overnight when possible, and leave the cabinet door cracked periodically for airflow.
Final Thoughts
A well-planned cleaning cabinet does not need dozens of products – it needs the right few, placed where you will actually use them. Starting with a recycling sorter, fabric refresher, and dish brush covers three of the most frequent household tasks with minimal clutter. Once this core kit is in place and working, you can expand deliberately, adding only what genuinely improves your routine.