A kitchen renovation is the moment to fix every small annoyance you’ve lived with for years – including the appliances that never quite made it onto the original wish list. Trash compactors, bottleless water coolers, and instant hot water dispensers rarely headline a remodel plan, but they change how a kitchen actually feels to use every single day. This guide walks through how to sequence, budget, and install this trio so they land in the right spots the first time, without blowing your renovation timeline or your plumbing budget.
Why This Appliance Trio Matters in a Renovation
Trash compactors, bottleless water coolers, and instant hot water dispensers share one trait: they all need to be planned before cabinets go in, not after. Each one either requires a dedicated cabinet cavity, a water line, an electrical outlet, or some combination of the three. Bolting them on as an afterthought means drilling through finished countertops or running exposed hoses across your new floor – exactly the kind of compromise a renovation is supposed to eliminate.
Handled early, these three appliances solve real daily friction: less trash volume going out to the curb, filtered water on demand without lugging plastic jugs, and boiling water in seconds instead of babysitting a kettle. Treat them as part of the core kitchen plan, alongside your sink, dishwasher, and range.
Step 1: Map Your Kitchen’s Utility Points Before You Order Anything
Before choosing a single model, walk your kitchen plan with a pencil and mark:
- Existing water supply lines (usually under the sink)
- Available 120V outlets near the sink and lower cabinet runs
- Cabinet openings wide enough for a compactor (typically 15 inches)
- Counter space near the sink for a dispenser faucet
This map determines what’s realistically possible without opening walls. A bottleless water cooler and an instant hot water dispenser both usually tap into the same under-sink cold water line, so it’s efficient to plan them together. A trash compactor, by contrast, only needs power – no plumbing – but does need a dedicated cabinet bay with ventilation clearance.
Step 2: Decide on the Trash Compactor’s Location and Power
Trash compactors are typically installed as built-in units that slide into a 15-inch cabinet opening, much like a dishwasher. Before ordering:
- Confirm the cabinet bay is exactly the manufacturer’s specified width – compactors have very little tolerance for a loose or tight fit.
- Reserve a dedicated 120V grounded outlet inside or adjacent to the cabinet cavity.
- Choose a location near the main trash/recycling zone so compacted bags don’t have to travel far to the door.
- Check floor load ratings if you’re on an upper level – a full compactor with steel jaws is heavier than most people expect.
Compactors reduce trash volume significantly, which means fewer bags going to the curb each week – a real convenience for households that generate a lot of packaging waste. If you want to compare capacity, noise levels, and bag-tie mechanisms across models, the Trash Compactors roundup is a good next stop once your cabinet dimensions are locked in.
Step 3: Plan the Water Line for a Bottleless Cooler
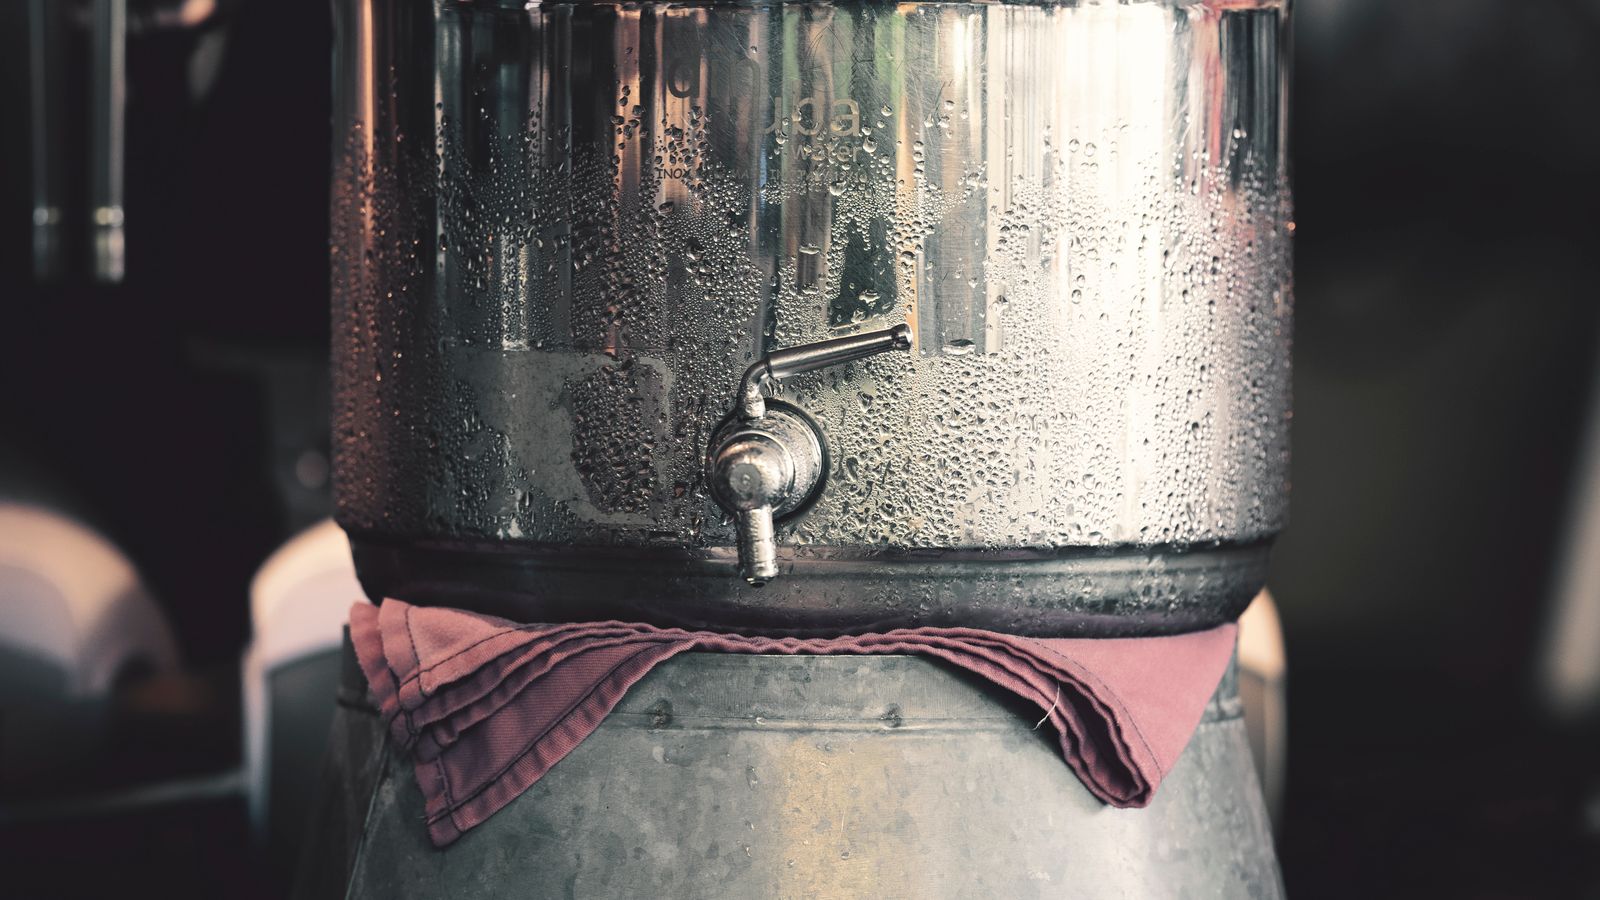
A bottleless water cooler connects directly to your cold water supply and filters it on demand, eliminating the need to store or haul bottled water jugs. During renovation planning:
- Identify whether the unit will sit under the counter (compact, hidden) or as a freestanding cooler near the fridge or pantry.
- Route a dedicated water line with a shutoff valve to the chosen spot – this is far easier to run while walls and cabinets are still open.
- Leave a small access panel or removable cabinet base if the filter cartridge needs periodic replacement.
- Confirm the model’s filtration stage count, since multi-stage filters need slightly more clearance for housing.
If space is tight, a countertop bottleless cooler with a flexible supply hose can work without permanent plumbing, but a built-in unit generally looks cleaner and holds up better over years of daily use. Browse filtration types and footprint options in the bottleless water coolers guide before finalizing your cabinet layout.
Step 4: Add an Instant Hot Water Dispenser at the Sink
An instant hot water dispenser is one of the smallest appliances in this lineup but has one of the biggest daily-use payoffs – tea, instant oatmeal, or blanching vegetables without waiting for a kettle to boil. It needs three things during renovation:
- A dedicated faucet hole on the sink deck or countertop (often the fourth hole next to the main faucet, soap dispenser, and sprayer).
- A small tank unit mounted under the sink, which needs its own 120V outlet and a cold water tap-in.
- Clearance in the under-sink cabinet – the tank is roughly the size of a small toaster oven and needs to sit upright.
Since it draws directly from the same under-sink area as a bottleless cooler, plan both together to avoid cramming two tanks and two water lines into one cabinet at the last minute. Compare tank sizes and temperature settings in the best instant hot water dispensers guide so you know exactly how much under-sink clearance to reserve.
Step 5: Sequence the Installation With Your Contractor
Once locations are chosen, sequence matters:
- Rough-in stage: water lines and electrical outlets get placed before drywall and cabinets close up.
- Cabinet installation: cabinet openings for the compactor and any under-counter units are built to exact spec.
- Countertop fabrication: the faucet hole for the instant hot water dispenser gets cut before the countertop is set, not drilled afterward.
- Final hookup: appliances are slid in, connected, and tested only after counters and cabinets are fully installed.
Skipping this order is the single most common reason renovation appliances end up mis-fitted or installed with visible, awkward workarounds.
Safety Notes
- Always use a grounded outlet and, where local code requires it, a GFCI-protected circuit near water sources.
- Shut off the main water supply before tapping into any line for a cooler or dispenser.
- Instant hot water dispensers heat water to near-boiling – confirm the unit has a child-safety lock feature if young kids are in the home.
- Never plug a trash compactor into an extension cord; it should always run on its own dedicated circuit per manufacturer instructions.
Common Mistakes to Avoid
- Ordering appliances before measuring cabinet openings. A compactor that’s a half-inch too wide means a costly cabinet rebuild.
- Forgetting the filter access panel on a bottleless cooler, which makes routine maintenance a nightmare later.
- Cramming two under-sink tanks into one small cabinet without checking combined clearance for the cooler and the hot water dispenser.
- Choosing faucet hole placement last instead of coordinating it with your countertop fabricator early in the process.
- Skipping a dedicated outlet and instead running a compactor or dispenser off a shared circuit that trips under load.
Budgeting Tips
Costs vary by brand and installation complexity, but a realistic renovation budget should account for the appliance itself, any needed cabinet modification, a dedicated outlet if one doesn’t exist, and plumber time for the water line tap-in. Bundling the water line work for the bottleless cooler and instant hot water dispenser into a single plumbing visit is usually more cost-effective than scheduling them separately, since the contractor is already working under the sink.
FAQ
Do I need a plumber for all three appliances?
Only the bottleless water cooler and instant hot water dispenser need a water line tap-in. A trash compactor is purely electrical and typically needs only an electrician or a general contractor familiar with built-in appliance installs.
Can I install these appliances after the kitchen renovation is finished?
Yes, but it’s harder and often more expensive – you may need to cut into finished countertops for a faucet hole or open closed cabinetry to run a water line. Planning during the renovation avoids that rework.
How much cabinet space does each appliance need?
A built-in trash compactor typically needs a 15-inch-wide cabinet bay. A bottleless water cooler and instant hot water dispenser tank can often share adjacent space under the sink, provided there’s enough depth for both units plus their connections.
Is a countertop instant hot water dispenser a good alternative to a built-in one?
It can work as a lower-commitment option, but a built-in unit keeps the tank hidden and only shows a small faucet at the sink deck – a cleaner look for a full renovation.
Final Thoughts
Trash compactors, bottleless water coolers, and instant hot water dispensers are easy to overlook when a renovation plan is dominated by cabinets, countertops, and the range. But because all three depend on decisions made early – cabinet openings, water lines, and outlet placement – they deserve a spot on your planning checklist from day one. Map your utility points first, sequence the installation with your contractor, and compare models against your exact clearance measurements before you order. Get that sequence right, and this appliance trio becomes one of the most quietly convenient upgrades in the whole renovation.