Furnishing a kitchen counter with the right storage doesn’t have to mean an expensive remodel. A smart mix of an under cabinet knife rack, a kitchen pegboard, and a pull out spice drawer can clear your counters, protect your blades, and put every seasoning within reach – all for less than the cost of one big cabinet upgrade. This guide walks you through exactly how to shop for these three pieces on a budget, step by step, so you spend money where it actually improves your daily cooking routine.
Before You Shop: Assess What Your Counter Actually Needs
Every budget kitchen upgrade should start with a quick audit, not a shopping cart. Walk into your kitchen and look at what’s cluttering the counter right now. Is it a knife block eating up cutting space? Loose utensils with nowhere to hang? Spice jars stacked three deep in a cabinet where you can never find the cumin? Each of these problems points to a different one of the three products in this guide, and knowing which one you need most will help you prioritize spending.
Measure your available space before you buy anything. Under cabinet knife racks need at least a few inches of clearance beneath your upper cabinets and enough depth so the mounted rack doesn’t interfere with opening drawers below. Pegboards need a stretch of open wall – even a narrow strip between a window and a cabinet can work. Pull out spice drawers require an existing cabinet or drawer opening (typically 3 to 6 inches wide for a slim insert) since they slide into a cavity rather than mount on a surface.
Set a Realistic Budget Split
A workable budget split for this three-piece setup is roughly 25 percent on the knife rack, 40 percent on the pegboard system (since it usually needs extra hooks and accessories), and 35 percent on the spice drawer or organizer. If your total budget is tight, tackle one item at a time rather than buying cheaper versions of all three at once – a mediocre knife rack that doesn’t hold blades securely is a safety issue, not just a minor compromise.
Step 1: Choose an Under Cabinet Knife Rack Without Overspending
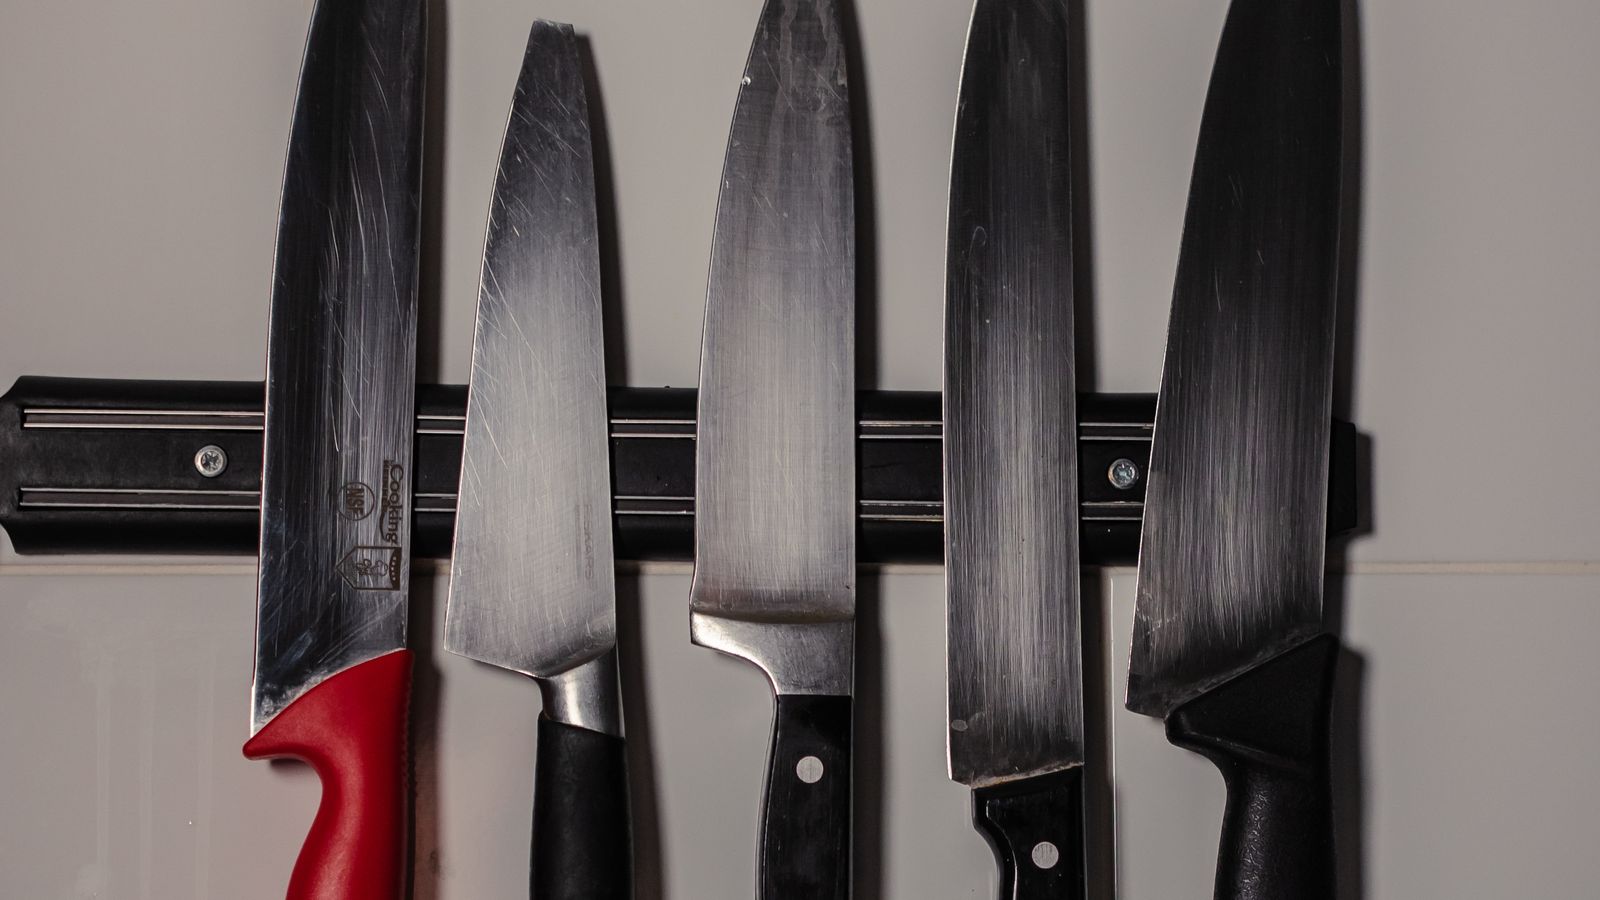
An under cabinet knife rack mounts to the bottom of your upper cabinets, holding knives blade-up and out of the way of counter workspace and small hands. It’s often the single best value item in this trio because it solves two problems at once: it frees up the counter real estate a knife block would take, and it keeps blades visible and easy to grab mid-prep.
- Measure your knife collection. Count how many knives you actually use weekly (not every knife you own) and measure the widest blade. This tells you the rack length and slot width you need.
- Decide between magnetic strips and slotted racks. Magnetic strips are cheaper, easier to install, and fit any blade shape, but they hold knives with less rigidity than a slotted design. Slotted racks cost more but hold each knife firmly in a fixed position.
- Check the mounting hardware included. Budget racks sometimes ship without the correct screws for cabinet material – confirm whether you’ll need extra hardware from a home improvement store.
- Verify clearance for cabinet doors. If your cabinets have doors that swing down or open wide, make sure the rack doesn’t block the hinge or door swing.
If you want to compare specific models before deciding, this roundup of under cabinet knife racks breaks down which styles hold up best for daily use versus occasional cooks.
Step 2: Build a Kitchen Pegboard System in Phases
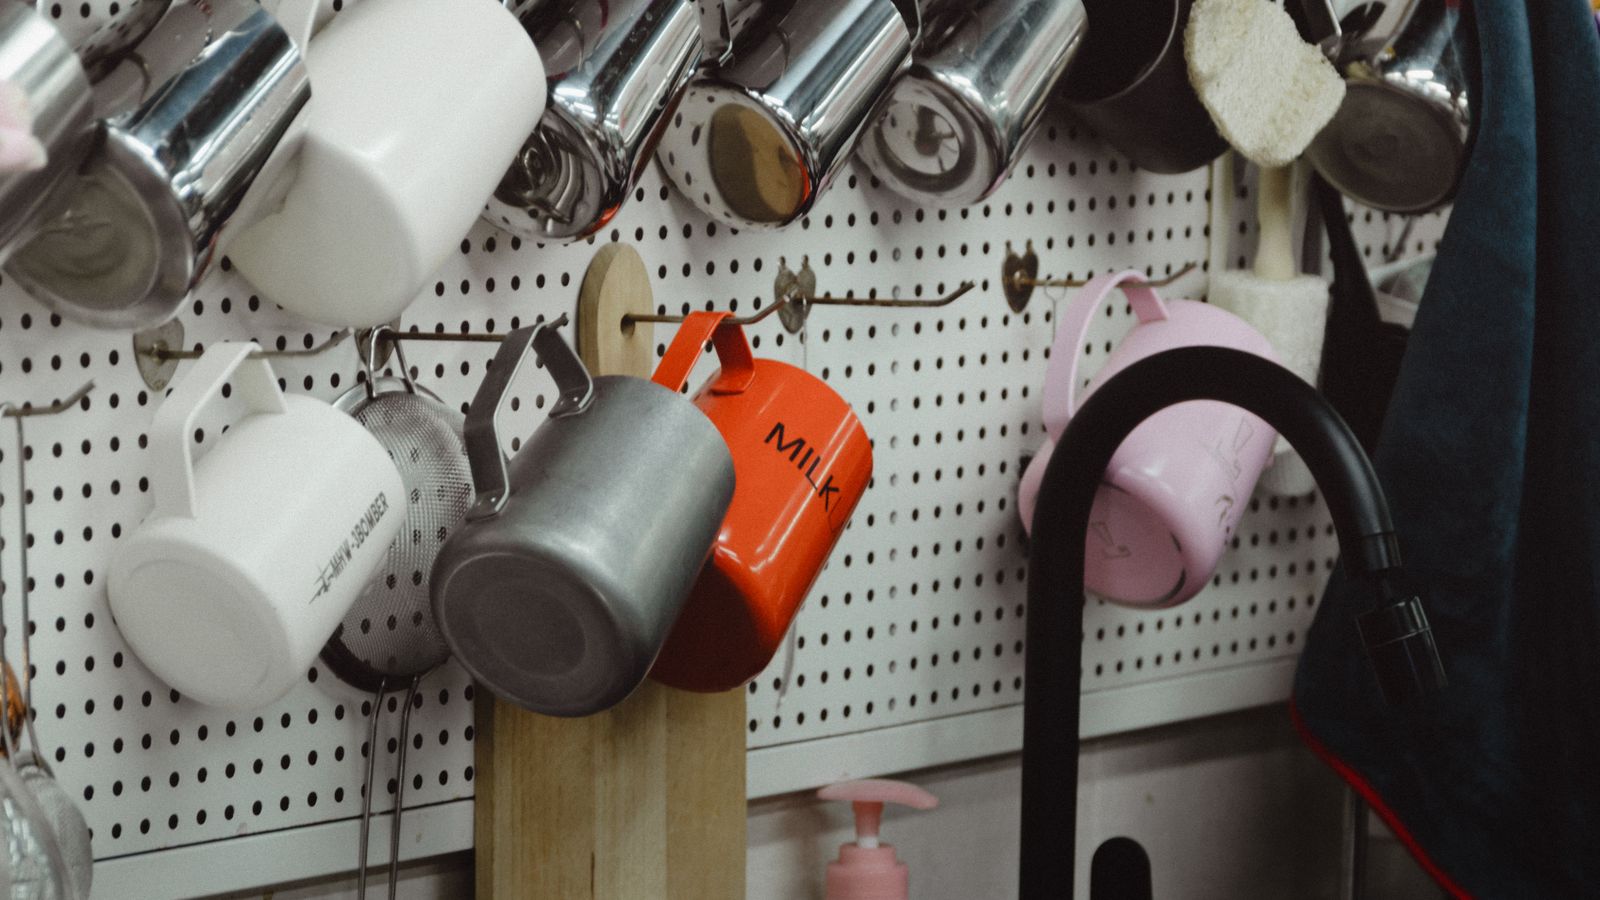
A pegboard is the most flexible – and potentially most expensive – piece of this setup, because the board itself is only step one. The real cost comes from hooks, baskets, shelves, and rails you add over time. The good news is that a pegboard is easy to shop for in phases, so you never have to buy the full system at once.
- Start with the board only. Buy a mid-size pegboard panel (roughly 18×24 inches is a common starting size) rather than a full wall kit. This lets you test placement and usage patterns before committing to accessories.
- Add 4 to 6 basic hooks first. Hang your most-used items – a spatula, tongs, a strainer, an oven mitt – and live with the setup for a week or two.
- Expand only where you see gaps. If you find yourself reaching for pots that still don’t have a spot, add a rail or a small shelf attachment next, rather than buying every accessory upfront.
- Reuse S-hooks and command hooks where possible. Not every pegboard peg needs to be a brand-specific accessory; generic S-hooks from a hardware store often cost a fraction of matched sets.
This phased approach can cut your initial pegboard spend by half compared to buying a bundled starter kit, while still letting you reach a fully organized wall over a month or two. When you’re ready to compare full systems and accessory ecosystems, this guide to kitchen pegboards covers options that scale well as you add hooks and shelves.
Step 3: Shop Smart for a Pull Out Spice Drawer
Pull out spice drawers are the priciest item on this list if you buy a full cabinet-conversion kit, but there are budget-friendly alternatives that deliver most of the same benefit. The core function is simple: instead of digging through a deep cabinet shelf, you pull out a slim drawer or tray and see every spice jar at a glance.
- Measure the cabinet gap you’re converting. Slim pull-out inserts typically need a 3 to 6 inch wide cavity between existing cabinets. If you don’t have unused gap space, look at drawer-mounted insert trays instead, which sit inside an existing drawer rather than requiring new cabinetry space.
- Compare full pull-out cabinet units versus tray inserts. A full pull-out unit (with its own frame and sliding rails) costs significantly more than a tray insert that simply sits inside a drawer you already have. If your drawers are deep enough, the tray insert route saves real money.
- Check jar sizing before buying. Cheaper inserts sometimes come with slots sized only for a specific spice jar brand. Measure your existing jars, or plan to buy matching jars if you’re starting a spice collection from scratch.
- Look for tiered or two-level trays. A two-tier design roughly doubles your spice capacity in the same footprint, which is often worth a small price increase.
For a side-by-side look at pull-out units versus tray inserts and which brands hold up over daily use, see this comparison of pull out spice drawers.

Installation Order: What to Mount First
When you’re ready to install all three pieces, tackle them in an order that avoids rework:
- Pull out spice drawer first. This usually involves working inside a cabinet, and it’s easier to do before your counter is cluttered with other new tools.
- Under cabinet knife rack second. Mounting this requires accurate measuring against your upper cabinets, which is simpler to do on a clear counter.
- Pegboard last. Since a pegboard system evolves over weeks as you add hooks, save it for last so you can live with the other two upgrades first and see how much wall space you genuinely have left for pegboard hardware.
Safety Notes Before You Install
- Always locate wall studs or use appropriate anchors when mounting a pegboard on drywall – screws into drywall alone will not support a loaded board over time.
- Test knife rack magnets or slots with your heaviest knife before loading the full set; a rack that can’t hold your chef’s knife securely is not a safe long-term option.
- Keep knife racks mounted high enough that children cannot reach blades, and never mount one directly above a spot where kids stand or sit.
- Unplug or move any nearby small appliances before drilling into cabinets for a spice drawer conversion, to avoid catching a cord or vent.
Common Mistakes to Avoid
- Buying the pegboard kit before measuring wall space. Full accessory kits often include more hooks and shelves than will actually fit your wall, wasting part of your budget.
- Choosing a knife rack based on price alone. The cheapest rack on the shelf sometimes lacks strong enough magnets or slots for heavier knives, which becomes a safety problem, not just an inconvenience.
- Skipping the tape-measure step for spice drawers. Ordering an insert before confirming your cabinet gap width is the single most common return reason for this product category.
- Overbuying accessories in one trip. It’s tempting to fill a cart with every pegboard hook and spice jar available, but living with a basic setup for a week first reveals what you actually need.
Frequently Asked Questions
How much should a budget kitchen counter setup cost overall?
A basic three-piece setup – a simple magnetic knife rack, a starter pegboard with a handful of hooks, and a tray-style spice insert – can often be assembled affordably by starting small and expanding gradually, rather than buying premium versions of all three items on day one.
Do I need to hire someone to install these items?
Most under cabinet knife racks and pegboards are designed for straightforward DIY installation with a drill and basic hardware. Pull out spice drawer conversions that involve building into an existing cabinet cavity can be more involved, so if you’re not comfortable with cabinet-level carpentry, a tray insert is the simpler DIY-friendly alternative.
Can I use a pegboard instead of a knife rack?
Yes, some cooks hang knives on pegboard hooks designed for that purpose, but a dedicated magnetic or slotted knife rack generally holds blades more securely and keeps them further from where hands reach for other utensils.
What’s the best order to buy these three items in?
If budget forces you to choose one at a time, most kitchens benefit most from the knife rack first (it clears counter space immediately), then the spice drawer (daily cooking convenience), and the pegboard last since it’s the most flexible and easiest to build out gradually.
Final Thoughts
You don’t need a full kitchen renovation to get a genuinely organized counter setup. By measuring first, splitting your budget sensibly across an under cabinet knife rack, a kitchen pegboard, and a pull out spice drawer, and installing in a logical order, you can transform your workspace over a few weekends without overspending. Start with the piece that solves your biggest daily frustration, live with it for a week, and let that experience guide your next purchase.