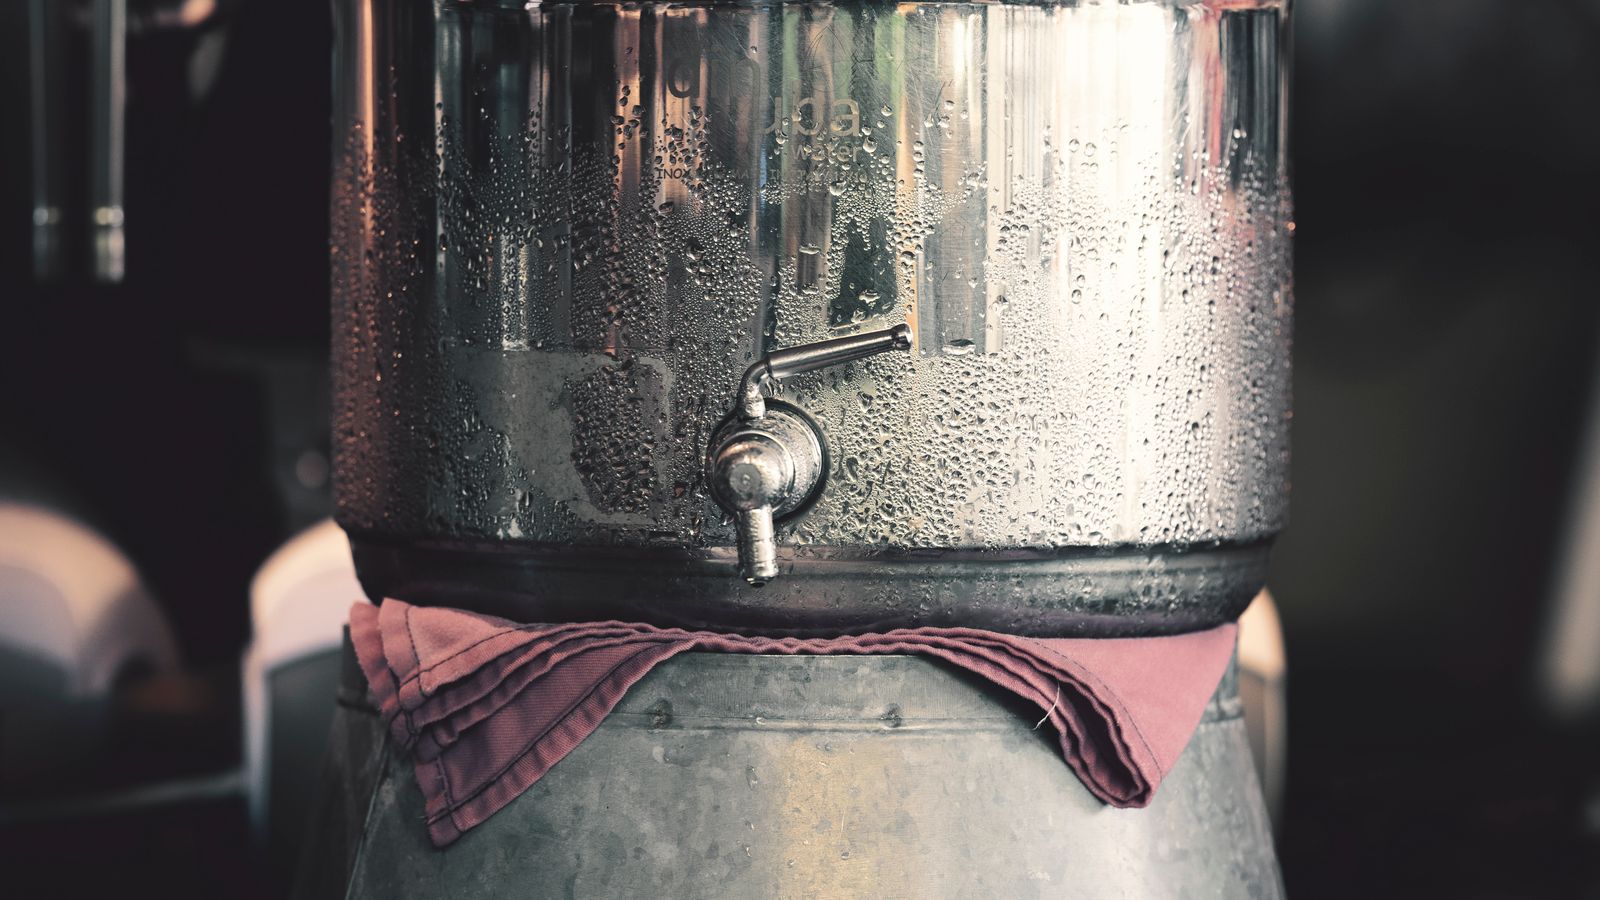
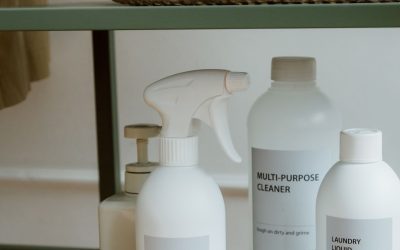
A water cooler is one of those appliances you use every day and then forget about the moment it’s not needed – a summer trip, a seasonal office closure, or simply a move to a new kitchen layout. But shoving a bottled or bottleless water cooler into a closet or garage without prepping it first is a fast way to end up with mold in the reservoir, a musty smell in the tank, or a compressor that won’t start back up. Storing your water cooler the right way takes maybe thirty minutes of prep, and it pays off every time you plug the unit back in.
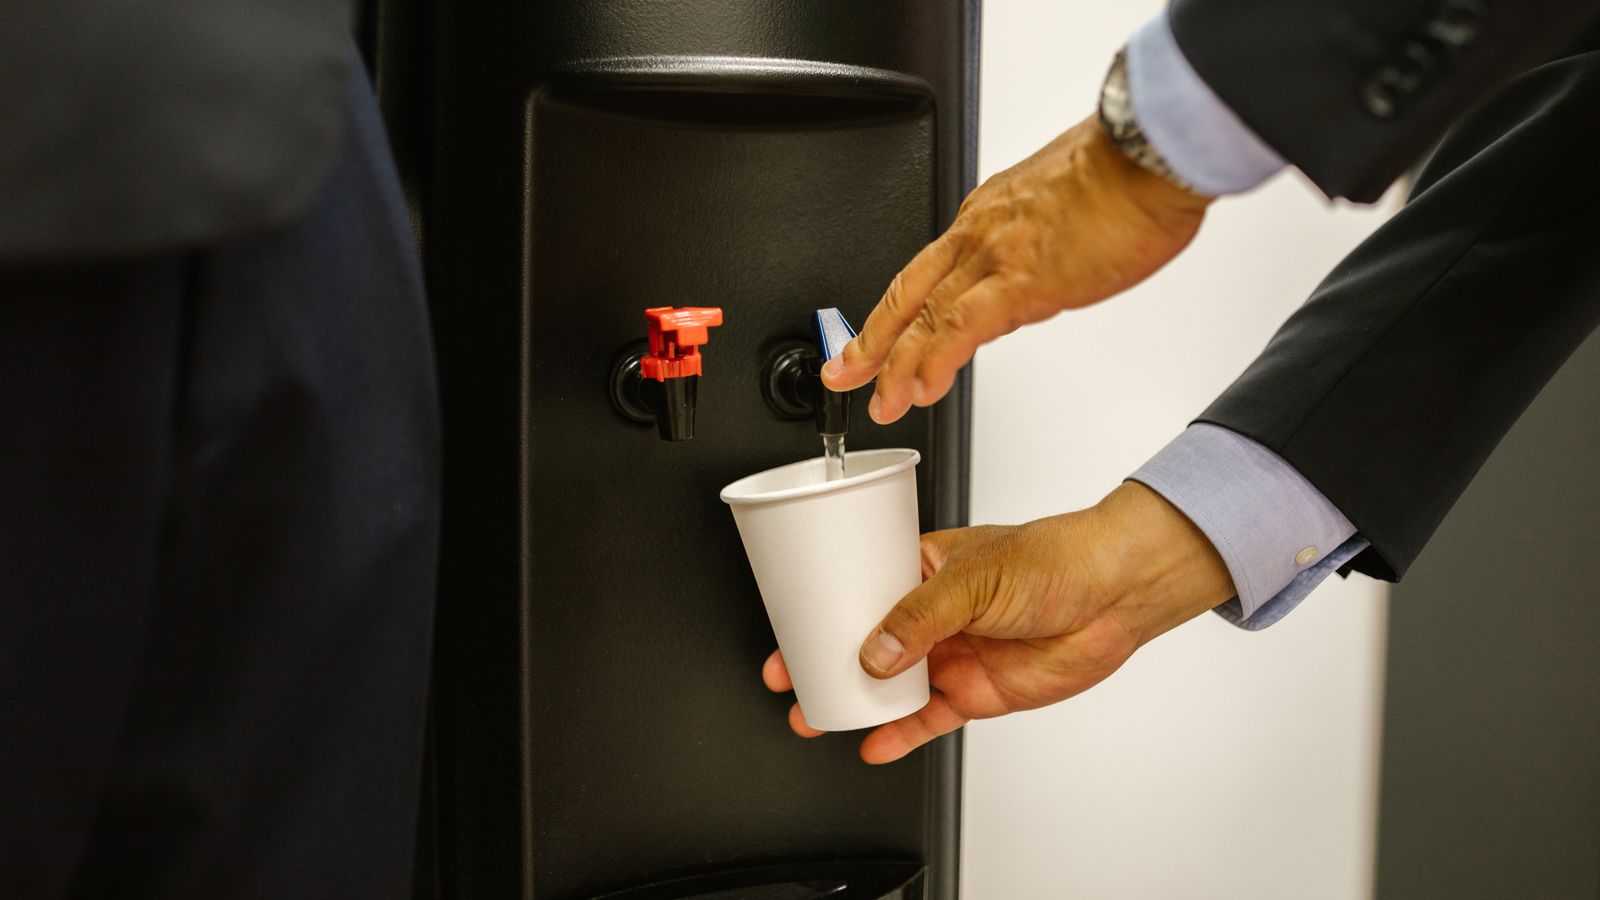
This guide walks through exactly what to do before you put a water cooler into storage, how to store it correctly, and the mistakes that cause the most damage. It applies to both bottled (top-load or bottom-load) coolers and bottleless, point-of-use dispensers connected to a water line.
Why Proper Storage Matters
Water coolers hold standing water in reservoirs, tanks, and internal tubing. Left sitting for weeks or months, that water becomes a breeding ground for bacteria, algae, and mold – even in a unit that looked spotless the day you unplugged it. Beyond hygiene, an improperly stored cooler can suffer from:
- Compressor strain: unplugging a cooling unit without letting it settle, or storing it on its side, can damage the refrigerant lines.
- Cracked components: leftover water expands if the storage space gets cold enough to freeze, splitting tanks and tubing.
- Pest problems: sugary drink residue or spilled water in a bottled cooler’s drip tray attracts insects.
- Odor buildup: stagnant water in an unclean reservoir produces a sour smell that lingers even after you refill it.
Taking the time to clean, drain, and dry your cooler before storage prevents all of the above and means it’s ready to use again with a quick wipe-down rather than a deep clean or a service call.
What You’ll Need
Before you start, gather a few basic supplies. You won’t need anything specialized:
- Mild dish soap or a food-safe sanitizing solution
- A mixture of white vinegar and water (1:1), or a diluted bleach solution (1 teaspoon bleach per gallon of water) for deeper sanitizing
- Soft cloths or a bottle brush for reaching into the reservoir
- A bucket or large basin to catch drained water
- A dry towel and, ideally, a spare room with good airflow
- The original packaging or a moving blanket, if you have it, for extra protection during transport
Step-by-Step: How to Store Your Water Cooler
1. Unplug and Let It Rest
Turn off and unplug the cooler at least an hour before you start working on it. If it has a cooling (compressor-based) function, letting it come to room temperature first reduces the risk of condensation forming inside the unit while you clean and dry it.
2. Remove the Water Bottle or Disconnect the Water Line
For bottled units, lift off the water bottle and set it aside (recycle or return it if it’s a returnable jug). For bottleless, point-of-use dispensers connected directly to a water supply line, shut off the water valve first, then disconnect the line from the back of the unit. Keep a towel handy – there’s usually a small amount of residual water in the line.
3. Drain the Reservoir Completely
Most coolers have a drain plug or spigot at the base of the unit – check your manual if you’re not sure where it is. Open it fully and let all standing water empty into a bucket. Tilt the unit gently if needed to get the last bit out. Any water left behind is the single biggest cause of mold and bad odors during storage, so don’t skip this step even if it seems like there’s “just a little” left.
4. Clean and Sanitize the Interior
Once drained, wipe down the reservoir, spigots, and drip tray with warm soapy water. For a deeper clean, run a vinegar-water solution (or diluted bleach solution) through the internal tank, letting it sit for 10-15 minutes before draining and rinsing thoroughly with clean water. This step matters even if the cooler looks clean – mineral scale and biofilm build up inside the tank whether or not you can see it.

5. Dry Every Surface Thoroughly
After rinsing, dry the interior and exterior completely with a towel, then leave the unit open (cabinet doors, drip tray, and any access panels) for several hours or overnight in a well-ventilated room. Any moisture left inside becomes a mold problem within days in a sealed, dark storage space. This is the step people skip most often, and it’s the one that causes the most trouble later.
6. Clean and Detach the Drip Tray
Remove the drip tray, wash it separately, and dry it fully before reattaching or storing it apart from the main unit. Leftover drips left in this tray during storage are a common source of both odor and pests.
7. Choose the Right Storage Location
Store the cooler upright – never on its side or upside down, since this can allow residual refrigerant or lubricant inside a compressor-cooled unit to shift and cause damage. Pick a spot that’s:
- Climate controlled or at least protected from freezing temperatures (garages and unheated sheds are risky in winter)
- Dry, with low humidity, to prevent mold growth on internal surfaces
- Out of direct sunlight, which can degrade plastic components and cause discoloration over time
- Stable and flat, so the unit isn’t at risk of tipping
8. Cover It, But Let It Breathe
Use a breathable cotton sheet or the original packaging rather than a fully sealed plastic bag. Plastic traps any residual moisture against the unit and can encourage mold even after a thorough cleaning. A light cover keeps dust out while still letting air circulate.
Storing a Bottleless (Point-of-Use) Cooler
If your cooler connects directly to a water line rather than using bottles, there are a couple of extra considerations. Beyond shutting off the water valve and disconnecting the line (step 2 above), make sure any internal filter cartridge is either replaced or removed before long-term storage – old filters left in a dry unit can degrade and leave residue that affects water taste when you reconnect it. Cap the disconnected water line fitting on the unit with the plug it likely shipped with, to keep dust and insects out of the inlet port.
Common Storage Mistakes to Avoid
- Storing it with water still inside. Even a small amount left in the tank or lines can freeze, crack components, or grow mold.
- Leaving it upside down or on its side. This is especially damaging for compressor-cooled units and can void your warranty.
- Sealing it in plastic while still slightly damp. This is the single fastest way to end up with a moldy interior.
- Ignoring the drip tray. A tray with sugary residue or standing water is an open invitation to pests.
- Storing near a heat source or in direct sun. Prolonged heat exposure can warp plastic housings and stress internal seals.
- Forgetting to note the date. If storage will run longer than a few months, jot down the date on a piece of tape so you remember to re-sanitize before use rather than assuming it’s still clean.
Getting Your Cooler Ready to Use Again
When it’s time to bring the cooler back into service, give it a quick once-over even if you stored it carefully: wipe down the exterior, run a fresh sanitizing rinse through the reservoir, reattach the drip tray, and let the unit sit upright and plugged in for a few hours before adding a new bottle or reconnecting the water line – this gives compressor-based units time to stabilize. If you’re shopping for a replacement or a second unit for a different space, our roundup of top-rated water coolers breaks down the differences between bottled and bottleless models to help you pick the right fit. For households that also want cold, filtered ice on demand, it’s worth pairing a cooler with one of the best ice machines for homes. And if you’d rather not worry about repair costs down the line, look into a appliance extended protection plan that covers coolers and other kitchen equipment.
FAQ
How long can a water cooler sit in storage?
If it’s cleaned, drained, and dried properly, a water cooler can sit safely for several months to a year. For anything longer, plan to re-sanitize the reservoir before putting it back into use, since dust and airborne particles can settle inside even a well-covered unit.
Can I store my water cooler in the garage?
Only if the garage stays above freezing and isn’t excessively humid. Temperature swings and moisture are the two biggest risks to a stored cooler, so a climate-controlled closet, pantry, or spare room is generally a safer bet.
Do I need to remove the compressor or refrigerant before storing a cooling unit?
No – home water coolers use a sealed refrigerant system, so there’s nothing to remove. Just keep the unit upright during both storage and transport so the internal components stay properly positioned.
Is it okay to leave the water bottle attached during storage?
No. Always remove the bottle, drain the reservoir, and let everything dry fully. A bottle left attached, even partially full, will lead to stagnant water and potential mold growth over time.
What’s the best way to sanitize the reservoir before storage?
A diluted vinegar-water solution (equal parts) or a mild bleach solution (about 1 teaspoon per gallon of water) works well. Let it sit in the tank for 10-15 minutes, then drain and rinse thoroughly with clean water before drying.