A kitchen renovation can spiral fast once you start pricing out cabinets, plumbing, and countertops separately. One way to keep the project focused is to build a small “starter kit” of three high-impact upgrades that work together visually and functionally: soft close cabinet dampers, a farmhouse sink, and a butcher block countertop. These three elements touch almost everything a homeowner interacts with daily in the kitchen – the doors you open a hundred times a day, the basin you wash in, and the surface you prep on. Instead of trying to renovate the entire room at once, this guide walks through how to assemble and install this starter combination in a logical order, what to budget for, and the mistakes that trip up first-time renovators.
Why These Three Items Belong Together
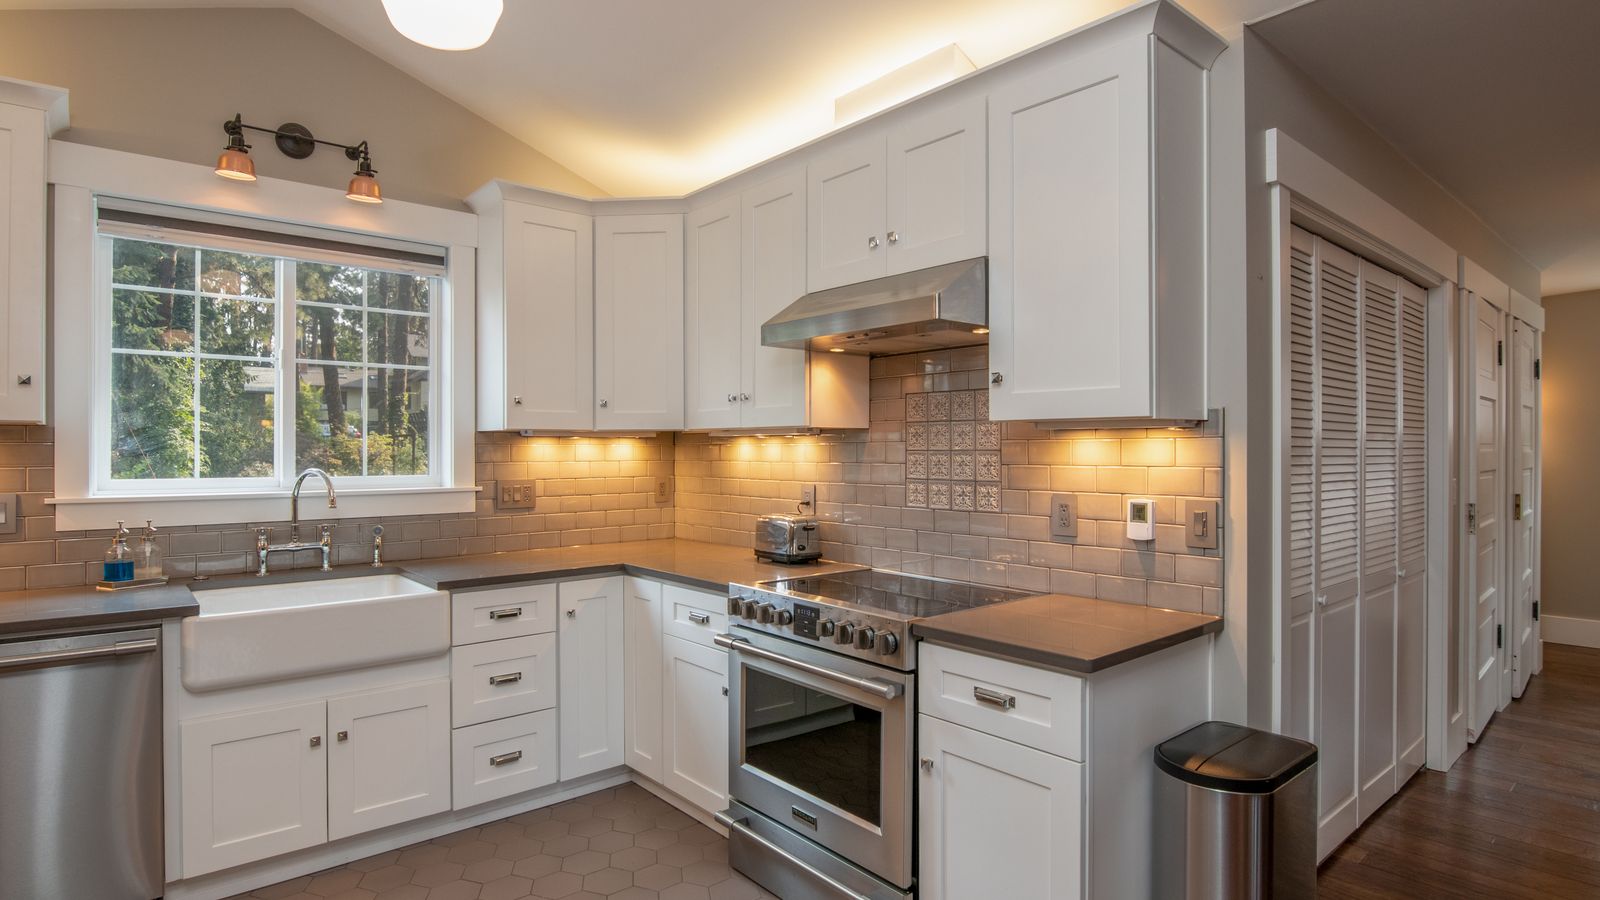
Soft close cabinet dampers, a farmhouse sink, and a butcher block countertop are not just a random bundle – they solve three separate, common pain points at once. Dampers eliminate slamming doors and drawers, which is often the single most noticeable “cheap kitchen” sound. A farmhouse sink adds a deep, wide basin that handles large pots and baking sheets far better than a standard drop-in sink, while also becoming a strong visual anchor for the whole room. A butcher block countertop brings warmth and a workable prep surface at a fraction of the cost of stone, and it pairs naturally with the apron-front look of a farmhouse sink. Together, these three upgrades touch function, sound, and style without requiring you to gut the entire kitchen layout.
Step 1: Plan the Order of Operations
Before buying anything, map out the sequence, because installing these out of order creates rework. The general order is: cabinet base and box work first, then the farmhouse sink base cabinet is measured and modified if needed, then the countertop is templated and cut around the sink opening, and finally the soft close dampers are added to doors and drawers as one of the last steps once everything is hung and aligned.
Rough Timeline
- Week 1: Confirm cabinet layout and sink cabinet dimensions.
- Week 2: Order the farmhouse sink and countertop material; lead times can run 1-3 weeks for butcher block.
- Week 3: Install or modify the sink base cabinet.
- Week 4: Template and install the countertop, then set the sink.
- Week 5: Install plumbing, then finish with cabinet hardware and soft close dampers.
Step 2: Choose and Prepare the Farmhouse Sink Base
A farmhouse (apron-front) sink is heavier and deeper than a standard sink, so the cabinet underneath usually needs a lowered stretcher or a completely removed front face frame rail to let the apron sit flush. Measure the sink’s width, apron height, and overall depth before ordering the base cabinet, or before modifying an existing one. Most farmhouse sinks range from 30 to 36 inches wide, and single-basin models are the most common choice for renovators who want maximum usable space over a divided double-basin design.
When shopping, weigh material: fireclay is durable and easy to clean but heavy and needs a well-supported base; stainless steel is lighter and more budget-friendly; and composite granite resists scratching but costs more upfront. For a curated comparison of options at different price points, see this roundup of farmhouse sinks to narrow down a model that fits your cabinet width and plumbing rough-in.
Step 3: Template and Install the Butcher Block Countertop
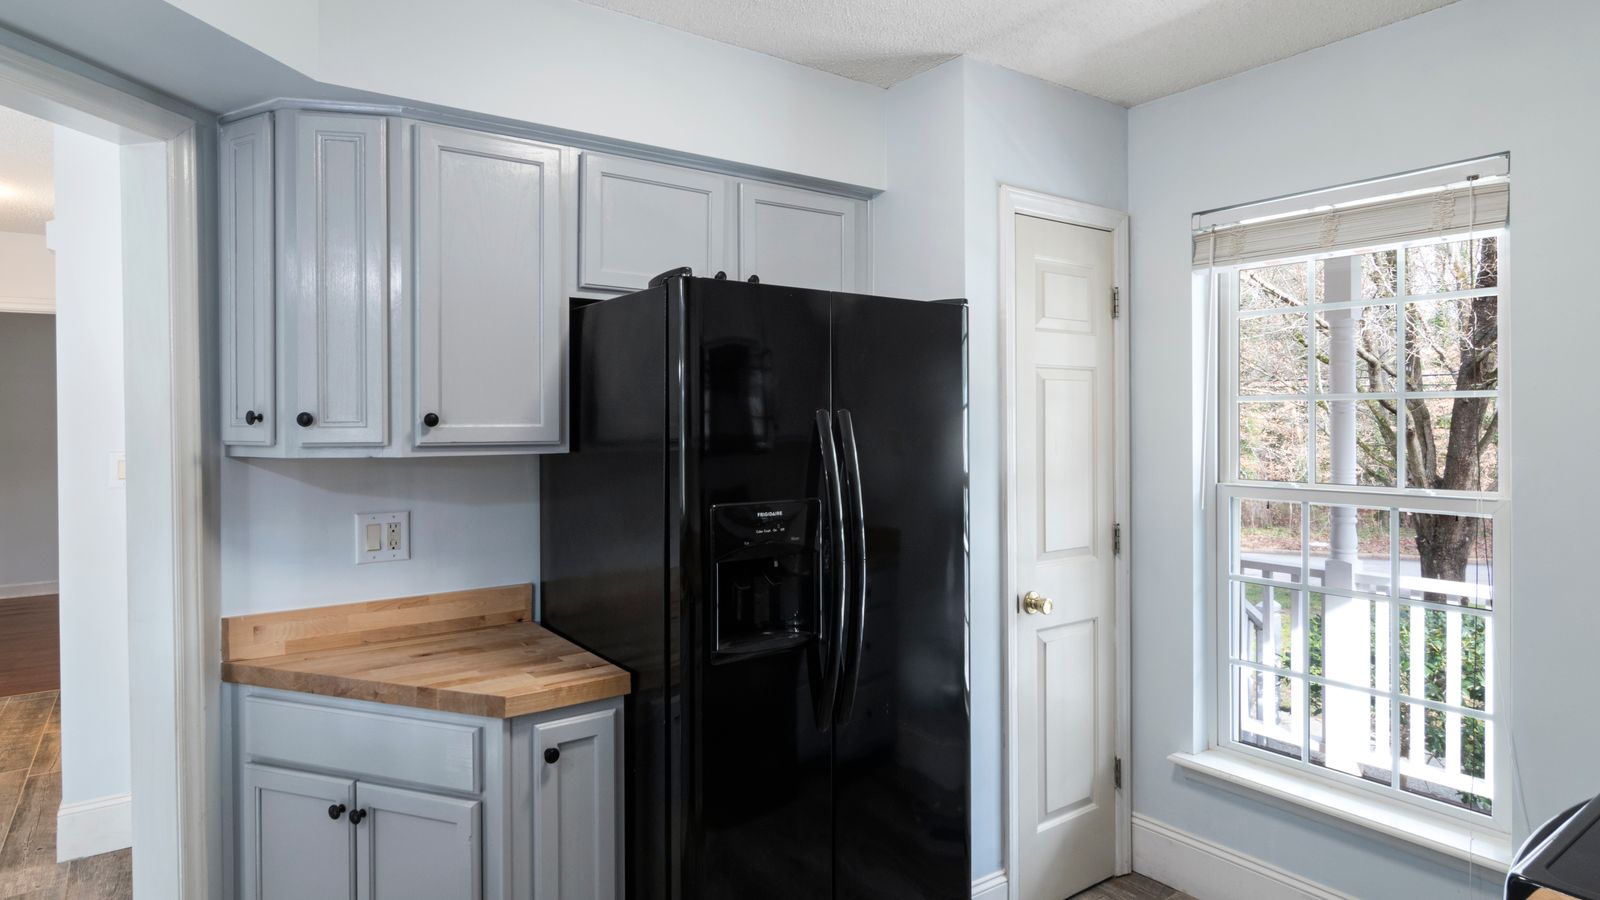
Butcher block is one of the more forgiving countertop materials for a DIY-friendly renovation because it can be cut with standard woodworking tools rather than requiring a stone fabricator. Once the sink base cabinet is set and leveled, template the countertop by tracing the cabinet run onto cardboard or rigid template material, then transfer that outline to the butcher block slab.
Cutting the Sink Opening
- Set the farmhouse sink in place (without securing it) to trace the exact apron opening onto the underside of the countertop.
- Add a 1/8 to 1/4 inch reveal around the trace line depending on the sink manufacturer’s instructions.
- Cut the opening with a jigsaw, working slowly on the corners to avoid chipping.
- Sand all cut edges smooth, then seal every surface – top, bottom, and the new cut edge – with food-safe mineral oil or a butcher block conditioner before final installation.
Butcher block needs re-oiling every few weeks initially and then every month or two once it’s fully cured, especially around the sink where water exposure is highest. Skipping this step is the most common reason butcher block warps or grays prematurely near a farmhouse sink. If you’re still comparing wood species and thickness options, this guide to best butcher block countertops breaks down the differences between maple, walnut, and acacia for kitchen use.
Step 4: Install Soft Close Cabinet Dampers
Once the countertop and sink are set and the cabinet doors and drawers are hung and aligned, soft close dampers are the last piece. These small hydraulic units retrofit onto almost any standard hinge or drawer slide, converting a hard-slamming door into one that eases shut on its own.
Installation Steps
- Open the cabinet door or drawer fully and locate the hinge cup or drawer slide.
- Clean the mounting surface with rubbing alcohol so the adhesive backing (on stick-on dampers) bonds properly.
- Position the damper so its plunger contacts the door or drawer about 1/4 inch before it fully closes.
- Press firmly for 30 seconds and let the adhesive cure for the manufacturer’s recommended time, usually 24 hours, before testing repeatedly.
- Test the door or drawer several times, adjusting the damper’s position slightly if the close feels too fast or too slow.
Two main types exist: screw-in dampers built into replacement hinges, and stick-on universal dampers that attach to any existing door or drawer without swapping hardware. For a full renovation, screw-in hinge dampers tend to be more durable long-term, while stick-on units are the faster, budget-friendly retrofit for cabinets you’re keeping as-is. Browse this comparison of soft close cabinet dampers to find a style that matches your existing hinges or slides.
Safety Notes
- Farmhouse sinks are heavy – fireclay and stone composite models often exceed 100 pounds empty. Never lift or set one alone; use a helper or a sink lift jack.
- When cutting butcher block, wear eye protection and a dust mask, and clamp the slab securely before cutting to prevent kickback.
- Shut off water and power to the sink area before any plumbing disconnection, and confirm the shutoff actually stops flow before disconnecting lines.
- Let adhesive on soft close dampers cure fully before repeated use, or the bond can fail prematurely under the repeated force of a closing door.
Common Mistakes to Avoid
Skipping the Cabinet Reinforcement for the Sink
A farmhouse sink needs a solid, level support structure. Skipping reinforcement of the base cabinet floor or side panels can lead to sagging or cracked caulk lines within months.
Ordering the Countertop Before the Sink
Sink dimensions vary by manufacturer even within the same nominal size. Always have the sink in hand, or its exact spec sheet, before the countertop is cut.
Not Sealing All Sides of the Butcher Block
Sealing only the visible top surface leaves the underside and edges vulnerable to moisture, which causes warping over time – especially near a sink cutout where water is a constant risk.
Installing Dampers Before Doors Are Final-Aligned
Adding dampers before doors are properly hung and adjusted means you’ll likely have to reposition or replace them once the door alignment shifts during final adjustments.
Budget Snapshot
Costs vary widely by region and material choice, but as a rough starting point: a mid-range farmhouse sink typically runs from a few hundred dollars for stainless steel up to well over a thousand for fireclay or stone composite. Butcher block countertops are usually priced per linear foot and tend to be one of the more affordable countertop materials compared to natural stone or quartz. Soft close dampers are the smallest expense in the group, often just a few dollars per unit, making them an easy upgrade to add even on a tight renovation budget.
FAQ
Do I need to replace my existing cabinets to add these upgrades?
Not necessarily. Soft close dampers retrofit onto most existing hinges and slides, and a farmhouse sink can sometimes be installed into an existing cabinet with modifications to the front face frame. A full cabinet replacement is only required if the existing boxes can’t structurally support the sink’s weight.
Can butcher block go directly next to a farmhouse sink without damage?
Yes, as long as every surface is properly sealed and you stay consistent with re-oiling, especially in the splash zone around the basin. Wipe up standing water promptly rather than letting it sit on the wood.
How long does this starter kit renovation typically take?
For a DIY-friendly homeowner working weekends, expect roughly four to six weeks from ordering materials to final installation, depending on lead times for the sink and countertop material.
Should I hire a professional for any part of this?
Plumbing connections for the farmhouse sink are the step most homeowners hire out, since a poor seal can lead to water damage. Countertop cutting and damper installation are generally manageable as DIY projects with basic tools.
Final Thoughts
Treating a kitchen renovation as a series of focused upgrades – rather than one overwhelming project – makes it far easier to plan, budget, and execute well. Starting with soft close cabinet dampers, a farmhouse sink, and a butcher block countertop gives you a cohesive, high-impact result that touches the parts of the kitchen you use every single day, without requiring a full gut renovation. Once this starter kit is in place, it becomes much easier to layer in additional upgrades – new lighting, backsplash, or appliances – on your own timeline.