Why “Downsizing” Your Window Treatment Plan Doesn’t Mean Losing Function
Moving to a smaller home, simplifying a room, or just tired of juggling five different curtain panels, blinds, and valances on one window? A downsized window treatment plan is one of the easiest ways to cut clutter, save money, and reduce upkeep – without sacrificing light control, privacy, or insulation. The trick is knowing which layers actually earn their keep and which ones are just visual noise. This guide walks you through a practical, step-by-step process for trimming your window treatments down to the essentials while keeping every window in your home functional, private, and comfortable.
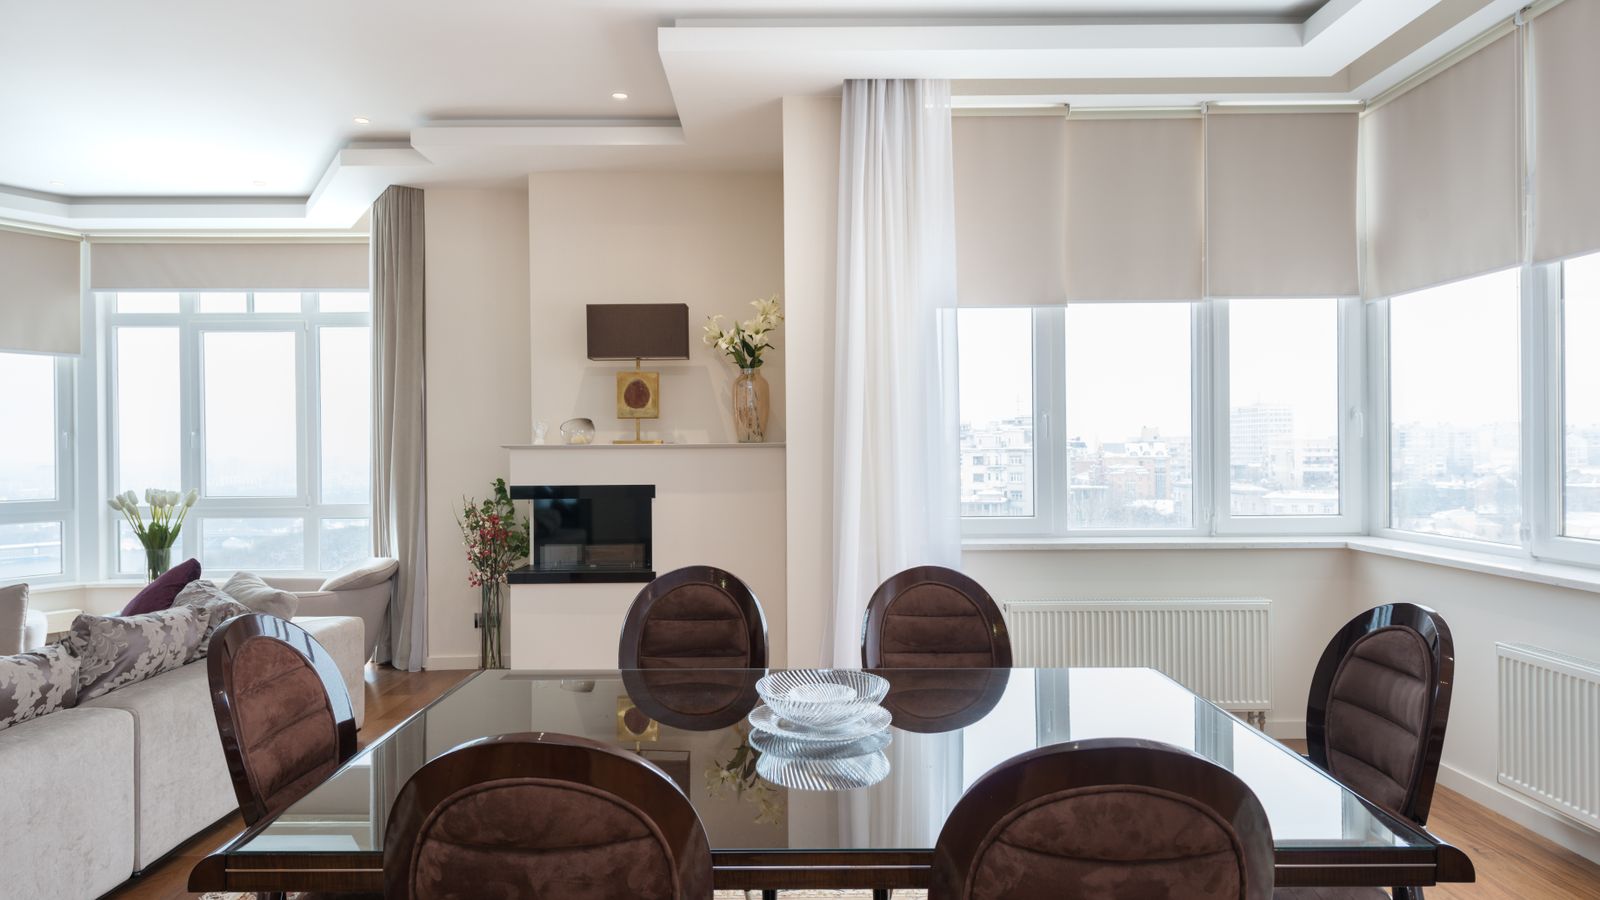
Step 1: Audit What You Currently Have
Before you remove or replace anything, walk through your home room by room and list every window treatment currently in place: curtains, sheers, blinds, shades, valances, tiebacks, and any hardware. For each window, note what job each layer is actually doing – blocking light, providing privacy, controlling temperature, or purely decorative. Many homes accumulate treatments over the years (a sheer added for softness, blackout curtains added later for sleep, a valance added to hide the rod) until a single window is doing three times the work it needs to with three times the fabric.
Ask These Questions for Each Window
- Does this window need full blackout, partial light control, or just diffusion?
- Is privacy a daytime concern, a nighttime concern, or both?
- Is this a high-traffic room (kitchen, living room) or a low-traffic one (guest room, hallway)?
- Does the window face direct sun, and does heat/glare matter here?
- Is there a layer that’s purely decorative and could be dropped without anyone noticing?
Step 2: Identify the Core Functions You Must Keep
Every window treatment serves one or more of four core functions: light control, privacy, insulation, and sound dampening. A downsized plan doesn’t eliminate these functions – it consolidates them into fewer, smarter layers. For example, a single well-chosen blackout panel can replace a sheer-plus-blackout-plus-valance combination if it’s lined properly and hung correctly. In bedrooms, prioritize light control and privacy. In living rooms, prioritize light diffusion and style. In kitchens and bathrooms, prioritize privacy and moisture resistance over heavy fabric.
If you’re consolidating a multi-layer bedroom setup, look at blackout curtains that combine room-darkening and thermal insulation in a single panel, so you’re not stacking separate layers to get the same result.
Step 3: Decide Which Layers to Cut
Once you know which functions matter most per room, it’s time to cut. A general rule: keep no more than two layers per window. That typically means one primary treatment (curtain, blind, or shade) plus, at most, one secondary layer for extra light control or texture. Anything beyond that is usually redundant.
Common Layers Worth Cutting
- Decorative valances that only hide hardware – swap for a simpler rod and skip the extra fabric entirely.
- Sheer panels in rooms where you already have adequate light diffusion from blinds or shades.
- Duplicate blackout layers – one properly lined panel is usually enough; you rarely need both a blackout curtain and a separate blackout liner behind it, unless your window faces intense afternoon sun.
- Tiebacks and swags that exist purely for a “finished” look but add cleaning and maintenance without functional benefit.
If you do need extra light-blocking power without adding a whole second curtain, a set of curtain liners is a lighter-footprint way to boost blackout or thermal performance behind an existing panel, rather than hanging an entirely separate treatment.
Step 4: Choose Multi-Function Treatments Over Multiple Single-Function Ones
The fastest way to downsize without losing function is to swap several single-purpose treatments for one multi-purpose one. Thermal-lined curtains handle both light control and insulation. Room-darkening cellular shades handle both privacy and blackout. Café curtains cover only the lower half of a window, giving you daytime privacy while still letting light in through the top – useful for kitchens and bathrooms where you’d otherwise need a full curtain plus a separate privacy film or blind.
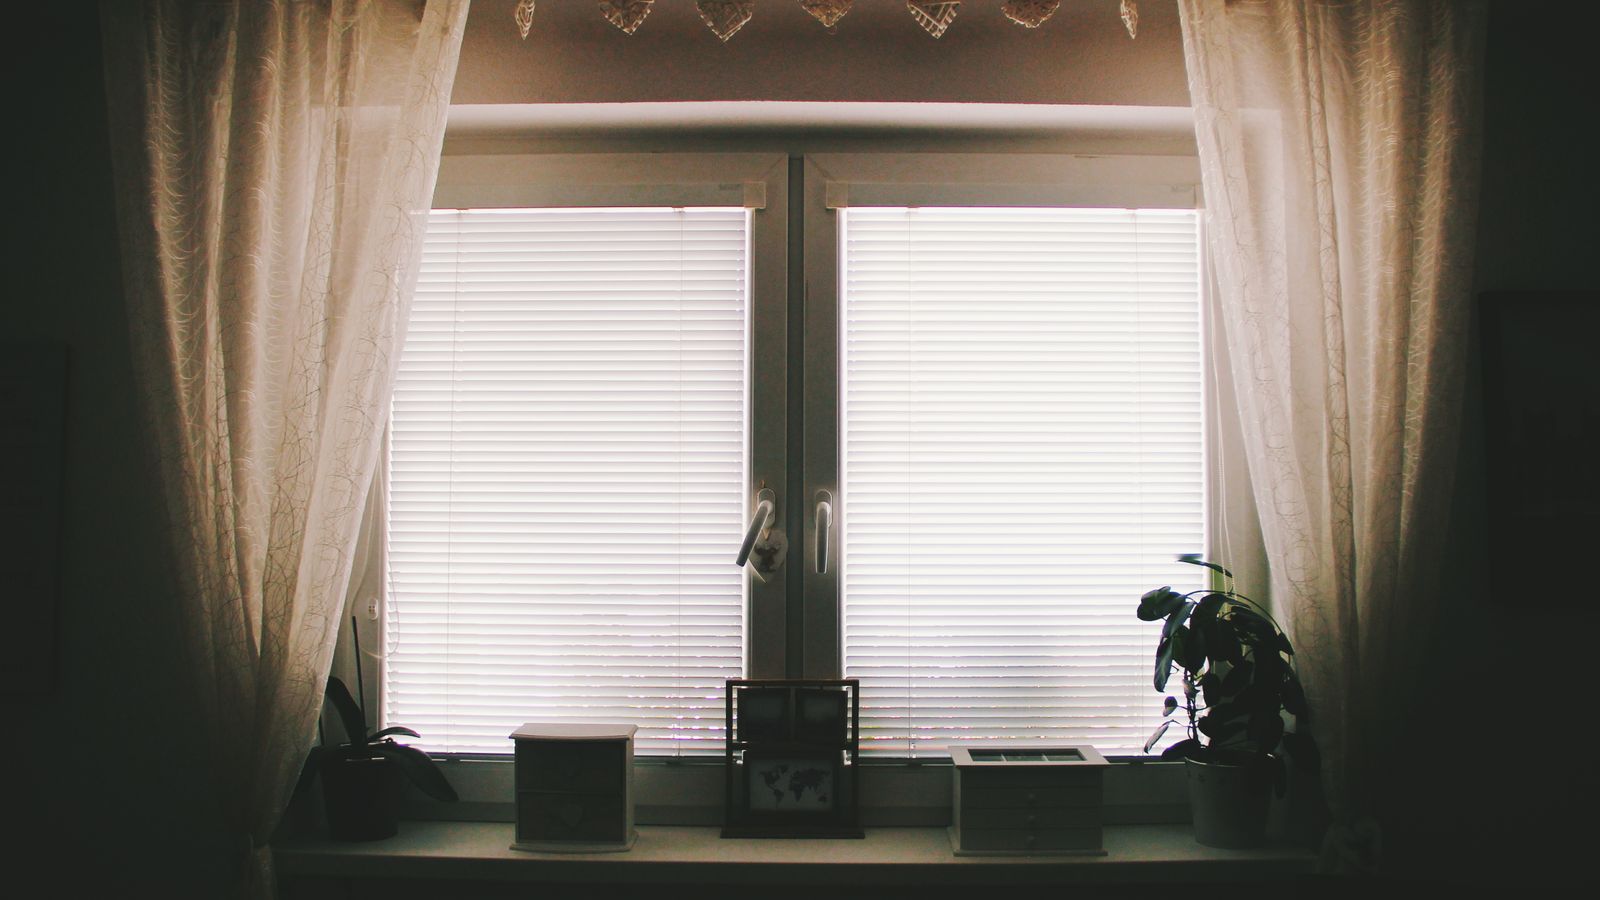
For kitchen and bathroom windows especially, best cafe curtains are worth considering as a single, low-maintenance treatment that replaces the need for both a full-length curtain and a separate privacy layer.
Match the Treatment to the Room’s Real Needs
- Bedrooms: one lined, room-darkening panel per window is usually enough.
- Living rooms: a single medium-weight curtain or a cellular shade covers light control and privacy together.
- Kitchens: café curtains or short roller shades avoid fabric near stovetops and sinks.
- Bathrooms: moisture-resistant shades or short curtains, skipping heavy fabric that traps humidity.
Step 5: Simplify Hardware Along With Fabric
Downsizing isn’t just about fabric – it’s also about hardware. Double rods (one for sheers, one for the main curtain), decorative finials, and multiple brackets all add visual clutter and cleaning surface area. If you’re consolidating to a single-layer treatment, switch to a single slim rod. This also makes future cleaning and swapping treatments faster, since you’re not disassembling multiple rod systems every time you wash or replace fabric.
Simple Hardware Checklist
- Remove any rod that’s no longer holding an active layer.
- Patch and touch up wall holes from removed brackets before repainting or redecorating.
- Choose one rod finish (matte black, brushed nickel, wood) and standardize it across rooms for a cohesive look with less to think about.
- Measure new rods to extend 4-6 inches beyond the window frame on each side so a single panel stacks back fully and doesn’t block light when open.
Step 6: Test the Downsized Setup Before Committing
Before you donate or discard your old treatments, live with the new, simplified setup for a week or two. Check that bedrooms still get dark enough for good sleep, that bathroom and street-facing windows still offer adequate privacy at night with the lights on, and that living spaces still feel warm rather than stripped bare. If a specific window still feels exposed or under-lit, it’s easier to add one targeted layer back than to have removed too little in the first place and be stuck decluttering twice.
Common Mistakes to Avoid When Downsizing
- Cutting fabric weight along with layer count. If you drop from two layers to one, don’t also downgrade to a thin, lightweight fabric – you’ll lose the light control and insulation you were trying to preserve.
- Ignoring nighttime privacy. A window that seems fine during the day can become a fishbowl once the lights are on after dark. Test both day and night before finalizing.
- Downsizing every room identically. A bedroom and a home office have different needs – don’t apply the same one-size-fits-all treatment across every window just for consistency.
- Skipping proper measurements. A single consolidated panel needs to be wide and long enough to do the job of the layers it’s replacing – measure width, length, and mounting height carefully rather than reusing old hardware positions by default.
Safety and Maintenance Notes
When simplifying hardware, make sure any remaining rod brackets are anchored into studs or use appropriate wall anchors, especially for heavier lined or thermal curtains. If you have young children or pets, choose cordless shades or blinds where possible, and keep any remaining cords secured out of reach. Fewer layers also means less fabric to launder or dust, so check care labels once and set a simple seasonal cleaning routine rather than juggling different care instructions for multiple treatments per window.
FAQ
Will one layer of curtains really block enough light for sleeping?
Yes, as long as you choose a properly lined blackout curtain sized to fully cover the window frame with a few inches of overlap on each side. A single well-fitted blackout panel typically outperforms a thin sheer-plus-light-curtain combo.
How do I keep privacy without hanging full-length curtains everywhere?
Café curtains, frosted window film, or top-down shades are all effective for daytime privacy while keeping the room from feeling closed in, and they use far less fabric than full-length panels.
Is it cheaper to downsize my window treatments?
Generally yes – fewer panels, less hardware, and simpler installations mean lower upfront costs and less ongoing maintenance, without sacrificing the core functions each window needs.
Should I downsize all my windows at once?
It’s usually smarter to start with one or two rooms, live with the results, and then apply the same approach elsewhere once you’ve confirmed the simplified setup meets your light, privacy, and comfort needs.
Final Thoughts
A downsized window treatment plan isn’t about stripping your home bare – it’s about being intentional. By auditing what you have, identifying the real function each window needs, and choosing fewer, smarter treatments, you can cut clutter and maintenance while keeping every room private, comfortable, and well-lit. Start room by room, test as you go, and you’ll end up with a home that looks cleaner and works just as hard as it did before.