An overstuffed cleaning cabinet wastes time, hides duplicate bottles, and can turn a quick chore into a scavenger hunt. If your bathroom cleaner is buried behind old sponges and your floor cleaning solution is leaking onto the shelf below it, it’s time for a reset. Organizing your cleaning supply cabinet doesn’t require fancy bins or a full weekend – it just needs a system that groups products by where and how you use them. This guide walks you through decluttering, zoning, containing, and labeling your cabinet so every bottle has a home and every cleaning session starts faster.
What You’ll Need Before You Start
Gather these items before you touch a single bottle. Having everything on hand keeps the project moving instead of stalling halfway through.
- A few sturdy plastic bins or wire baskets sized to fit your cabinet shelves
- A lazy Susan (turntable) for tall, narrow cabinets
- A tension rod or small caddy for hanging spray bottles
- Painter’s tape or a label maker
- A trash bag and a box for donations or recycling
- Rubber gloves and a rag for wiping down shelves
- A permanent marker for date-checking older bottles
Step 1: Empty the Cabinet Completely
Pull everything out and lay it on a towel or countertop where you can see it all at once. This is the only way to spot duplicates – it’s common to find three half-used bottles of the same bathroom cleaner tucked in different corners. While the cabinet is empty, wipe down the shelves with a damp cloth to remove dust, grime, and any sticky residue from old spills.
Step 2: Sort and Purge
Divide everything into three piles: keep, toss, and donate. Check expiration dates where printed – most cleaning products lose effectiveness after a year or two, and bleach-based formulas degrade faster than others. Toss anything rusted, leaking, or separated in a way that won’t remix by shaking. If a bottle is nearly empty, consider combining it with a fresh one of the same product rather than storing two half-full containers.
Common Items to Purge
- Duplicate sprays you forgot you already owned
- Empty or nearly empty bottles kept “just in case”
- Products for surfaces you no longer have (old stone-specific cleaners, for example)
- Rags and sponges that are too worn to be effective
Step 3: Group Products by Zone, Not Just Category
Rather than lining every bottle up alphabetically, think about how you actually clean. Most people move room by room, so organizing by zone saves steps. A simple three-zone approach works well in a single cabinet:
- Bathroom zone: bathroom cleaner, toilet bowl cleaner, glass cleaner, and a dedicated scrub brush
- Floor zone: floor cleaning solution, mop pads, a bucket, and any concentrate that needs diluting
- General-purpose zone: all-purpose sprays, microfiber cloths, dusting tools, and stainless steel polish for appliances and fixtures
If your bathroom cleaner and floor cleaning solution are both frequently used, place their zones at eye level or on the shelf closest to the door, since those are the products you’ll reach for most often. Less-used specialty items, like grout cleaner or upholstery spray, can move to a higher or lower shelf.
Step 4: Contain Each Zone
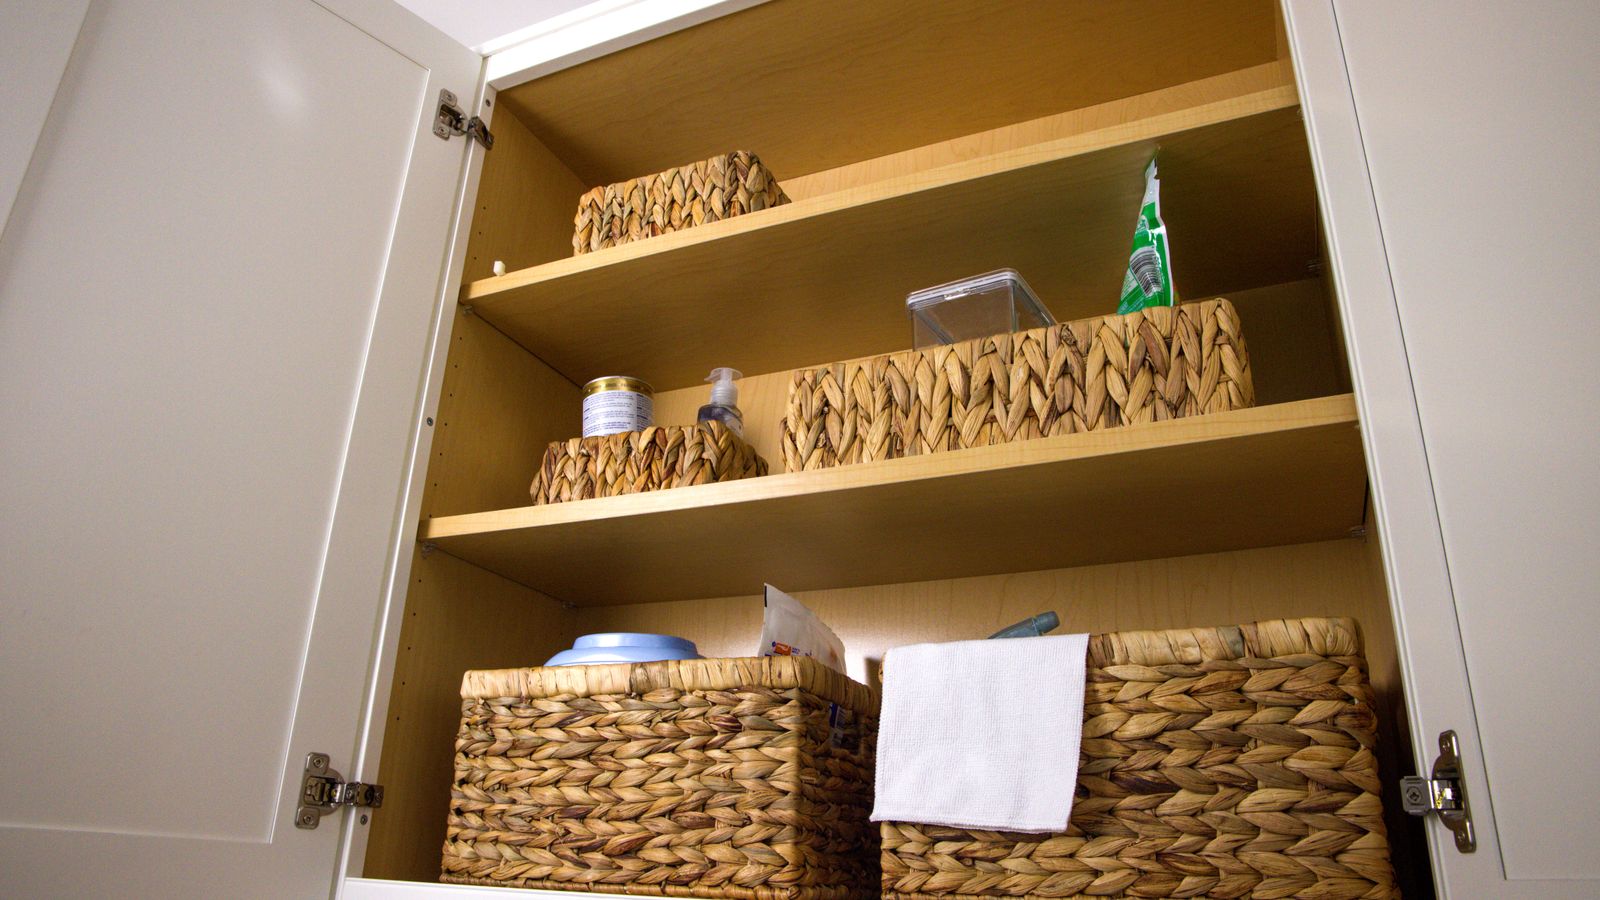
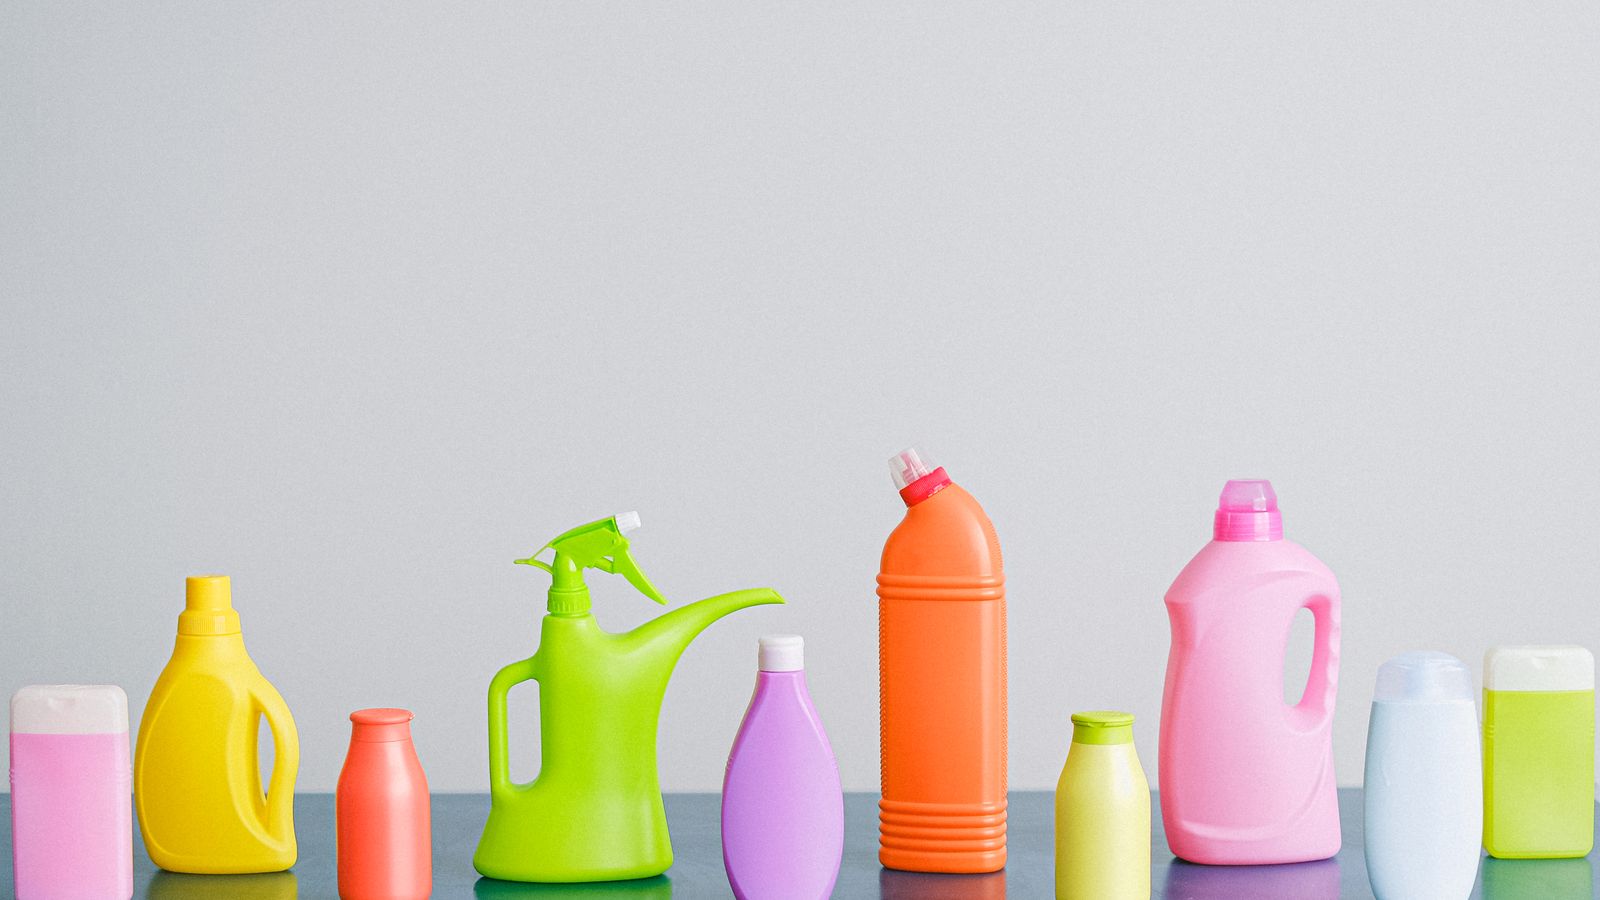
Loose bottles tip over and slide around every time the cabinet door opens. Put each zone into its own bin or basket so you can lift the whole group out at once when you’re cleaning. A shallow bin works well for spray bottles standing upright; a deeper bin suits bulkier items like a bucket or a bag of extra sponges.
- Choose a bin size that leaves a little breathing room – overpacked bins are just as frustrating as a bare shelf.
- Stand tall spray bottles upright with nozzles facing the same direction so labels are visible.
- Use a lazy Susan for concentrated cleaners or small bottles that tend to get lost in the back corners of deep cabinets.
- Mount a tension rod near the top of the cabinet to hang spray bottles by their trigger handles, freeing up shelf space below.
Step 5: Label Everything
Labels turn a system that makes sense to you today into one anyone in the household can maintain. Label the bins themselves (“Bathroom,” “Floors,” “General”) rather than every individual bottle – it’s faster and stays accurate even as products get swapped out. If kids or roommates help with cleaning, clear labels cut down on misplaced items and mixed-up storage.
Step 6: Keep Cleaning Tools Nearby, Not Mixed In
Mops, brooms, and buckets take up more room than they need to if they’re crammed alongside your bottles. When possible, store long-handled tools in a separate closet or a wall-mounted rack, and reserve the cabinet for bottles, sprays, and smaller accessories. This keeps the cabinet shelves free for zoning and prevents tools from knocking bottles over every time you reach in.
Safety Notes
Cleaning products can react badly when stored or mixed carelessly, so a few precautions matter as much as the organizing system itself.
- Never store bleach-based and ammonia-based products next to each other with lids loosely fitted – a leak can mix fumes that are dangerous to breathe.
- Keep all cleaning supplies out of reach of children and pets, ideally with a childproof latch if the cabinet is low to the ground.
- Store spray bottles nozzle-up to reduce the chance of slow leaks pooling in the bin.
- Check that lids are fully tightened before placing bottles back in their zone.
Common Mistakes to Avoid
- Organizing by brand instead of by use. Grouping by zone (bathroom, floor, general) is far more useful day-to-day than grouping by manufacturer.
- Skipping the purge step. Adding bins to a cluttered cabinet just hides the clutter instead of solving it.
- Ignoring vertical space. Tall, empty air above short bottles is wasted storage – a small shelf riser or stacked bin fixes this instantly.
- Forgetting to restock a running list. Keep a small notepad or phone note in the cabinet door to jot down when a bathroom cleaner or floor cleaning solution is running low.
Maintaining the System
An organized cabinet stays organized only if it’s easy to put things back correctly. Do a quick five-minute check every month: wipe up any spills, confirm bottles are in their assigned zone, and toss anything that’s expired. If you consistently run low on a product, that’s a sign to keep a backup bottle in its zone rather than buying duplicates that end up scattered elsewhere in the house.
When it’s time to replace a worn-out bottle, it helps to know what’s actually worth buying. For bathroom-specific formulas, browsing a roundup of bathroom cleaners can point you toward options that cut through soap scum and mineral buildup without extra scrubbing. For the floor zone, a guide to floor cleaning solutions can help you match the right formula to your flooring type, whether that’s tile, hardwood, or laminate. And if your general-purpose zone includes stainless steel appliances or fixtures, a look at the best stainless steel polishes can help you pick a streak-free option to keep alongside your other supplies.
FAQ
How often should I reorganize my cleaning cabinet?
A full declutter once or twice a year is usually enough, with a quick monthly check-in to wipe spills and restock. Households that clean frequently may want to check every few weeks since products get used and replaced faster.
What’s the best way to store cleaning products in a small cabinet?
Use vertical space with a tension rod or door-mounted rack for spray bottles, and reserve shelf space for bins holding smaller, bulkier items. A lazy Susan also helps make the most of narrow or deep cabinets.
Should I keep bathroom and floor cleaners in the same bin?
It’s better to keep them separate. Bathroom cleaner and floor cleaning solution are used in different rooms and often have different chemical formulas, so separate bins reduce the risk of accidental mixing and make it faster to grab exactly what you need.
How do I stop bottles from tipping over?
Group bottles by height within each bin, and use a shallow bin or shelf riser for shorter items so they don’t get pushed around by taller ones. Keeping bins slightly under capacity also prevents bottles from toppling when the cabinet door opens.
Final Thoughts
A well-organized cleaning cabinet isn’t about buying the most storage products – it’s about matching your setup to how you actually clean. Purge what you don’t need, zone by room, contain each group in its own bin, and label clearly enough that anyone in the house can put things back correctly. Once the system is in place, restocking a worn-out bathroom cleaner or floor cleaning solution becomes a quick swap instead of a full reorganization project.