Laundry day rarely fails because of a bad detergent. It fails because dirty clothes pile up in one undifferentiated heap, a fresh stain sets before anyone notices it, and by the time you’re standing at the machine you’re guessing about water temperature, colors, and what actually needs pretreating. Building a real routine around two simple tools – a dedicated stain remover and a proper laundry sorter – turns that guesswork into a five-minute habit. This guide walks through exactly how to set up that routine, step by step, so laundry stops being a weekly scramble and becomes something you barely have to think about.
Why a Sorting-and-Pretreating Routine Matters
Most laundry damage happens before the machine ever starts. Dark colors bleed into whites when they’re washed together. Delicate fabrics get shredded in the same load as zippers and jeans. And stains that could have been lifted in thirty seconds with the right pretreatment become permanent because they sat in a hamper for a week, oxidizing and bonding to the fibers. A sorter and a stain remover fix both problems at the source: one keeps categories separated before they ever touch water, and the other catches stains at the moment they’re easiest to remove – immediately, or as close to it as your schedule allows.
The goal of this routine isn’t perfection. It’s consistency. A simple system you actually use every time beats an elaborate one you abandon after two weeks.
What You’ll Need Before You Start
- A multi-compartment laundry sorter (hamper, cart, or wall-mounted bags) – ideally with 3 sections for whites, darks, and colors, or 4 if you also separate delicates
- A dedicated stain remover – spray, stick, or gel format, kept somewhere accessible, not buried in a cabinet
- A soft-bristled brush or old toothbrush for working treatment into tough spots
- A small notepad or phone note for tracking care-label symbols you’re unsure about
- Optional: mesh laundry bags for bras, hosiery, or other snag-prone items
None of this needs to be expensive or elaborate. The point is having each item in a fixed, known location so the routine takes seconds, not minutes, to execute.
Step 1: Choose and Place Your Laundry Sorter
The single biggest reason sorting routines fail is placement. If the sorter lives in a closet three rooms away from where people undress, clothes end up on the floor instead. Put the sorter directly in the bedroom, bathroom, or laundry room – wherever clothes actually come off.
Pick a sorter with clearly labeled or visually distinct compartments. A three-bin system (whites, darks, colors) covers most households; add a fourth bin for delicates or activewear if you generate a lot of it. If floor space is tight, a rolling cart with stacked bags works as well as a fixed hamper and can be tucked into a closet between uses. For a closer look at models built specifically for multi-category sorting, this roundup of laundry sorters compares capacity, bag material, and frame durability across several popular styles.
Sorting Rules to Post Nearby
- Whites and very light pastels go together, washed hottest
- Darks (black, navy, dark denim) go together, washed cool to prevent fading
- Bright and mid-tone colors form their own group
- Anything hand-wash-only or delicate gets pulled out entirely, regardless of color
- Heavily soiled items (gym clothes, work uniforms) can get their own load if volume allows, since they often need a longer cycle or extra detergent
Step 2: Set Up a Stain Station
A “stain station” doesn’t need to be fancy – it just needs to exist. Keep your stain remover, a brush, and a couple of clean rags in one spot near where laundry gets sorted, not in a utility closet you rarely open. The moment a stain is spotted, whether it’s during sorting or right after it happens, the goal is to treat it within minutes, not days.
Different stain types respond to different approaches:
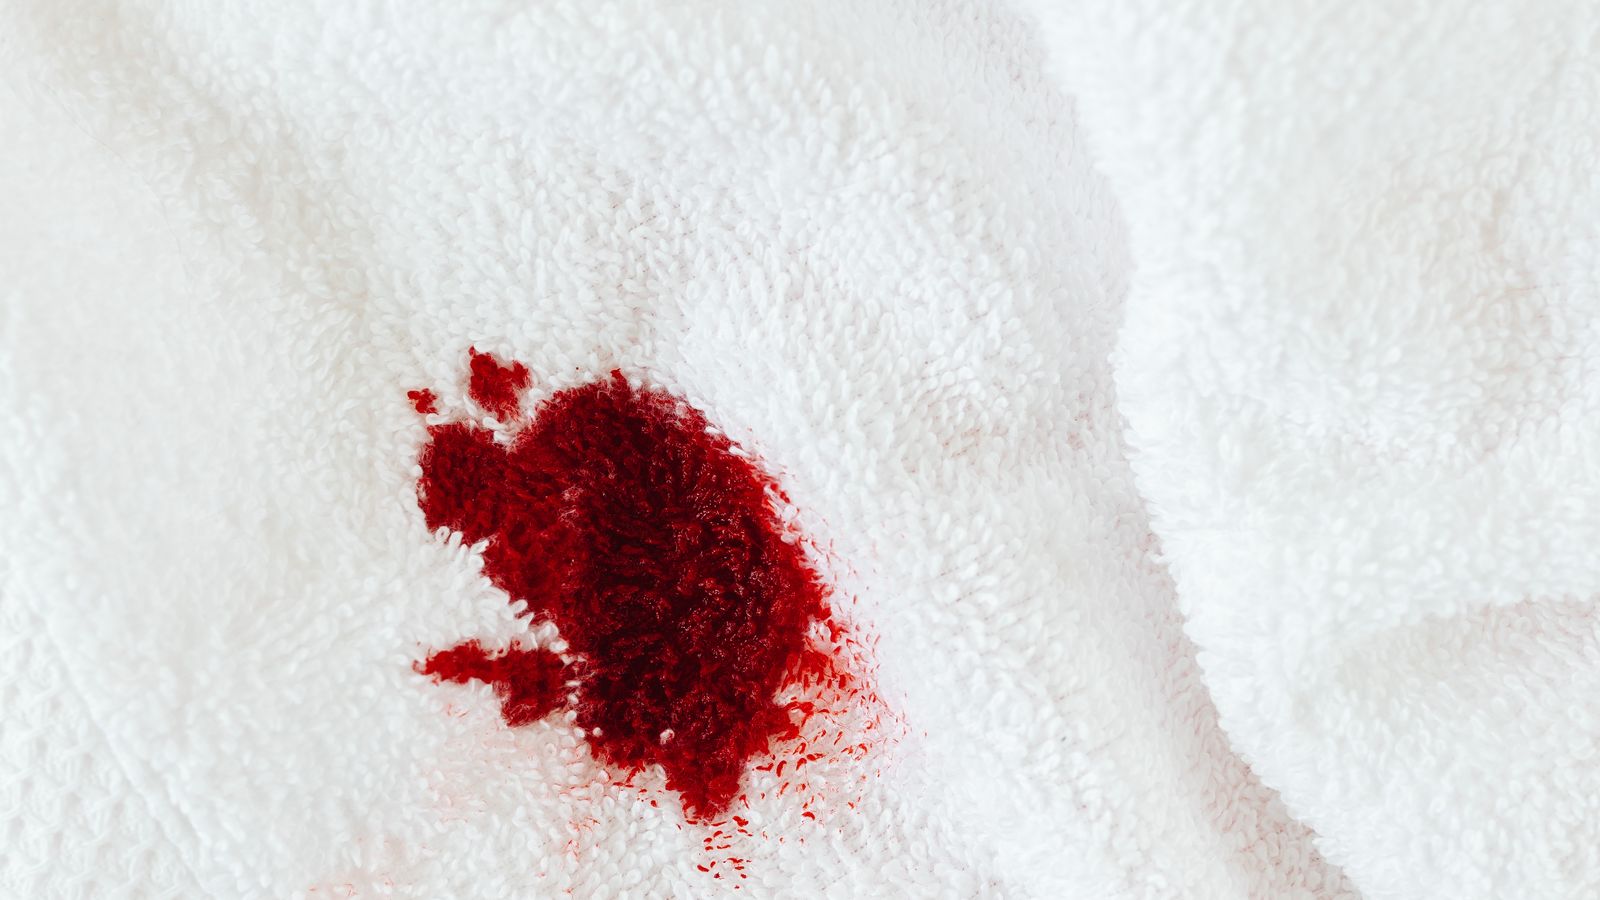
- Protein-based stains (blood, sweat, dairy) – rinse in cold water first, then treat; hot water sets these stains permanently
- Oil-based stains (grease, makeup, salad dressing) – apply stain remover directly and let it sit 5-10 minutes before washing
- Tannin stains (coffee, wine, tea, fruit juice) – flush with cool water immediately, then treat before the stain dries
- Combination stains (tomato sauce, chocolate) – treat in two passes, since these often have both a pigment and a protein or oil component
Choosing the right formula matters as much as the technique. Enzyme-based removers break down protein stains effectively, while oxygen-based ones handle tannins and general brightening. If you’re unsure which type suits your household’s most common stains, this comparison of stain removers breaks down formulas by stain type and fabric safety.
Step 3: Build the Weekly Rhythm
- Sort as you go. Every item goes straight into its correct sorter compartment the moment it comes off – never onto the floor “for now.”
- Scan for stains during sorting. This is the natural checkpoint where you’ll notice most spots before they set.
- Treat stains immediately, or hold treated items separately. A small basket or clip near the stain station keeps pretreated items visible so they don’t get missed on wash day.
- Wash by category, not by convenience. Resist combining a half-full whites load with a few darks just to save time – that’s how bleeding and color transfer happen.
- Check treated stains before drying. Heat sets any stain that wasn’t fully lifted, turning a fixable spot into a permanent one. If a stain is still visible after washing, treat again and rewash before it goes in the dryer.
Once this rhythm is established, most households find laundry actually takes less total time per week, since nothing needs re-washing and stains rarely reach the “impossible to remove” stage.
Step 4: Match Detergent and Additives to the Load
Sorting and stain treatment work best alongside a detergent chosen for the load type, not a single all-purpose bottle for everything. Pods and liquids work well for standard loads, while pre-measured sheets are convenient for travel, small loads, or households trying to reduce plastic waste. If you’re rethinking your detergent setup as part of this routine, this guide to laundry detergent sheets covers dissolvability, scent strength, and how they perform in cold-water cycles.
A few additive notes worth building into the routine:
- Oxygen-based boosters help revive dull whites without the harshness of chlorine bleach
- Color-catching sheets add a safety net for mixed loads when sorting isn’t perfect (useful for guest laundry or busy weeks)
- Fabric softener should be kept away from activewear and towels, since it reduces moisture-wicking and absorbency over time

Common Mistakes That Undo the Routine
- Letting stains dry before treating. Once a stain sets through a full wash-and-dry cycle, most removers can only fade it, not eliminate it.
- Overloading the sorter and skipping mid-week washes. A sorter that’s always overflowing stops functioning as a sorter and just becomes a bigger pile.
- Using hot water out of habit. Hot water sets protein stains and shrinks or fades many fabrics; cold or warm is the safer default unless the care label says otherwise.
- Mixing heavily soiled items with lightly worn ones. This spreads dirt and odor across the whole load and often means everything needs a second wash.
- Storing the stain remover out of easy reach. If treating a stain requires a trip to another room, it usually won’t happen in time.
Safety Notes
Always test a new stain remover on an inconspicuous area first, especially on colored or delicate fabrics, since some formulas can lighten dye. Never mix chlorine bleach with ammonia-based stain removers or other cleaning products – the combination produces toxic fumes. Keep stain removers and detergents out of reach of children and pets, and store them upright to prevent leaks onto shelving or flooring.
Frequently Asked Questions
How many compartments should my laundry sorter have?
Three is the minimum for meaningful separation (whites, darks, colors). Four is ideal if your household also generates a lot of delicates or activewear that need separate care.
Can I use the same stain remover on all fabric types?
Most general-purpose removers are safe for cottons and synthetics, but silk, wool, and other delicate fibers often need a gentler, fabric-specific formula. Check the label before applying to anything hand-wash-only.
How long can I leave stain remover on before washing?
Most products work within 5-10 minutes for light stains and can be left on longer, sometimes overnight, for tough or set-in ones. Always check the specific product’s instructions, since overly long exposure on delicate fabrics can cause discoloration.
What if I don’t have room for a full sorter?
A compact two-bag hanging sorter still improves on a single hamper – even separating just lights from darks prevents the most common laundry mistake. Add a small stain-treatment kit nearby regardless of sorter size.
Should I sort by fabric type as well as color?
If you have the space, yes – towels and heavy denim shed lint that clings to darker or more delicate garments. A dedicated bin for towels and heavy fabrics keeps lighter items cleaner.
Final Thoughts
An organized laundry routine isn’t about buying more products – it’s about placing the few products you need where you’ll actually use them, and building a habit around two checkpoints: sort immediately, treat immediately. A good laundry sorter removes the guesswork of what goes where, and a reliable stain remover catches problems while they’re still easy to fix. Put both in place, follow the weekly rhythm outlined above, and laundry stops being a recurring source of stress – it becomes one of the easiest chores in the house.