A kitchen renovation can quickly feel overwhelming once you start comparing tile backsplash kits, undermount sinks, and workstation sinks side by side. Each of these elements affects the others – the sink you choose determines how your countertop is cut, and your backsplash tile choice can influence your color palette, grout lines, and even your plumbing layout. Instead of buying pieces in a random order, a smart renovation plan sequences decisions so nothing has to be redone. This guide walks you through building that plan step by step, from initial budgeting to the final grout seal, so your new kitchen comes together without costly surprises.
Step 1: Set Your Renovation Priorities and Budget
Before you order a single tile or sink, decide what matters most in your kitchen: workflow efficiency, resale value, or a specific design aesthetic. Write down a rough budget split between cabinetry, countertops, sink, and backsplash – most homeowners allocate 8-12% of the total kitchen budget to the sink and faucet, and roughly 3-5% to backsplash materials. Having these numbers in front of you early prevents overspending on one element and scrimping on another.
It also helps to decide your renovation order now. Most contractors recommend finalizing the sink style first, since it dictates the countertop cutout, then choosing the backsplash tile once the countertop and cabinet colors are locked in.
Step 2: Choose Between an Undermount Sink and a Workstation Sink
This is one of the biggest early decisions in the plan, because it changes your countertop fabrication order and your plumbing rough-in.
Undermount Sinks
An undermount sink mounts beneath the countertop with no lip, giving you a clean, seamless look that’s easy to wipe crumbs directly into. It works best with solid-surface countertops like quartz, granite, or butcher block, since laminate counters generally can’t support the exposed edge. If your renovation leans toward a minimalist or contemporary look, an undermount model is usually the better fit. Browse a range of styles and finishes among these undermount sinks to compare bowl configurations and materials before you finalize your countertop template.
Workstation Sinks
A workstation sink is a deeper, single-basin sink built with integrated ledges that hold cutting boards, colanders, and drying racks directly over the basin. It essentially turns the sink into a secondary prep station, which is ideal for households that cook frequently or have limited counter space. Workstation sinks are usually made from 16-gauge stainless steel or granite composite and require a slightly wider cabinet base – typically 30 inches or more – so measure your cabinet run before committing. If a multipurpose prep zone appeals to you, these best workstation sinks are worth comparing for basin depth, included accessories, and mounting style.
Whichever style you choose, order the sink before your countertop fabricator makes a template – most fabricators need the exact sink specs to cut an accurate opening.
Step 3: Confirm Faucet and Drain Compatibility
Once your sink is selected, check the number of pre-drilled holes and hole spacing so your faucet, soap dispenser, and any air-gap switch line up correctly. Workstation sinks often ship with zero pre-drilled holes since they’re designed for a single-hole faucet mounted directly into the countertop, while undermount sinks may need matching holes drilled into stone. Confirm this detail with your countertop installer at the same time you finalize the sink order, since redrilling stone after fabrication is expensive and sometimes impossible.
Step 4: Plan Your Tile Backsplash Kit
With the sink and countertop settled, move on to the backsplash. A tile backsplash kit typically bundles the tile sheets, spacers, trim pieces, and sometimes adhesive or grout in one package, which simplifies ordering for a DIY installation. Kits are especially useful for renters or first-time renovators because the tile spacing and pattern are pre-calculated, reducing the guesswork of buying loose tile by the square foot.
When shopping, measure the wall area behind your range and sink separately, since these zones often need heat- or splash-resistant tile even if the rest of the backsplash uses a different finish. Add roughly 10% extra tile to your order to account for cuts, breakage, and future repairs. If you want to compare peel-and-stick options against traditional ceramic or glass kits, this collection of tile backsplash kits breaks down coverage area, install difficulty, and finish options.
Matching Tile to Your Sink Style
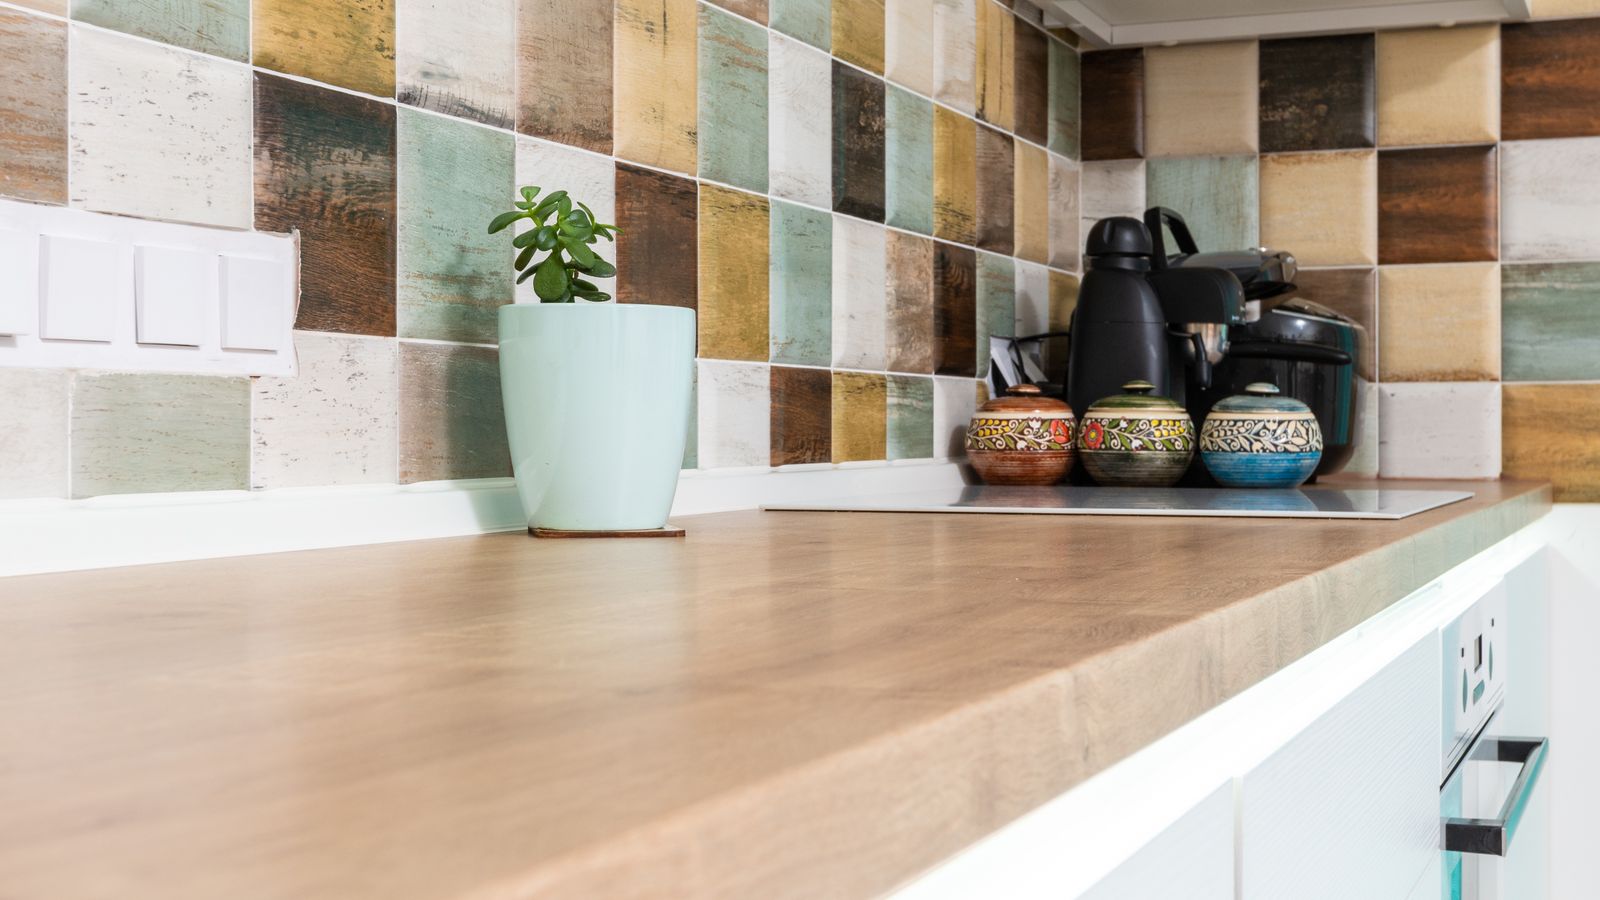
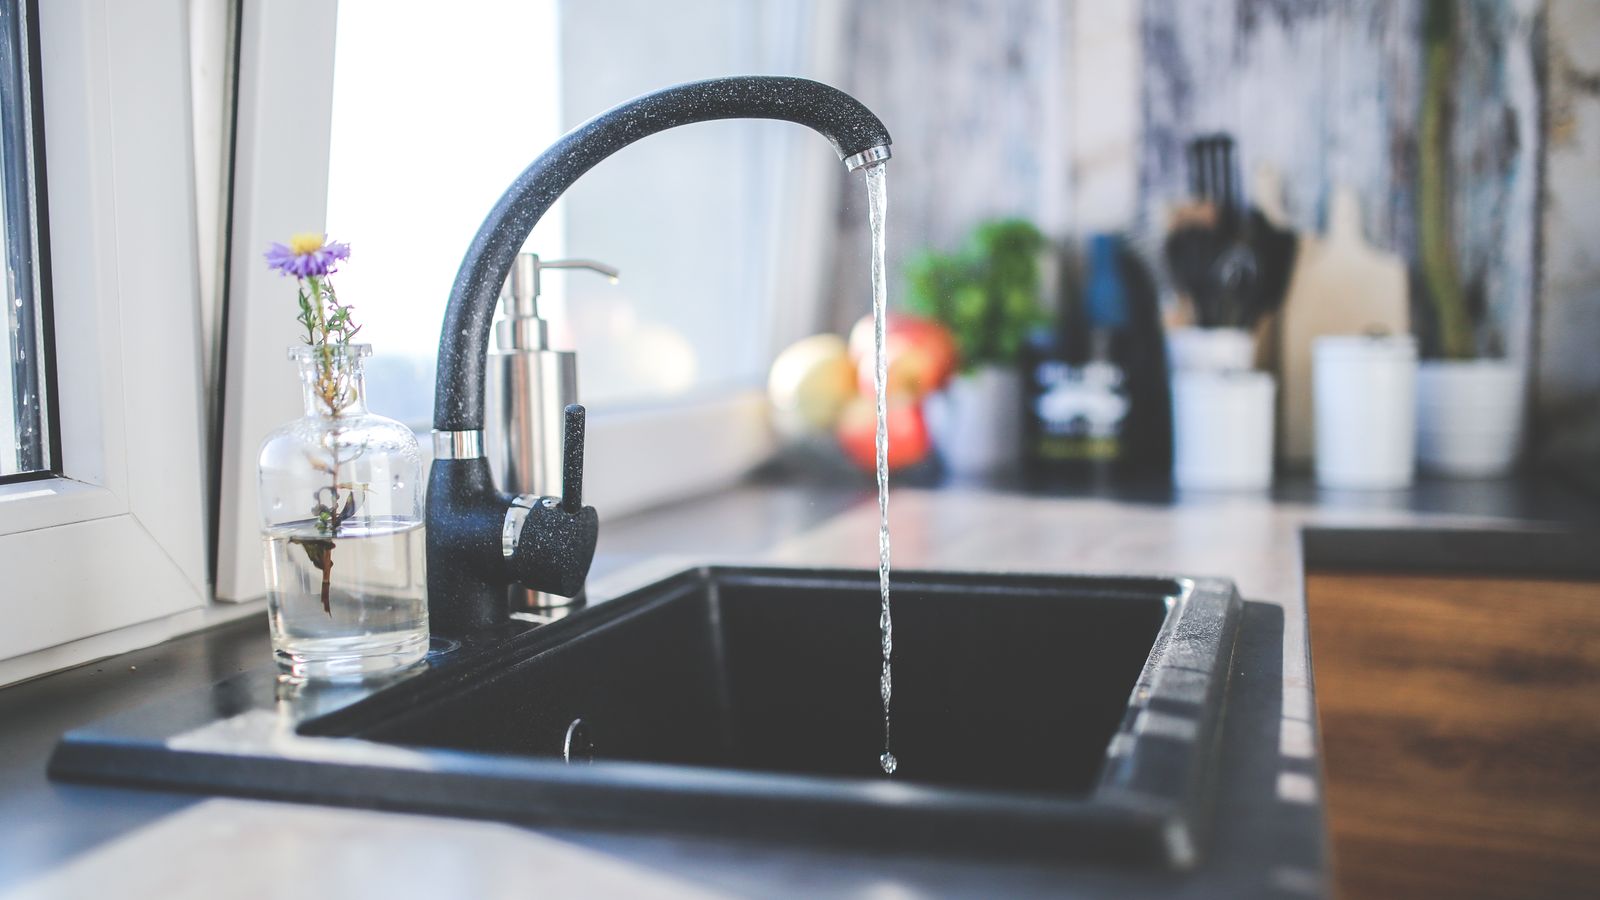
A workstation sink with a bold, dark finish often pairs well with a lighter, textured tile that keeps the wall from feeling too heavy. An undermount sink with a seamless stone countertop, on the other hand, can support a more dramatic tile pattern since the sink itself stays visually understated. Bring a countertop sample and, if possible, a sink cutout photo with you when picking tile so you can compare finishes in person rather than relying on memory.
Step 5: Sequence the Installation Correctly
A logical installation order avoids rework and keeps trades from stepping on each other’s schedules:
- Rough plumbing and electrical – confirm water lines and outlets are positioned for your chosen sink and any under-cabinet lighting near the backsplash.
- Cabinet installation – cabinets go in first so the countertop fabricator can template around them.
- Countertop templating and fabrication – done using your finalized sink specs, whether undermount or workstation style.
- Sink and faucet installation – mounted once the countertop is set in place.
- Backsplash tiling – installed last, after countertops are in, so tile sits flush against the finished counter edge.
- Grouting and sealing – completed once tile adhesive has fully cured, typically 24-48 hours later.
Following this order means each trade works from an accurate, finished surface rather than guessing dimensions ahead of time.
Safety Notes Before You Start
- Shut off the water supply at the main valve before disconnecting any existing sink or plumbing.
- Wear cut-resistant gloves and safety glasses when scoring or cutting tile, especially glass or porcelain varieties.
- Use a wet saw in a well-ventilated area or outdoors to control tile dust.
- Check that your cabinet base can support the added weight of a granite composite workstation sink – some models exceed 40 pounds empty.
- If your kitchen has older galvanized or polybutylene plumbing, have a licensed plumber inspect it before connecting a new sink.
Common Mistakes to Avoid
- Ordering the backsplash before the sink and countertop are finalized. Tile color and layout should complement the countertop, not the reverse.
- Skipping the cabinet width check for a workstation sink. These sinks are wider and deeper than standard basins and won’t always fit an existing cabinet run.
- Forgetting a grout sealer. Unsealed grout near a sink area absorbs water and stains quickly, especially with darker grout colors.
- Not confirming faucet hole spacing before drilling stone. This is a one-time cut – measure twice against your actual faucet, not just the sink spec sheet.
- Underestimating tile overage. Running short mid-project often means waiting weeks for a dye-lot match.
Frequently Asked Questions
Should I choose the sink or the backsplash tile first?
Choose the sink first. It determines your countertop cutout and fabrication timeline, while the backsplash can be finalized later once your counter and cabinet colors are set.
Can I install a workstation sink in any kitchen cabinet?
Not always. Workstation sinks are typically deeper and wider than standard undermount sinks, so measure your base cabinet opening before ordering – most need at least a 30-inch cabinet.
How long should I wait before grouting a new backsplash?
Most tile adhesives need 24-48 hours to cure fully before grouting. Check the product label, since setting times vary by brand and humidity.
Do tile backsplash kits include everything I need?
Most kits include tile sheets, spacers, and trim pieces, but grout, adhesive, and sealer are often sold separately – check the kit description carefully before checkout.
Is an undermount sink harder to install than a workstation sink?
Both require accurate countertop templating, but undermount sinks generally need professional mounting hardware and silicone sealing under the stone, while workstation sinks often drop into a simpler cutout with clamp-style mounting.
Final Thoughts
A kitchen renovation goes smoothly when decisions happen in the right order: budget and priorities first, sink style second, countertop third, and backsplash last. Locking in your undermount or workstation sink early prevents costly countertop rework, and choosing your tile backsplash kit after the counter is set ensures everything looks cohesive rather than mismatched. Take your time comparing options, measure twice at every stage, and your finished kitchen will feel like it was planned as one connected design rather than assembled piece by piece.